来源:网络 作者:昀恒

最终效果-纯色背景

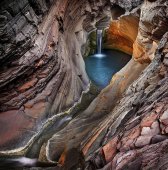
原图

1、点击原图uimaker.com/uimakerdown/">素材,打开素材大图,并把大图保存到本机。
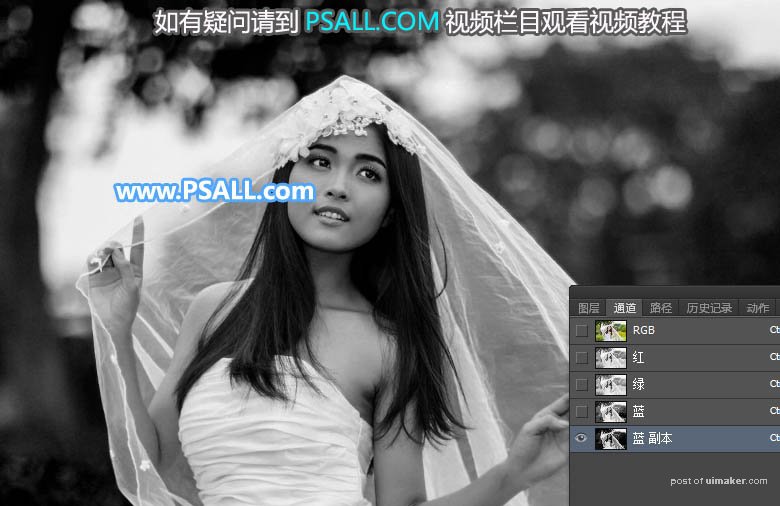
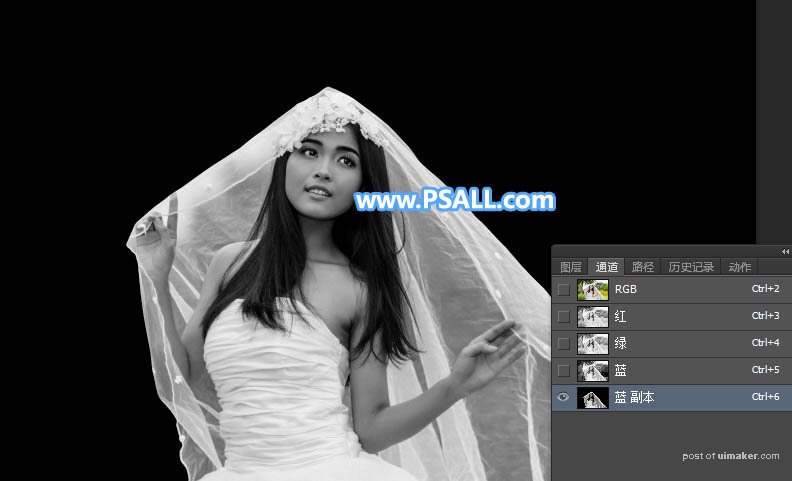
打开PS软件,打开保存的素材图片;进入通道面板,把蓝色通道复制一份,得到蓝副本通道,如下图。

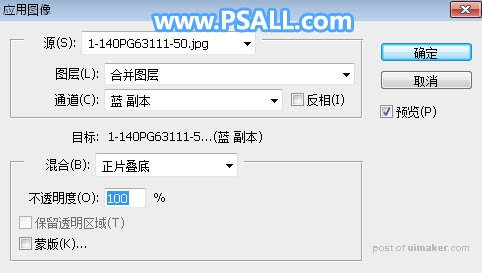
2、选择蓝副本通道,再选择菜单:图像 > 应用图像,参数设置及效果如下图。
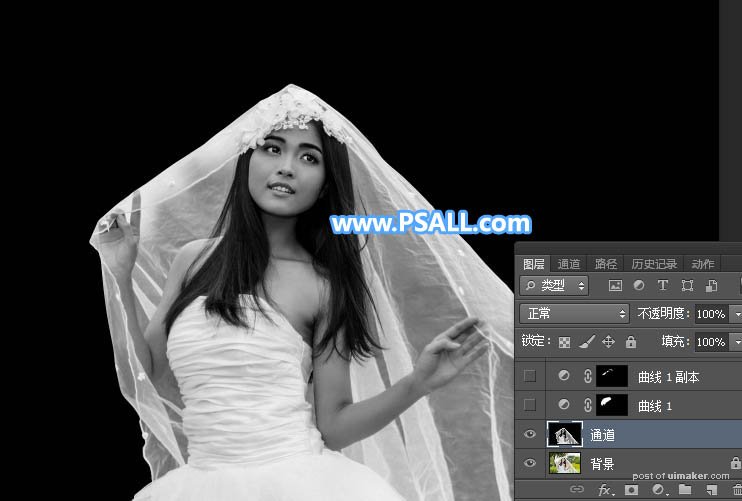
3、用钢笔和黑色画笔把人物以外的区域处理成黑色,如下图。
4、按Ctrl + A 把蓝副本通道全选,按Ctrl + C 复制,点RGB通道返回图层面板,新建一个图层,按Ctrl + V 把复制的通道粘贴进来,如下图。