来源:网络 作者:火焰

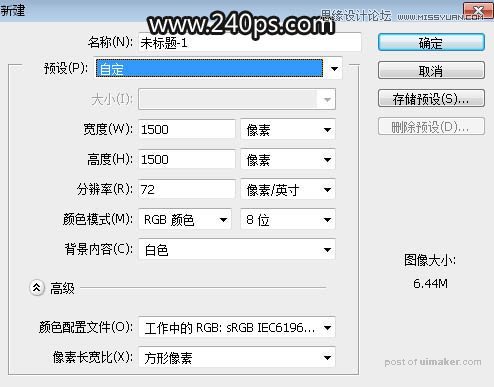
1、打开PS软件,按Ctrl + N 新建文档,,尺寸:1500 * 1500像素,分辨率为72,背景选择白色,如下图。
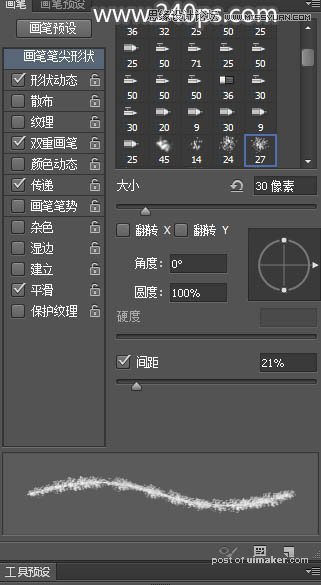
2、选择画笔工具,按F5调出画笔预设面板,现在来设置参数。
画笔笔尖形状:选择27号画笔,找不到可以复位一下画笔;大小设置30像素,间距设置为21%,如下图。
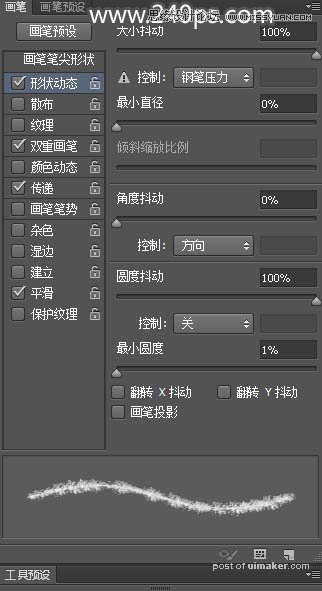
形状动态:大小抖动设置为100%,其它设置如下图。
双重画笔:选择45号画笔,其它设置如下图。
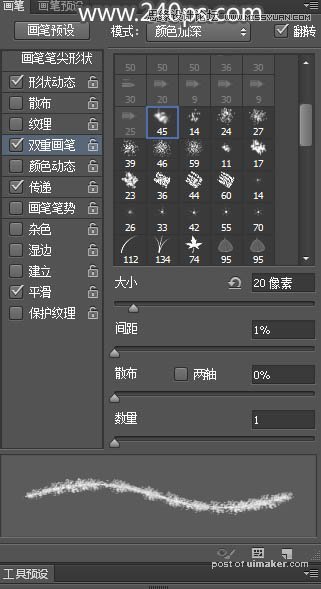
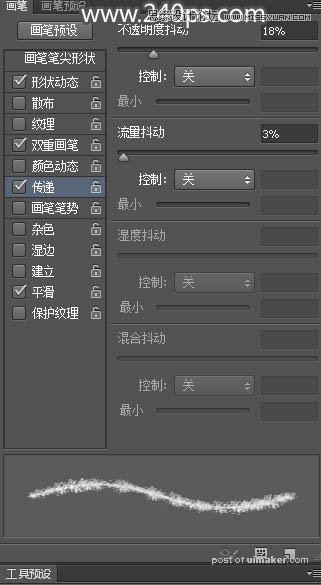
传递:其它版本也叫其它动态,不透明度抖动设置18%,流量抖动设置3%,其它设置如下图;设置好后勾选下面的“平滑”选项。
3、把前景色设置为黑色,画笔大小设置为150像素,不透明度设置为10%,流量100%,如下图。
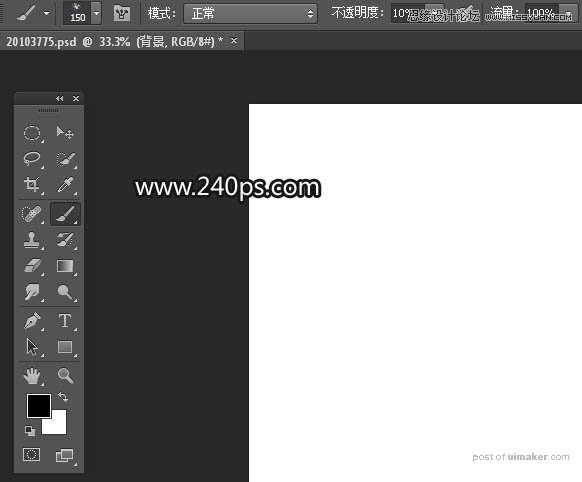
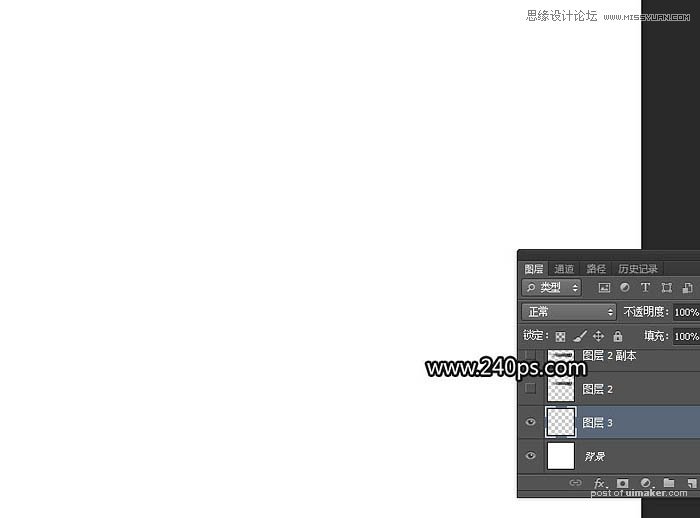
4、新建一个空白图层,如下图。