来源:网络 作者:昀恒
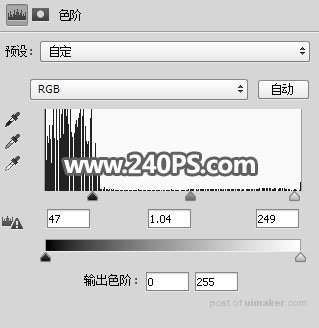
6、创建色阶调整图层,把暗部大幅压暗,参数设置如下图,确定后把蒙版填充黑色。
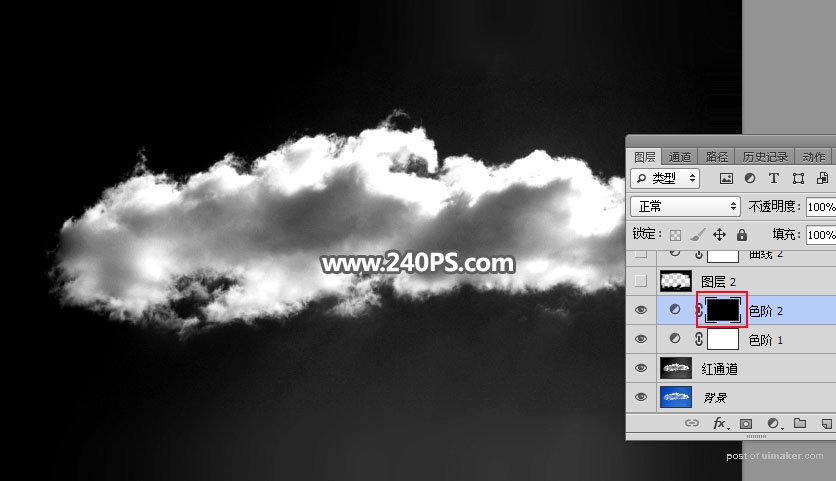
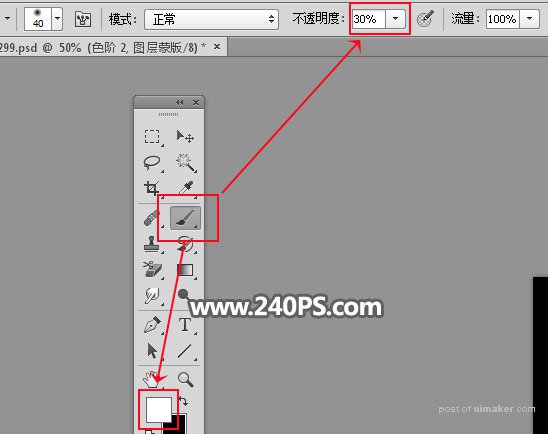
7、选择画笔工具,不透明度设置为30%,再把前景色设置为白色。
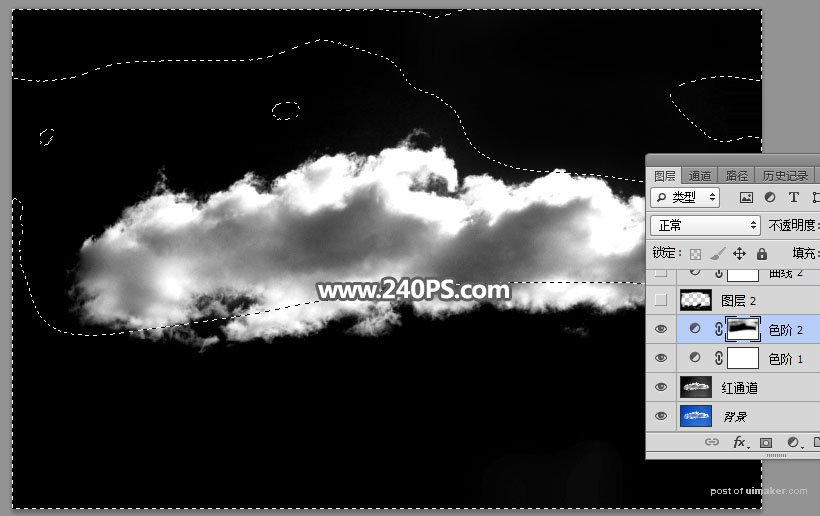
8、用画笔把云朵边缘及其他部分有背景的区域涂暗,如下图。

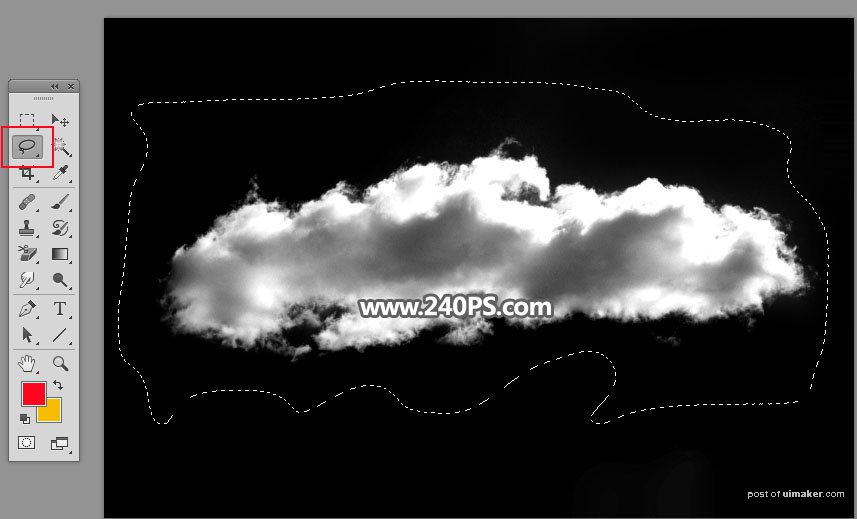
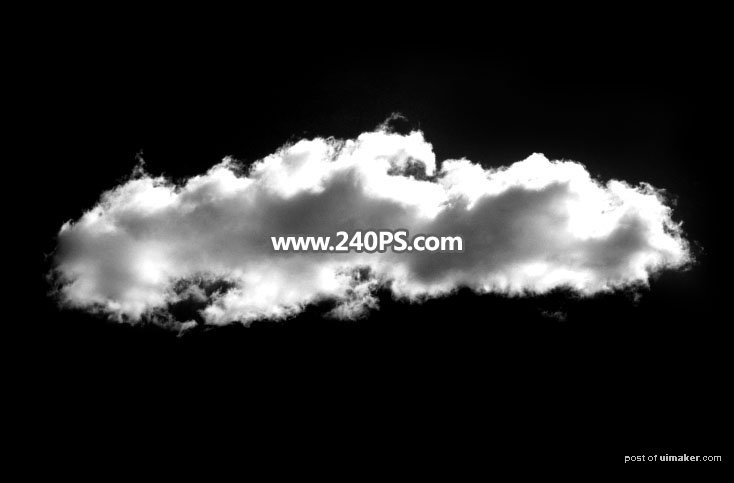
9、在工具箱选择套索工具,把云朵主体部分勾选出来,如下图。
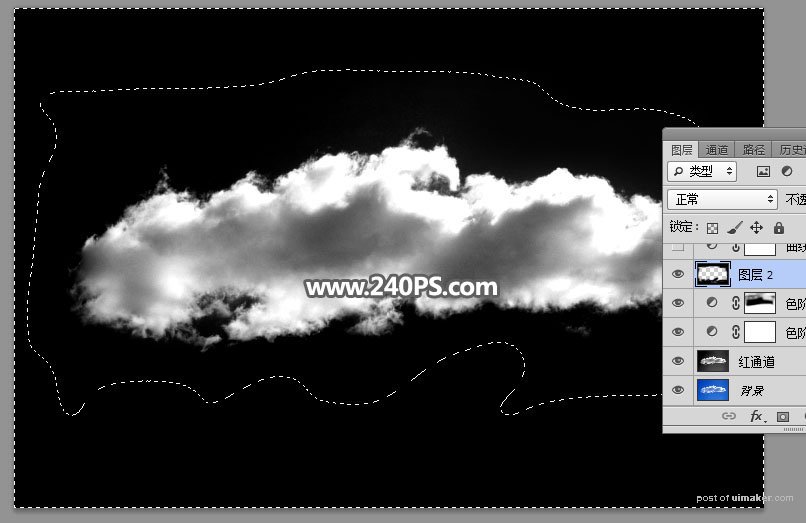
10、按Ctrl + Shift + I 反选,新建一个空白图层,用油漆桶工具把选区填充黑色,并按Ctrl + D 取消选区。
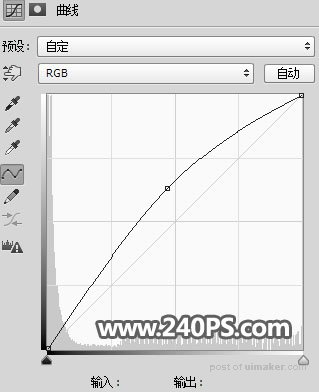
11、创建曲线调整图层,把RGB通道调亮一点,参数及效果如下图。

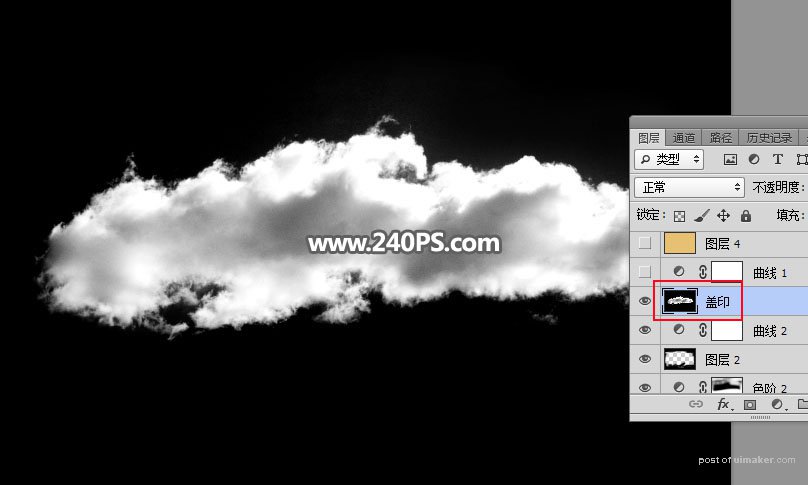
12、新建一个空白图层,按Ctrl + Alt + Shift + E 盖印图层,并命名为“盖印”,如下图。