来源:网络 作者:零下一度
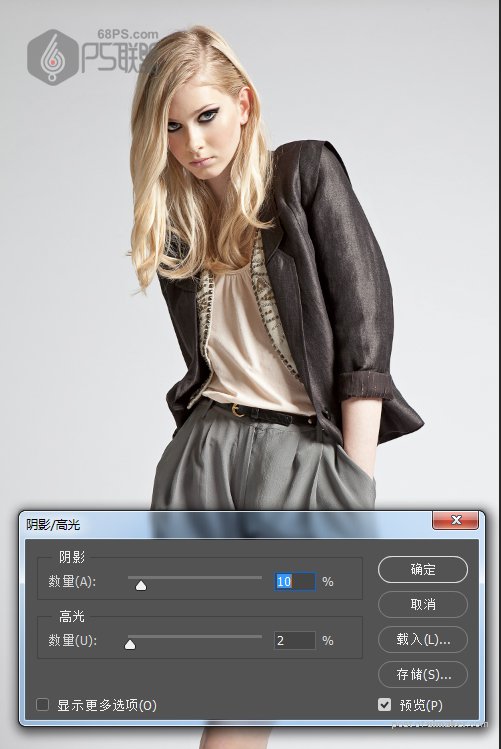
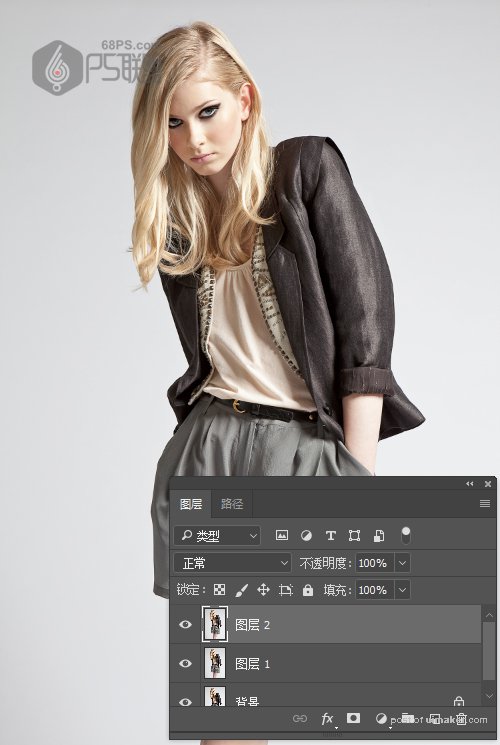
步骤1
我们打开要处理的图片,Ctrl+J复制背景图层,得到图层1。进入图像>调整>阴影/高光,并将阴影设置为10%,高光设置为2%,如下所示:
步骤2
选中图层1,Ctrl+J复制得到图层2。
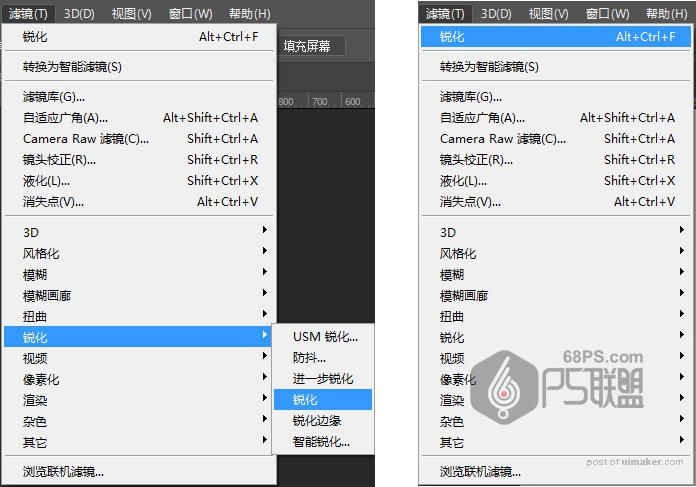
步骤3
转到滤镜>锐化>锐化。然后按下键盘上的Alt+Ctrl+F重复此过滤镜。
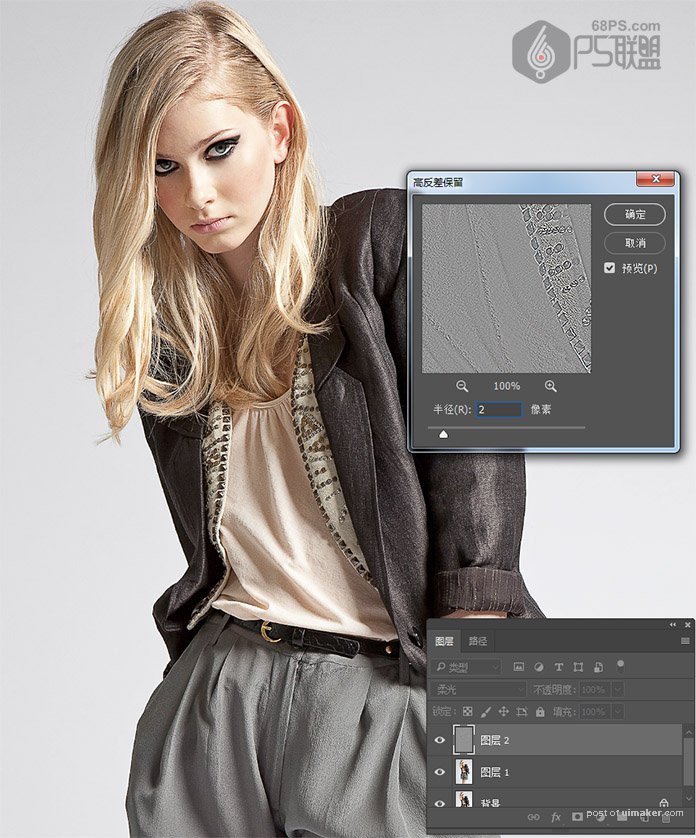
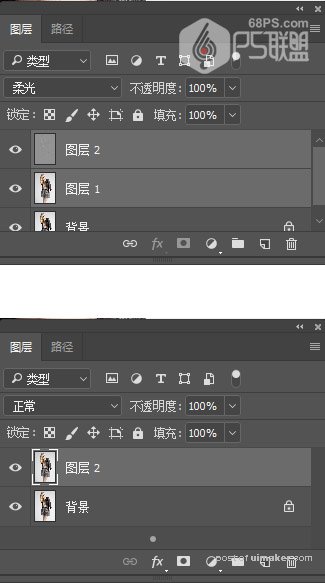
步骤4
将此图层的混合模式更改为柔光。

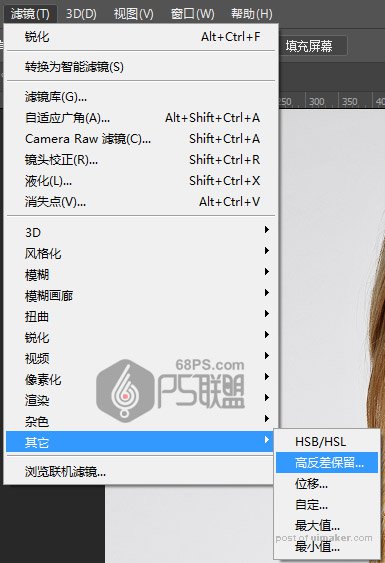
步骤5
转至滤镜>其它>高反差保留,并将半径设置为2像素,如下所示:
步骤6
按入Ctrl键鼠标点击图层1图层2,同时选中图层1图层2,Ctrl+E合并图层,得到图层2。
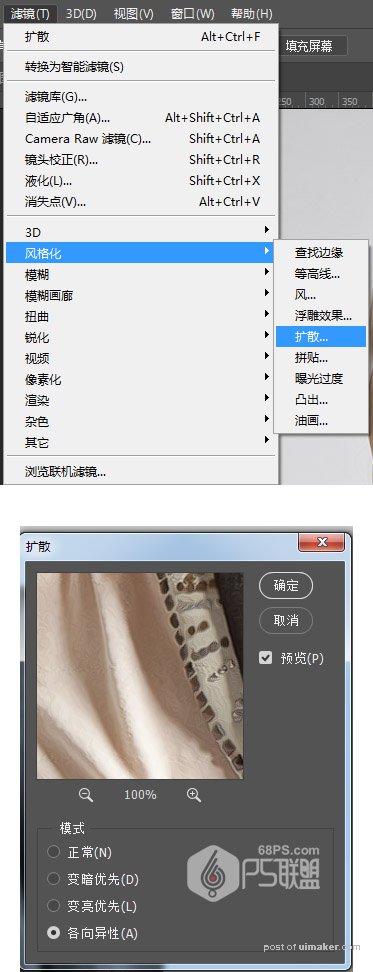
步骤7
转到滤镜>风格化>扩散,并将模式设置为各向异性。