来源:网络 作者:昀恒
5、选择蓝通道,按Ctrl + A 全选,按Ctrl + C 复制。
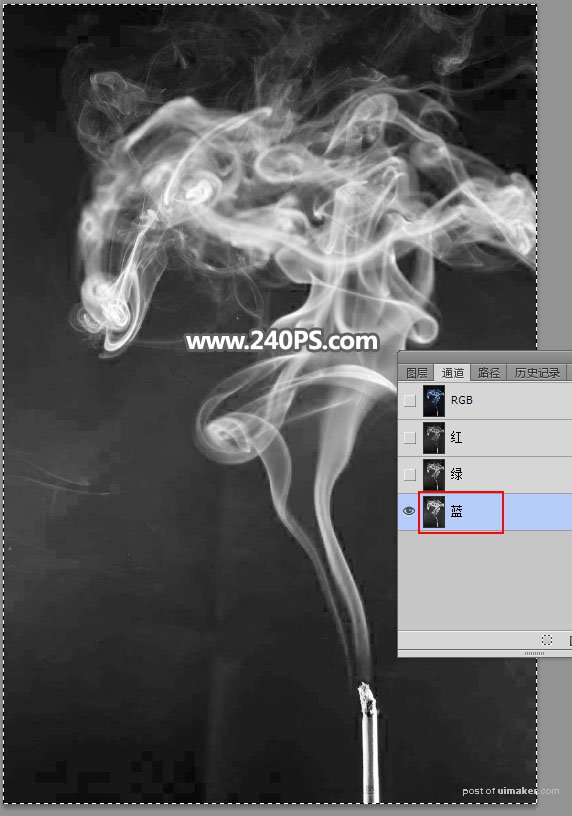
6、点一下RGB通道。
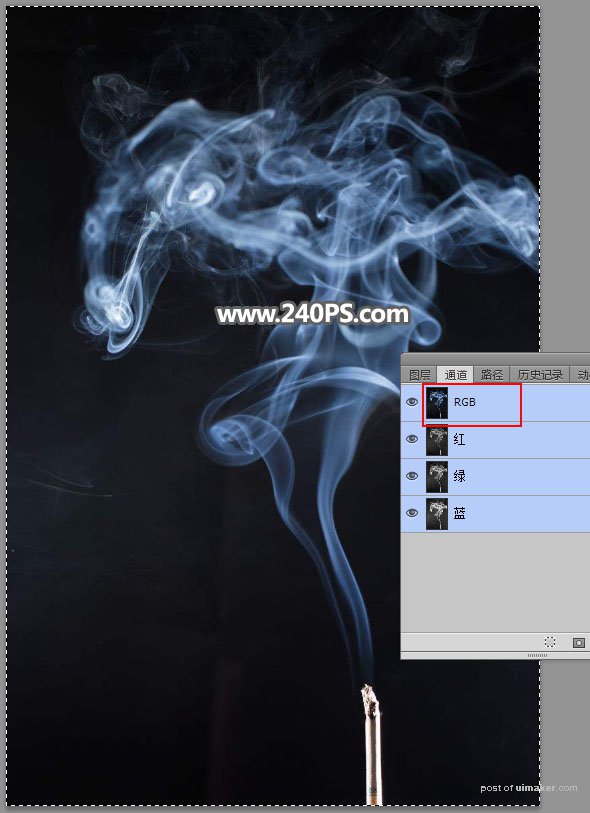
7、进入图层面板。
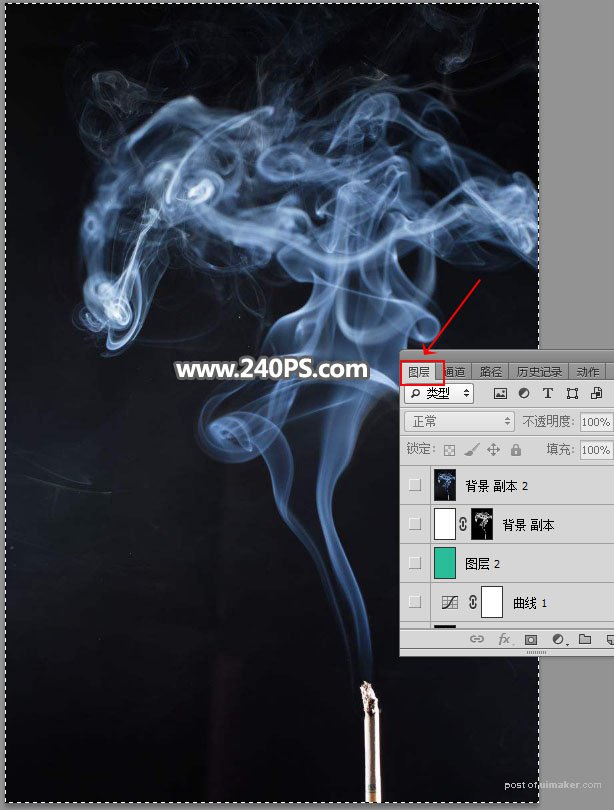
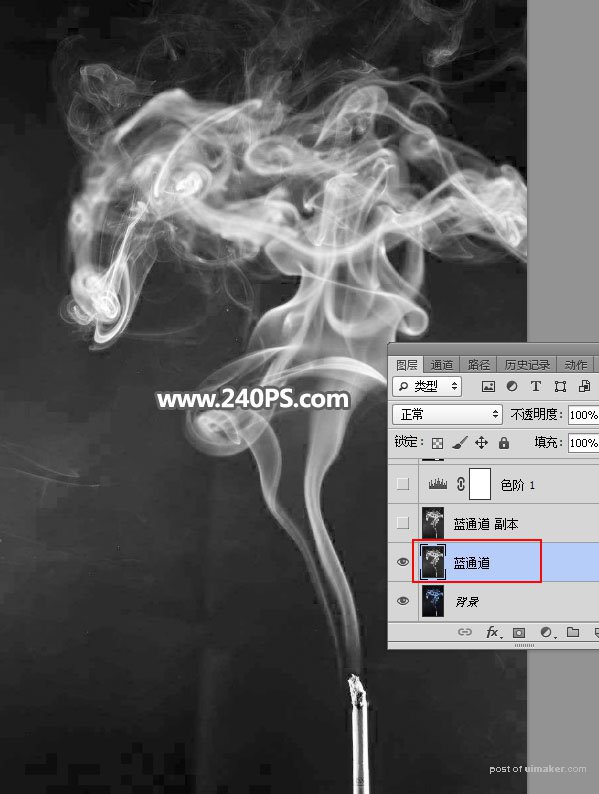
8、新建一个图层,按Ctrl + V 把复制的通道粘贴进来,如下图。
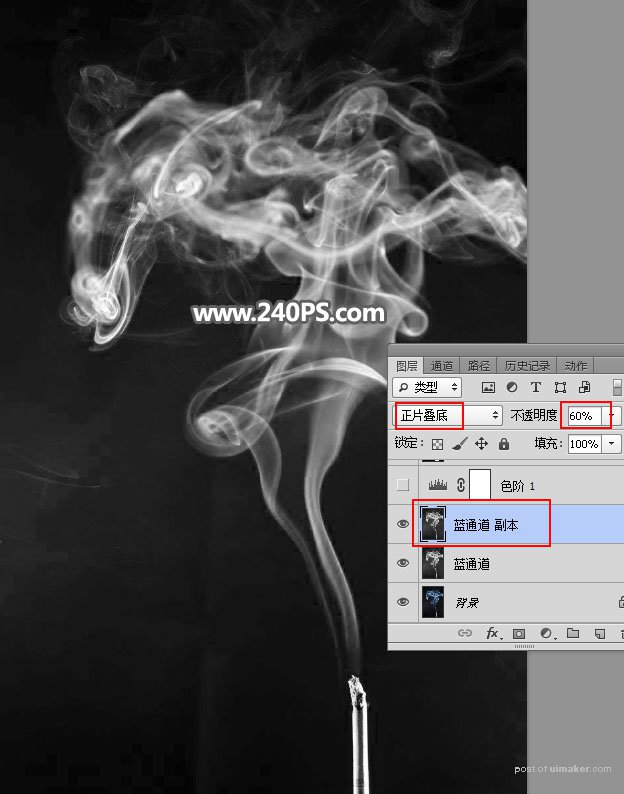
9、按Ctrl + J 把当前图层复制一层,混合模式改为“正片叠底”,不透明度改为60%。
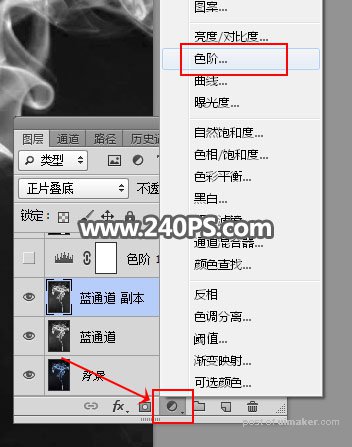
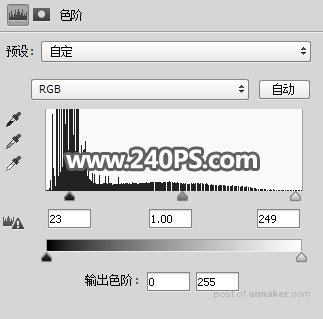
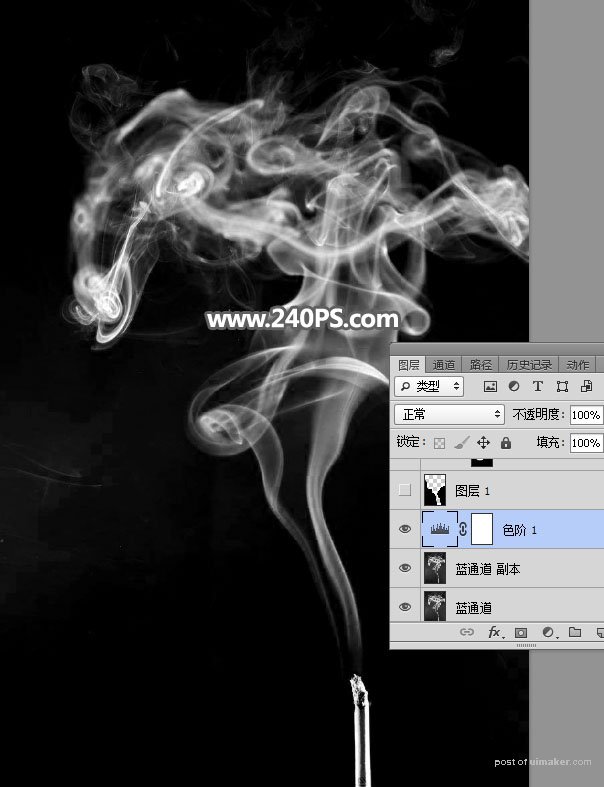
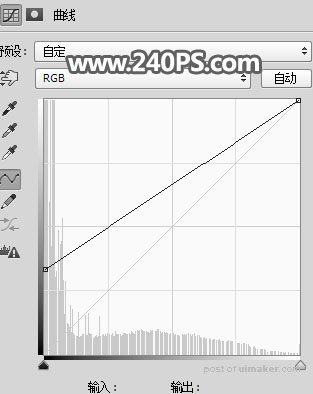
10、创建一个色阶调整图层,增加明暗对比,参数及效果如下图。
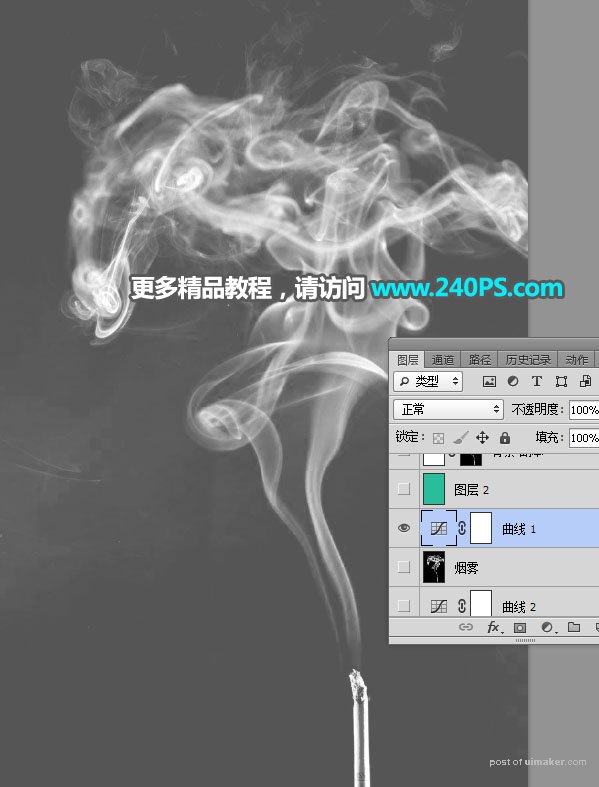
11、现在来创意一个观察图层,创建曲线调整图层,把RGB暗部调亮,参数及效果如下图。
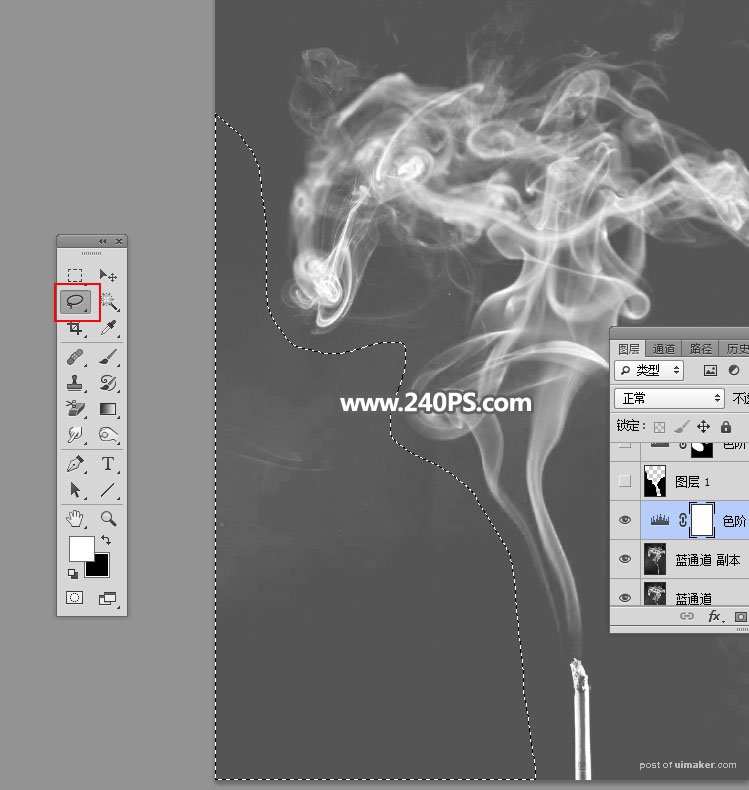
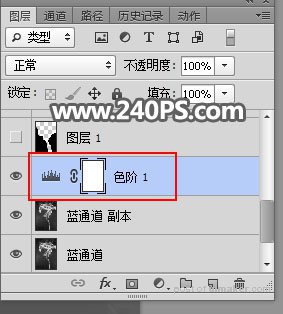
12、选择底部的色阶调整图层,如下图。
13、在工具箱选择“套索工具”,然后勾出左侧的背景,如下图。