来源:网络 作者:昀恒
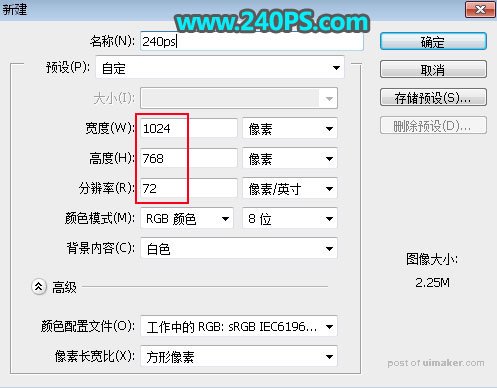
1、打开PS软件,按Ctrl + N 新建,尺寸为1024 * 768像素,然后确定。
2、把前景色设置为深灰色#000101,然后用油漆桶工具把背景填充前景色。

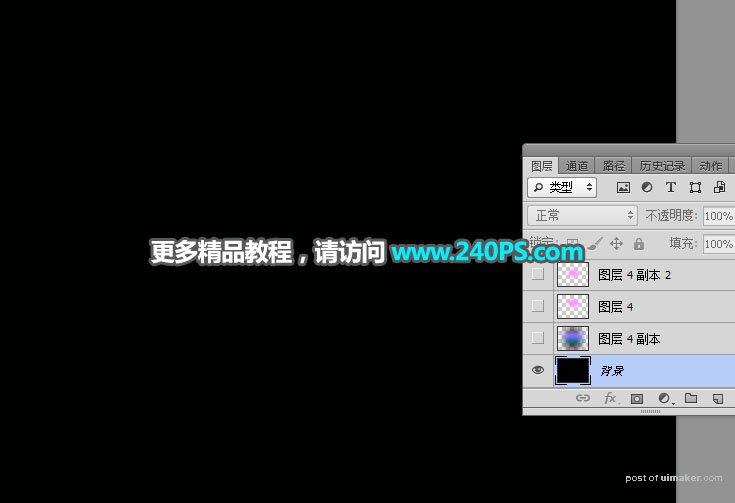
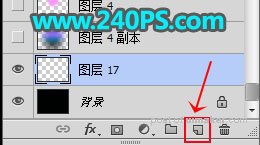
3、点击新建按钮,新建一个图层。
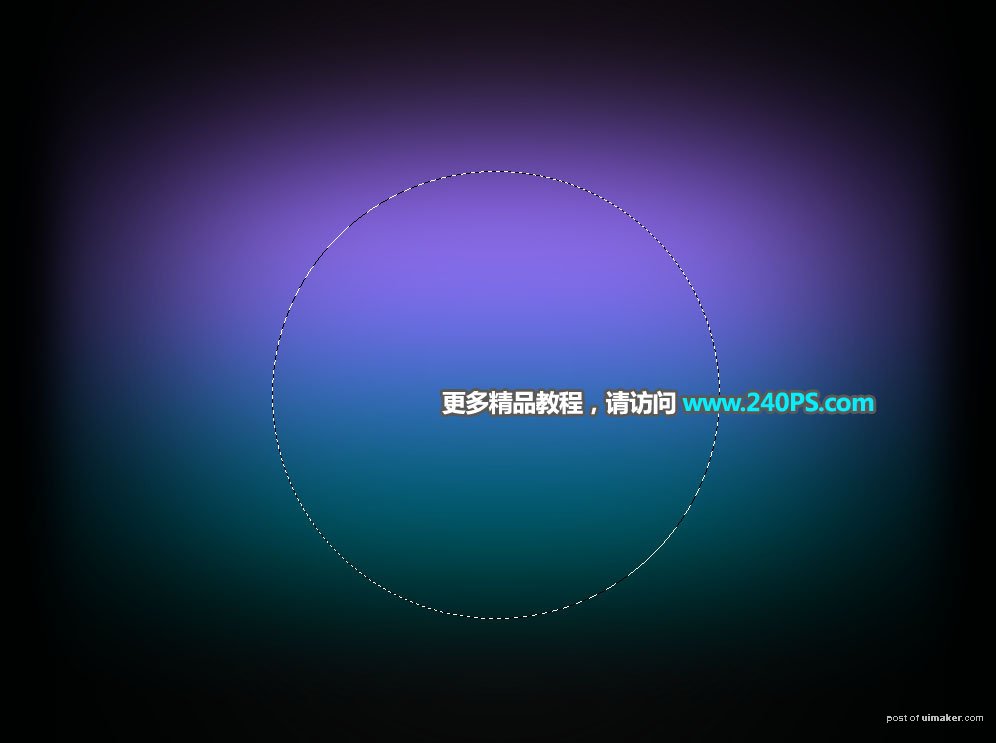
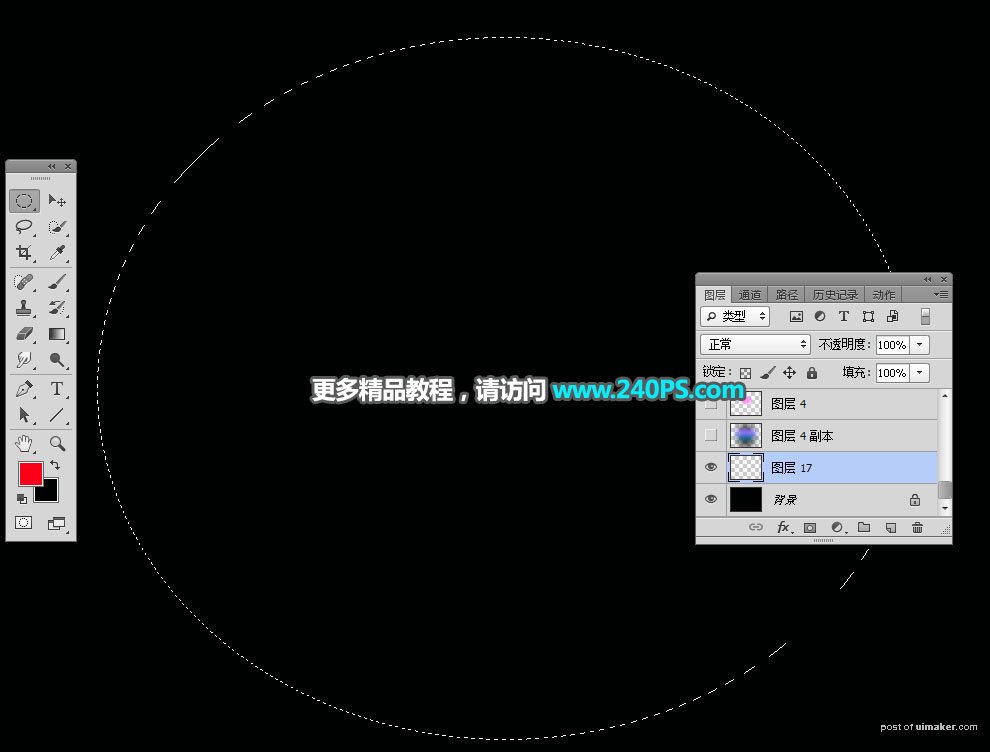
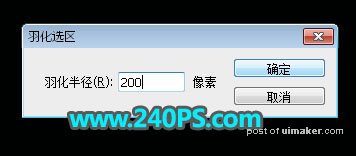
4、在工具箱选择“椭圆选框工具”,然后拉出下图所示的椭圆选区,按Shift + F6 羽化200个像素。
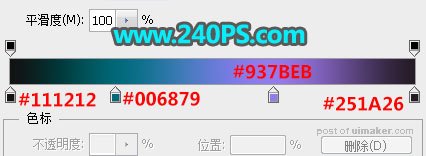
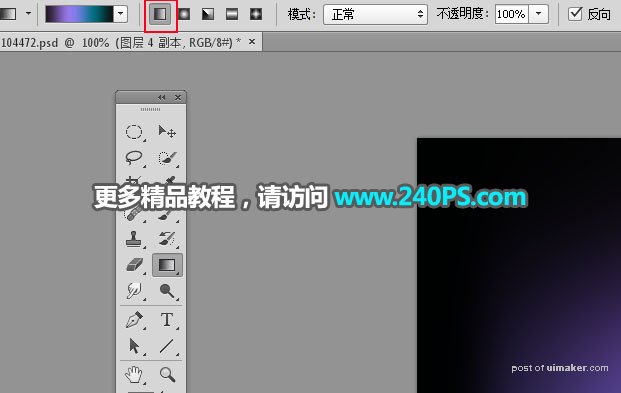
5、在工具箱选择渐变工具,然后点击渐变设置渐变色,颜色设置如下图。
6、在属性栏选择“线性渐变”。
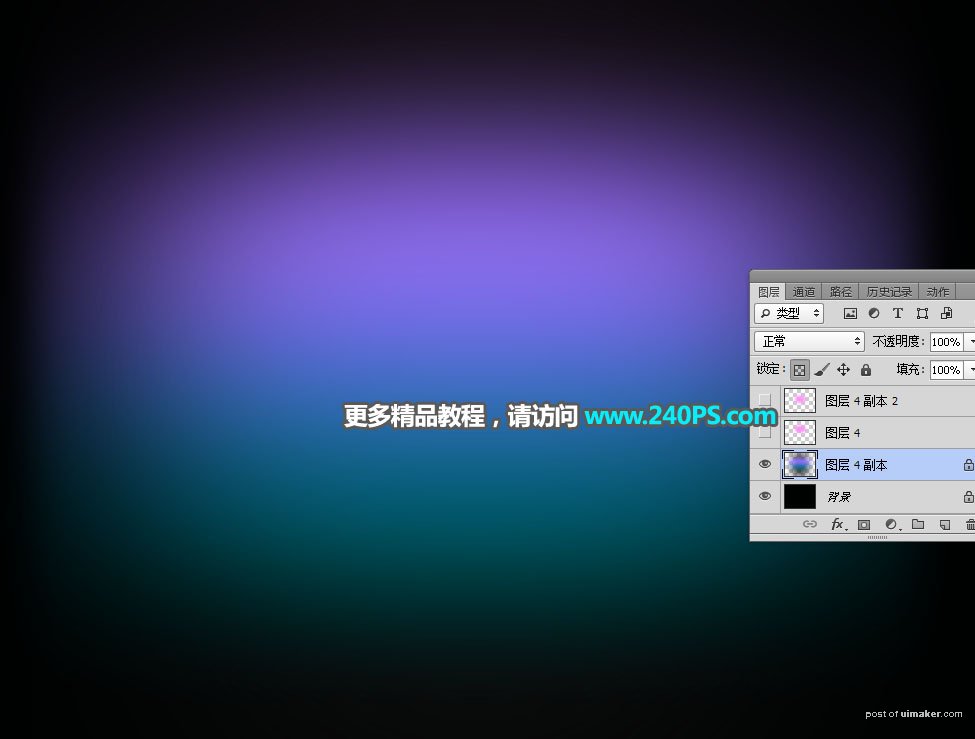
7、由上往下拉出下图所示的渐变,按Ctrl + D 取消选区。
8、点击组按钮,新建一个组,并命名为“内部”。

9、用椭圆选框工具,并按住Shift键拉出下图所示的正圆选区。