来源:网络 作者:Ziyoou
本教程主要使用Photoshop制作逼真的手绘涂鸦粉笔字教程,整体的效果非常的逼真,还留念当年上学的时候老师的粉笔字吗,今天就一起来学习吧。
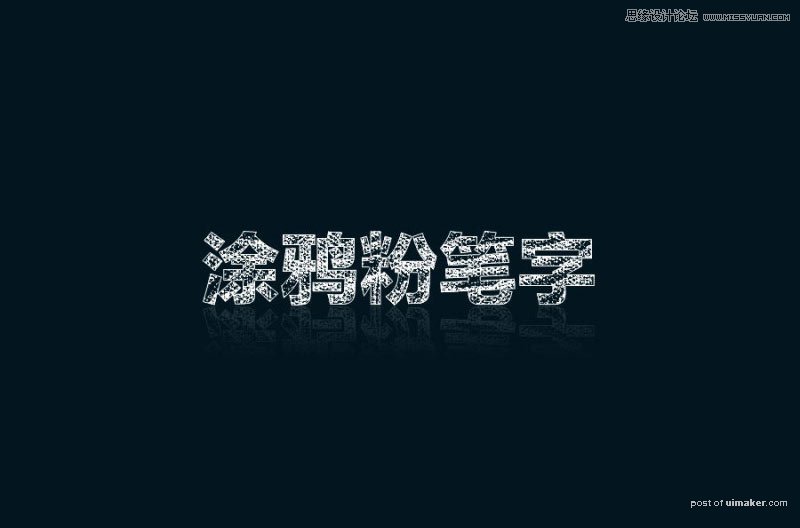
先看看最终效果图
学习一种方法,然后举一反三。
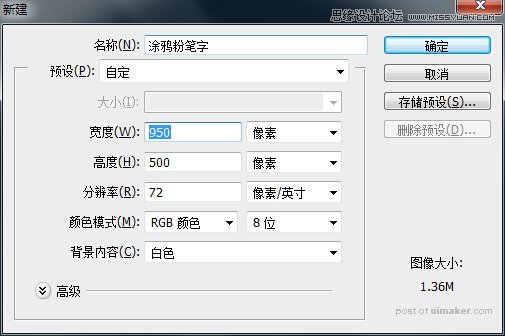
a.首先新建一个画布,950*500PX的画布,画布大小随你定,
分辩率就用72,记得只要是在网络上使用的都是设置72像素/英寸哦,然后填充一个暗点的颜色黑色,墨绿黑都行。
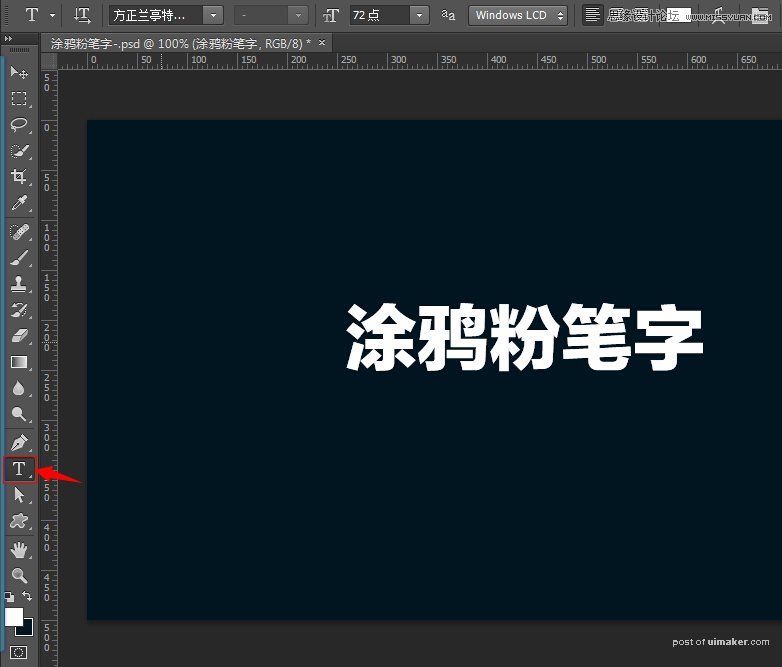
b.用字体工具输入你要的汉字,选择一款黑体字。这样看起来也符合粉笔字的特点。
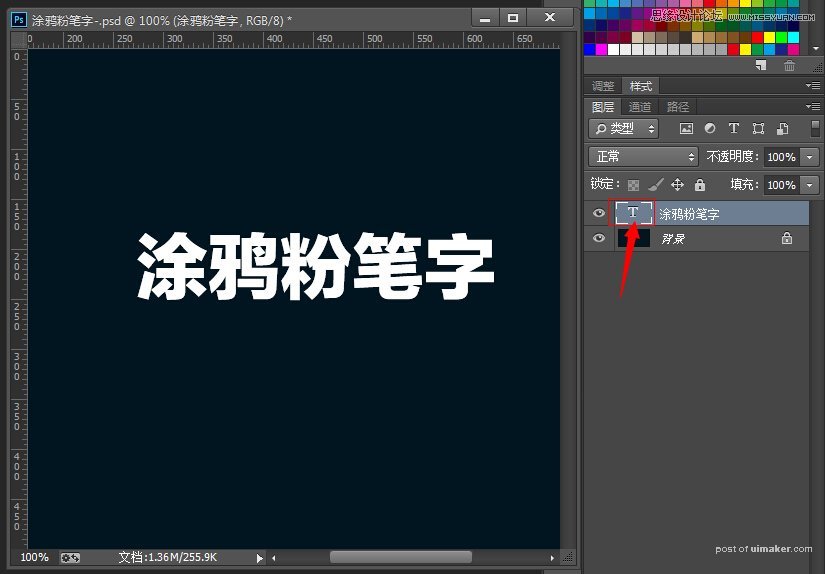
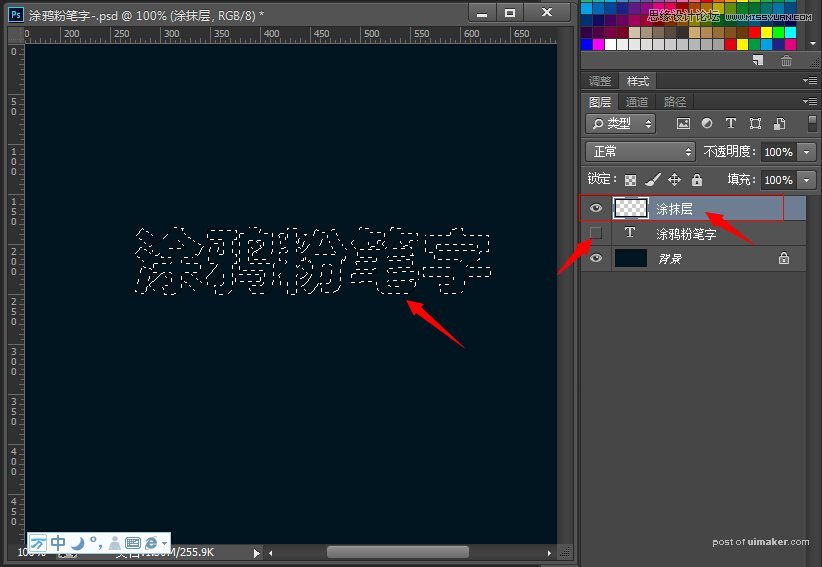
c.然后在字体层上按住CTRL键单击鼠标,把字体载入选区。如下:
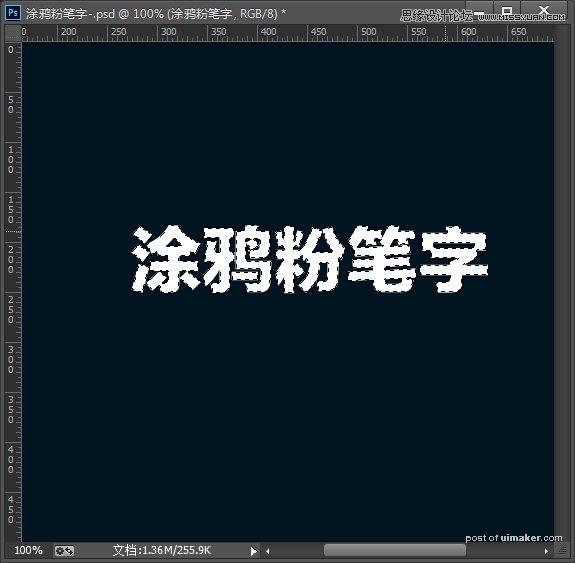
d.这时就可以看到汉字上的蚂蚁线了。