来源:网络 作者:Zhouyuling909

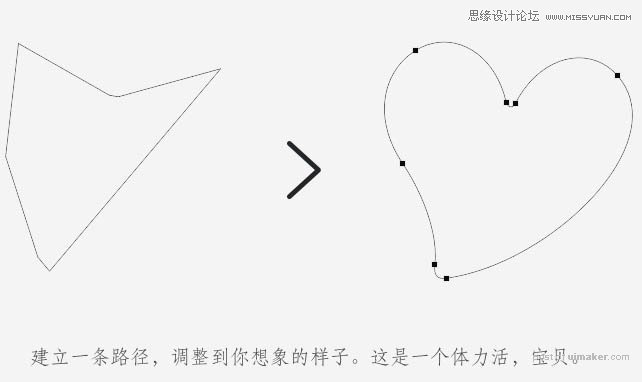
1、新建大小自定画布,新建一个图层,建立一条路径,调整到你想象的样子。这是一个体力活。
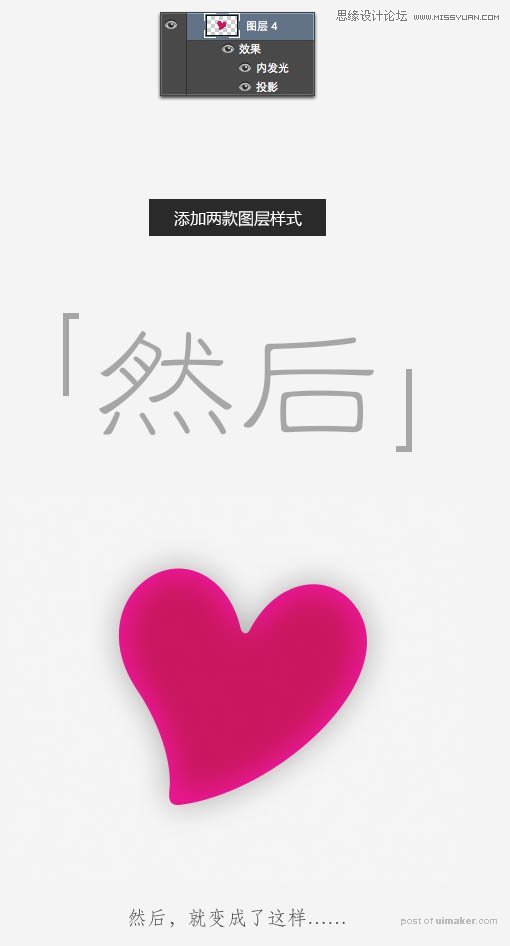
2、填充一款你喜欢的颜色。

3、给心形添加图层样式,设置内发光及投影,数值自定,效果如下图。
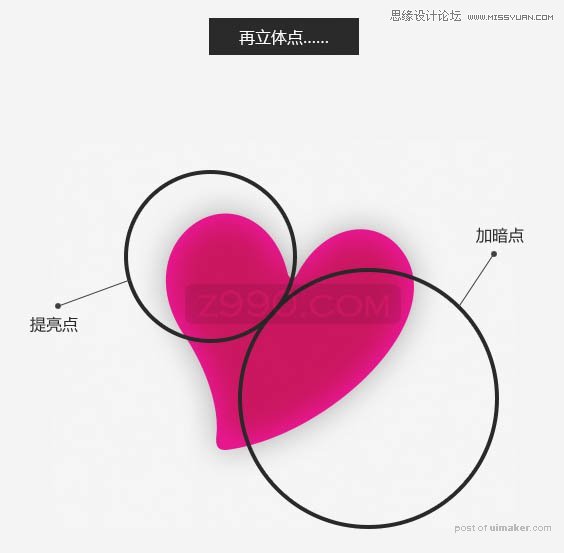
4、用减淡,加深工具把高光及暗部处理明显一点,如下图。
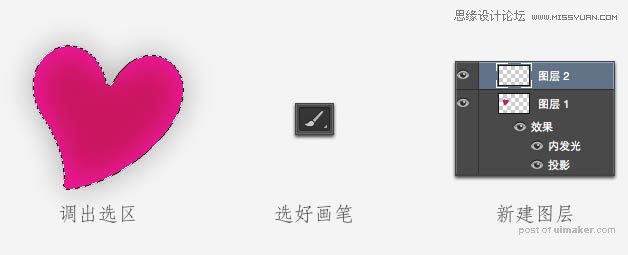
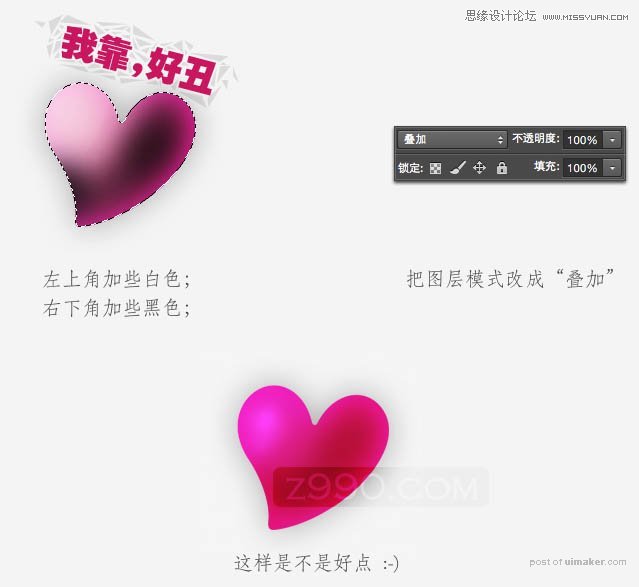
5、调出心形选区,选择画笔工具。再新建一个图层。
6、左上角加些白色,右下角加些黑色,然后把混合模式改为“叠加”,效果如下图。
7、新建图层,用钢笔工具在心形中间勾一些路径。

8、选择画笔工具,按F5调出预设面板,设置如下图。
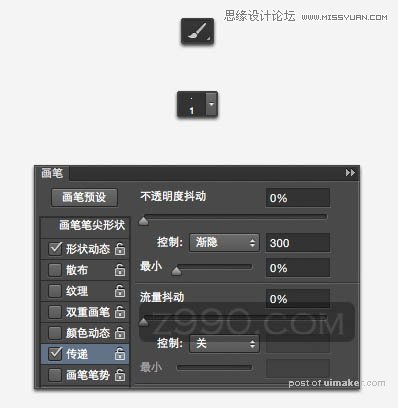
9、选择画笔,调整大小,然后选择钢笔工具右键选择“描边路径”,选择画笔,勾选模拟压力。