来源:网络 作者:Sener
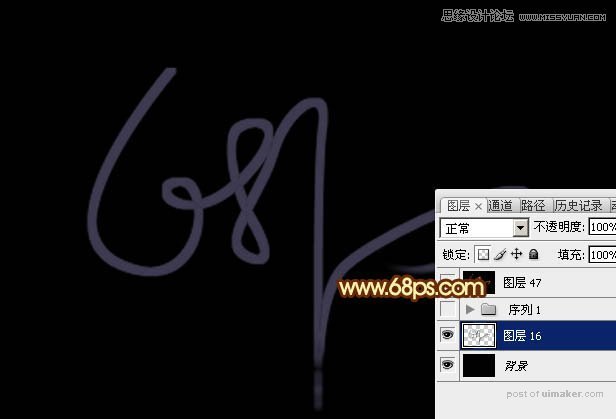
1、新建一个1250 * 850像素,分辨率为72的画布,确定后把背景填充黑色,如下图。
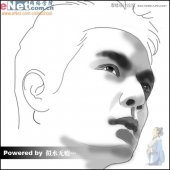
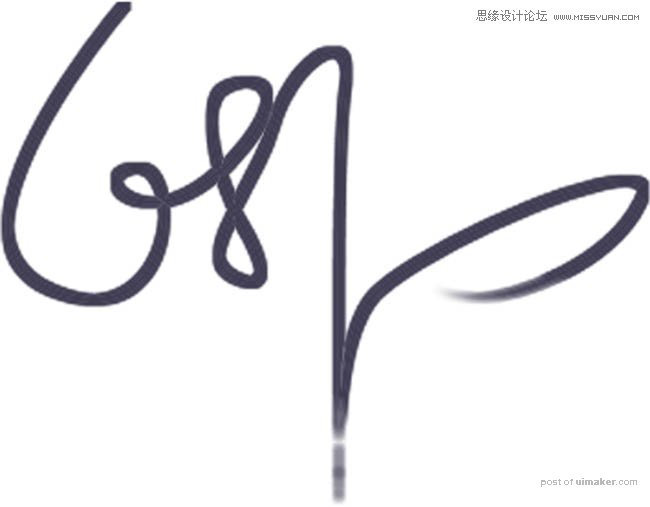
2、打开文字素材(可以使用自己想要的文字素材),拖进来,放到底部作为参考,如下图。
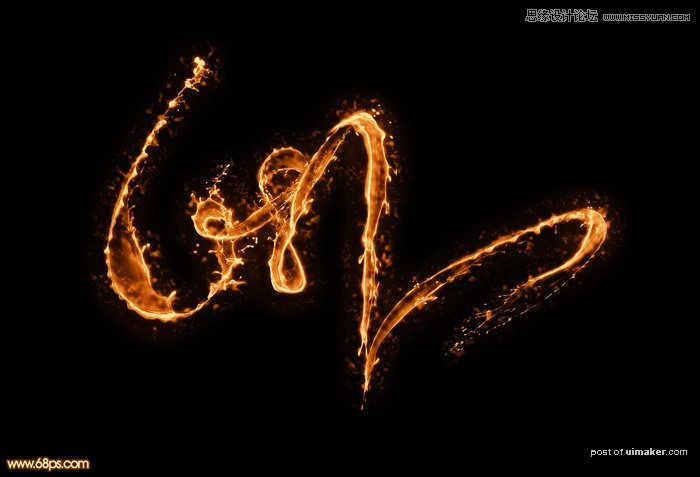
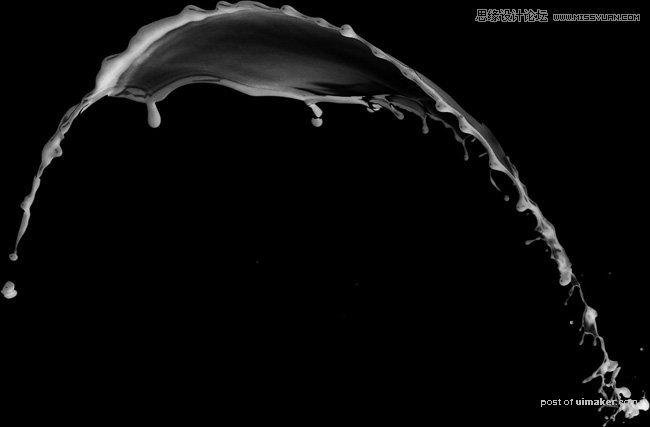
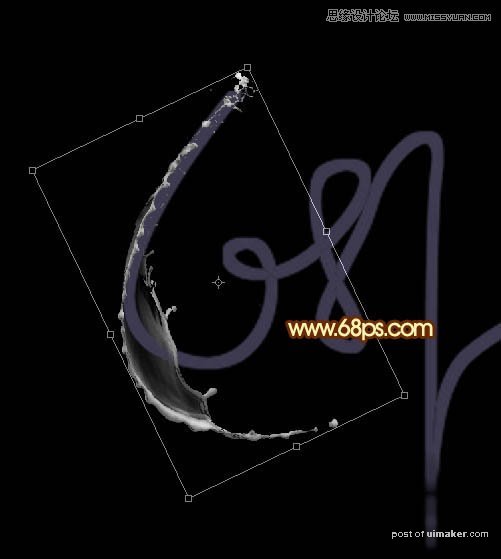
3、打开第一张喷溅uimaker.com/uimakerdown/">素材,拖进来,混合模式改为“变亮”,如图3。
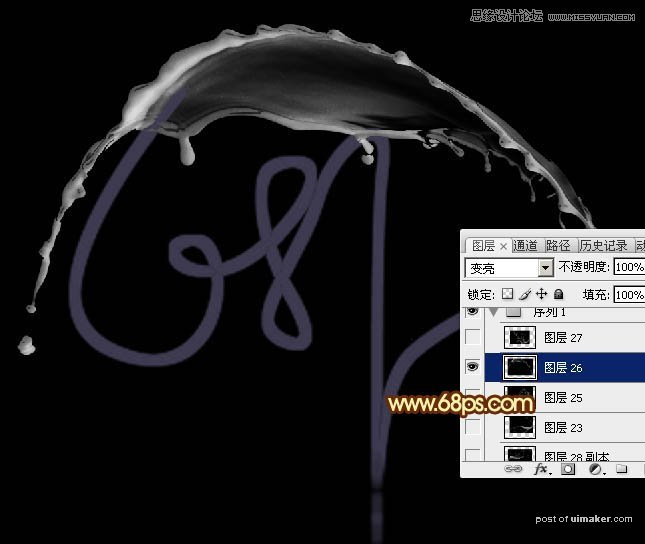
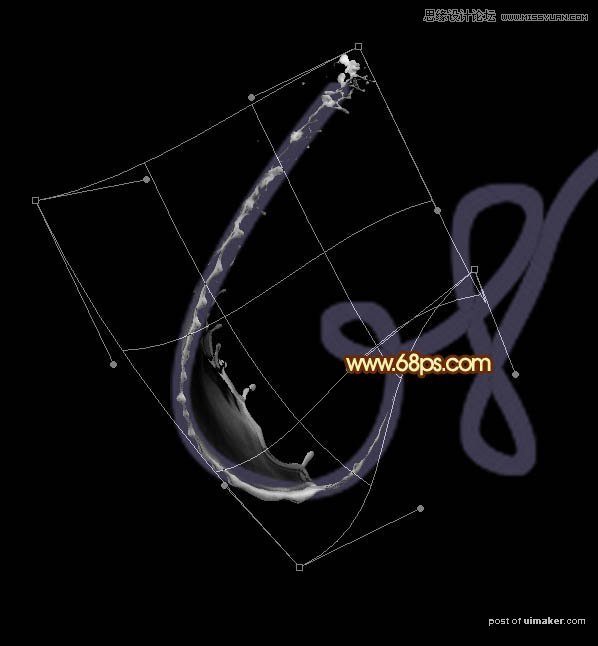
4、把素材图片复制一层,原图层隐藏,对副本进行操作,按Ctrl + T 对喷溅素材进行变形处理,先调整好大小及角度,如下图。
5、然后在方框内右键选择“变形”,如下图。
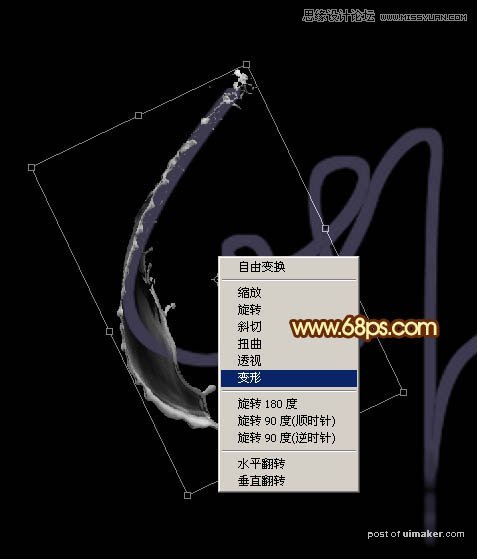
6、按照纹理的轮廓调整各节点,大致跟文字吻合即可,然后回车确定。