来源:网络 作者:梦灵妮子
分页
标题#e#
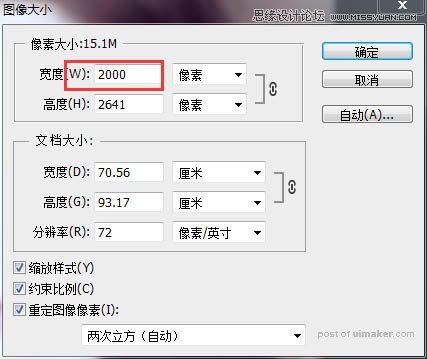
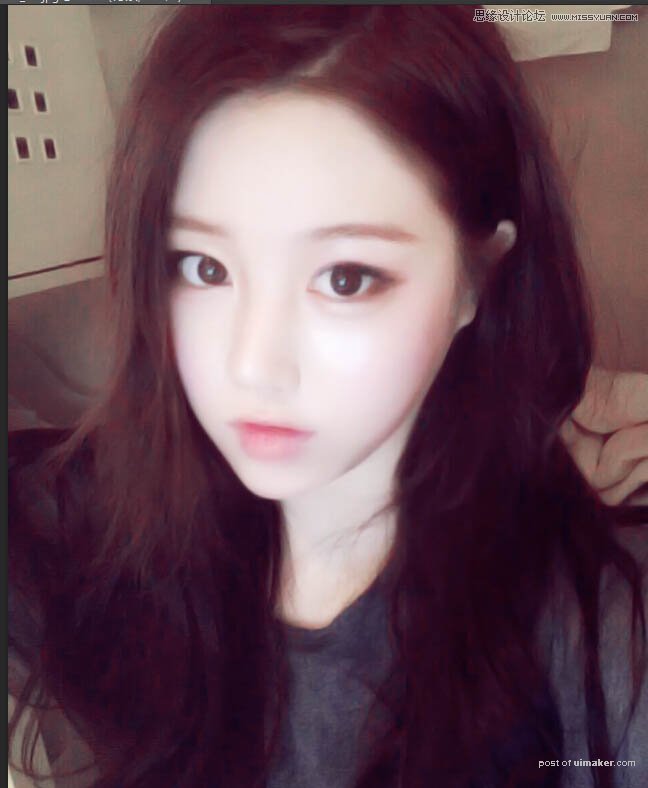
3、首先在上面工具栏里找到“图像”里面的“图像大小”,调2000-2500。
4、接着在“滤镜”里找到“杂色”选择“减少杂色”,不过好多人都喜欢选“中间值”,这个看个人吧。
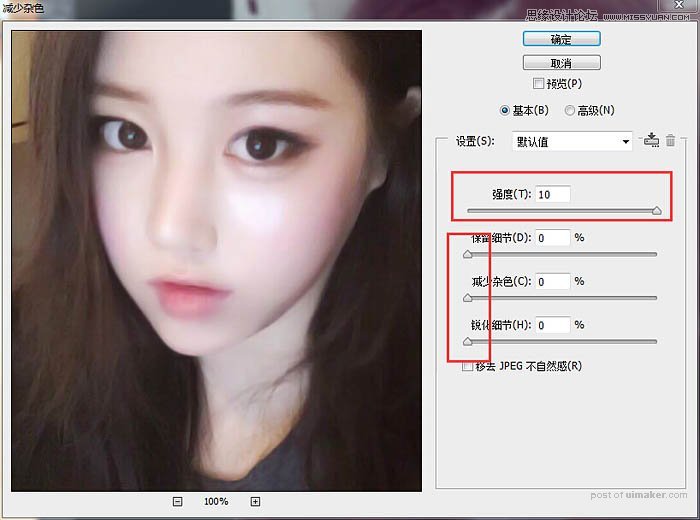
5、记得在背景图上来,不然那个“减少杂色”在图层上是没效果的。
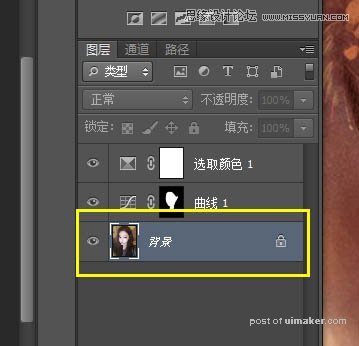
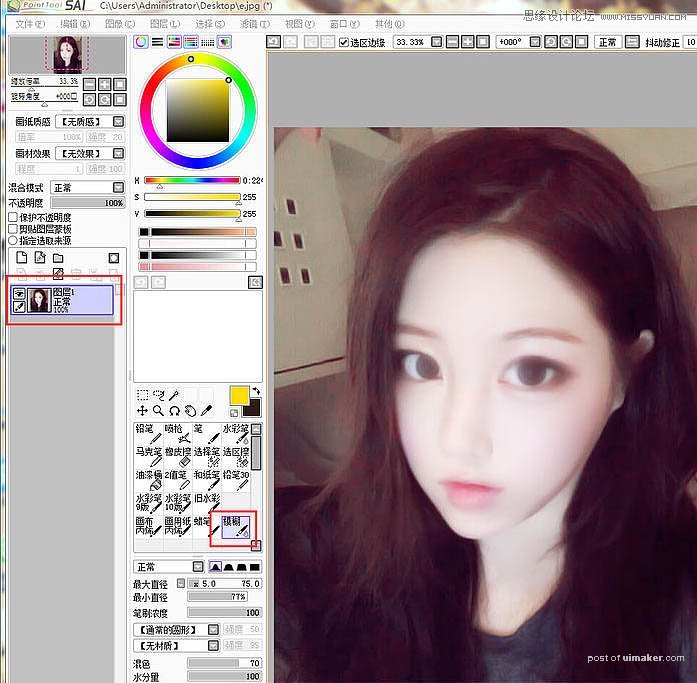
6、然后保存格式到桌面,然后打开sai,在sai里打开图片画。用“模糊”工具在原图上抹一下皮肤跟眼睛,处理一下就行,记得“笔刷浓度”调到100。
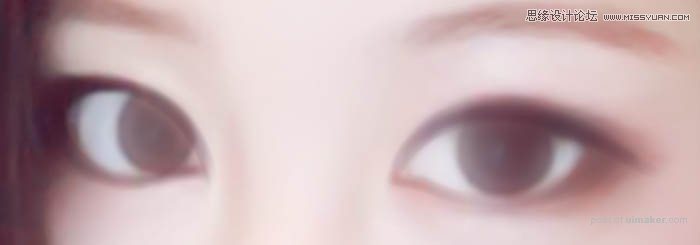
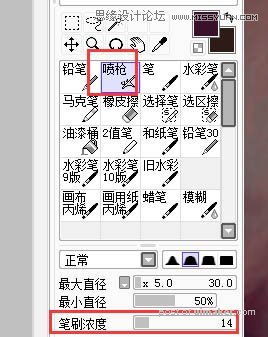
7、开始画眼睛,用喷枪,笔刷浓度调低点,大小看图调。
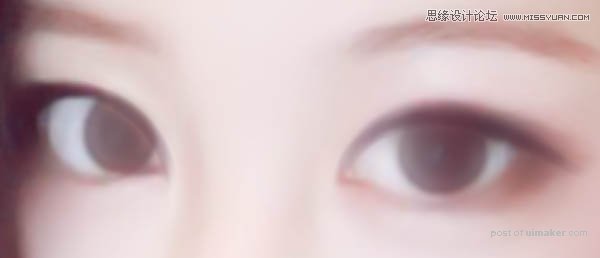
8、继续画眼脸。