来源:网络 作者:Sener
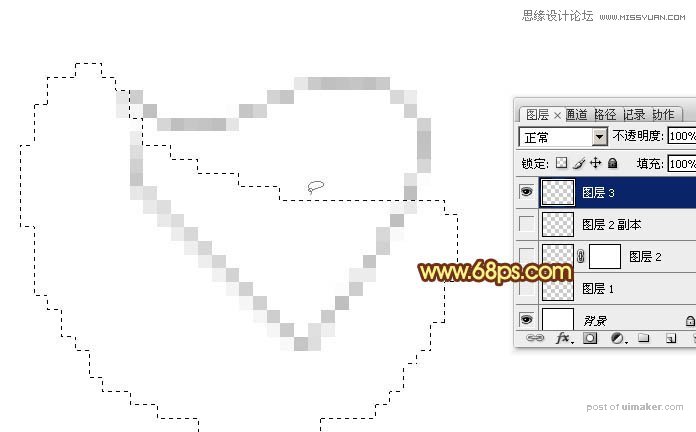
5、进入路径面板,点击面板下面中间的图标,把选区变成路径,效果如图9。
6、保持路径状态,返回图层面板,新建一个图层,如下图。
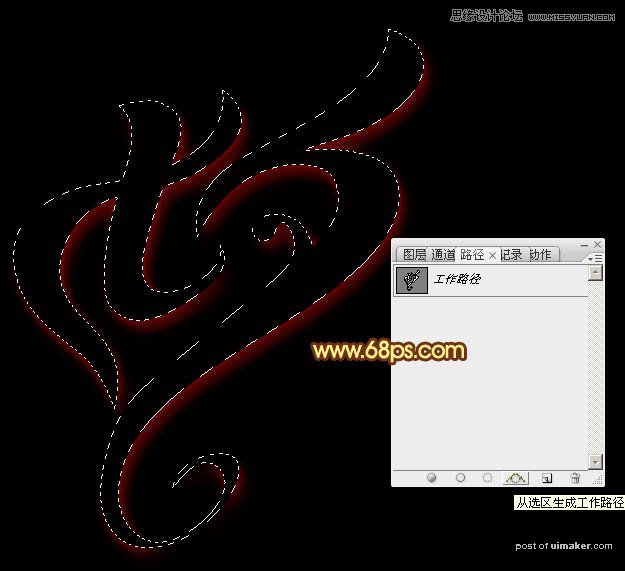
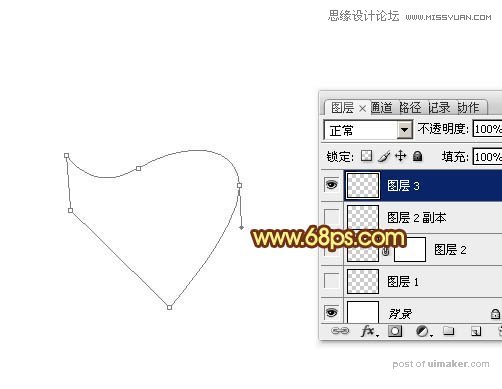
7、现在我们来定义一款笔刷。新建一个500 * 500像素,分辨率为72的画布,背景选择白色。新建一个图层,把画布放大到800%左右,然后用钢笔工具勾出下图所示的闭合路径。
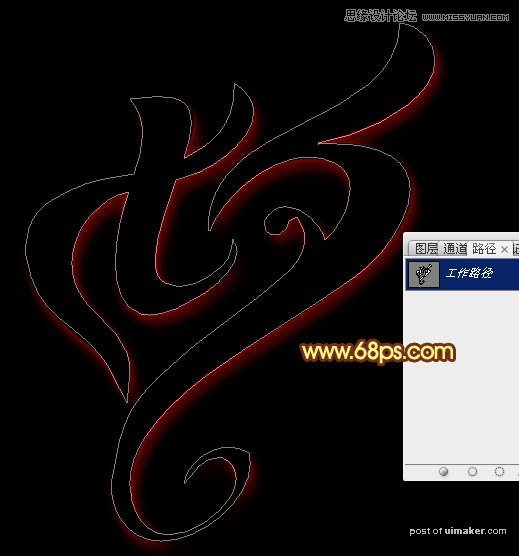
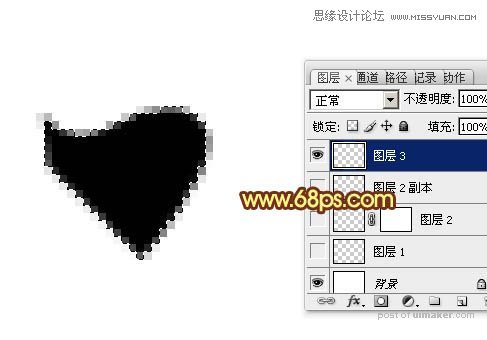
8、按Ctrl + 回车把路径转为选区,用油漆桶工具填充黑色,不要取消选区,效果如下图。
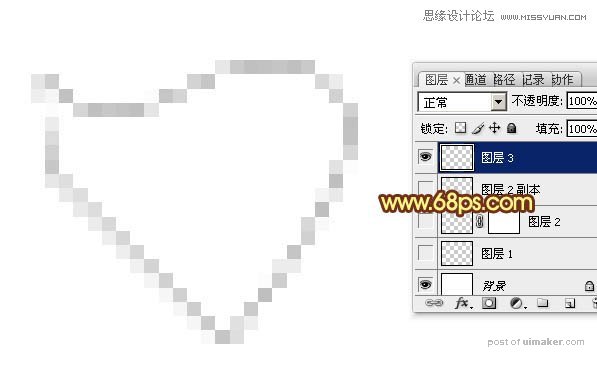
9、按Delete键删除,按Ctrl + D 取消选区,得到下图所示的效果。
10、用套索工具勾出下图所示的选区。