来源:网络 作者:Sener

原图

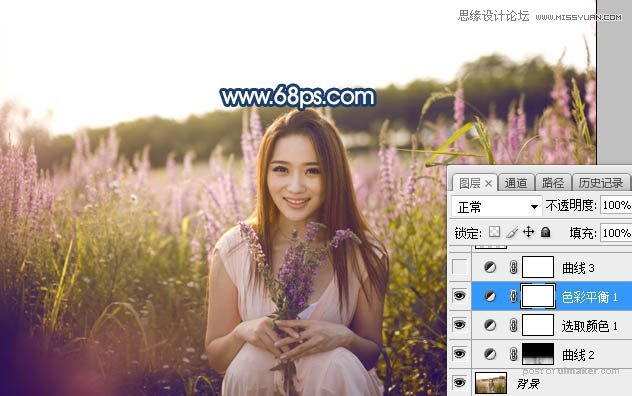
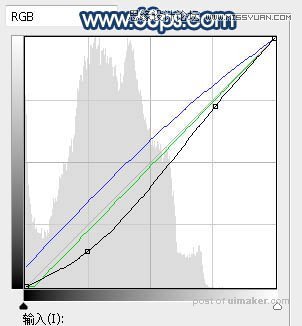
1、打开原图uimaker.com/uimakerdown/">素材大图,创建曲线调整图层,对RGB、绿、蓝通道进行调整,参数设置如图1,确定后把蒙版填充黑色,然后用透明度为:10%的柔边白色画笔把图片底部区域涂出来。这一步把图片底部区域压暗,并增加蓝色。

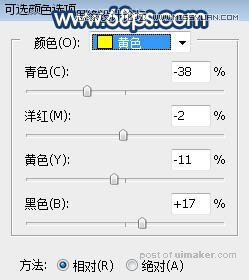
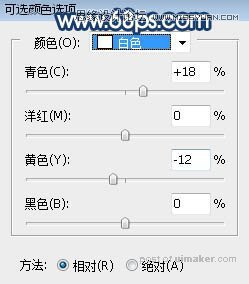
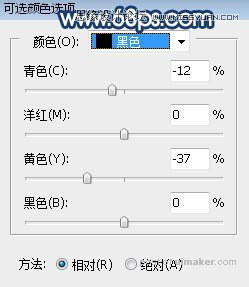
2、创建可选颜色调整图层,对黄、白、黑进行调整,参数设置如图3 - 5,效果如图6。这一步给图片增加橙红色,暗部增加蓝色。
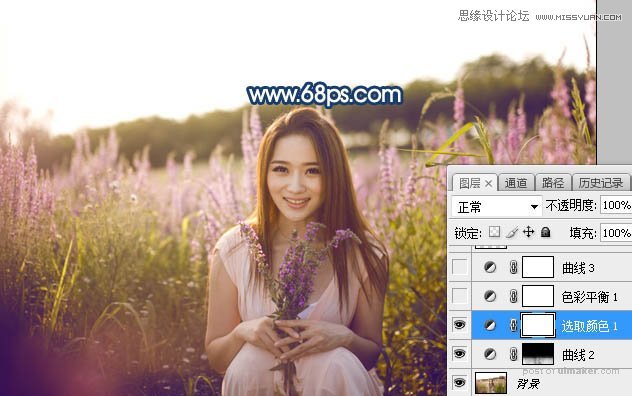
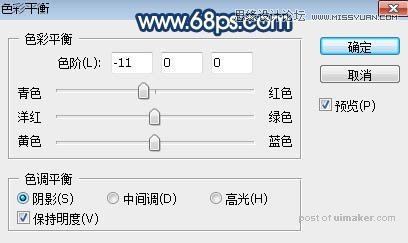
3、创建色彩平衡调整图层,对阴影进行调整,参数设置如图7,效果如图8。这一步减少图片暗部区域红色。