来源:网络 作者:昀恒

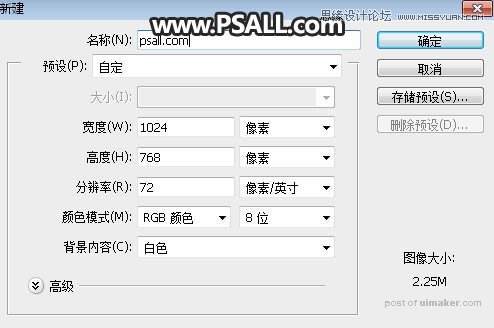
1、新建画布。打开PS软件,按Ctrl + N 新建,,尺寸如下图,然后确定。
2、增加背景。在工具箱选择渐变工具,然后点击渐变色设置渐变,如下图;设置好后选择“径向渐变”。

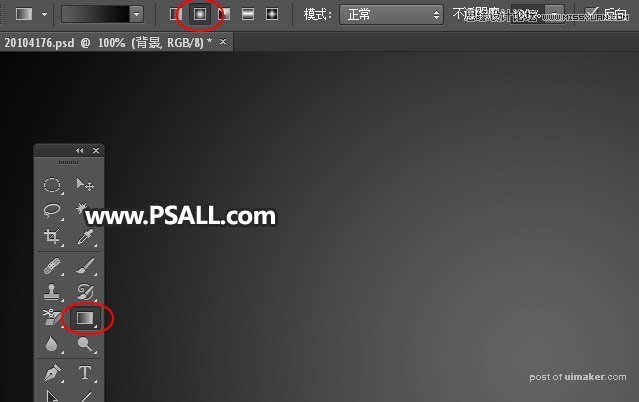
3、由画布的中心向边角拉出下图所示的径向渐变作为背景。

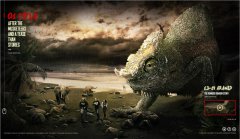
4、导入文字。把下面的文字uimaker.com/uimakerdown/">素材保存到本机,用PS打开后用移动工具拖进来,并调整好玩位置。


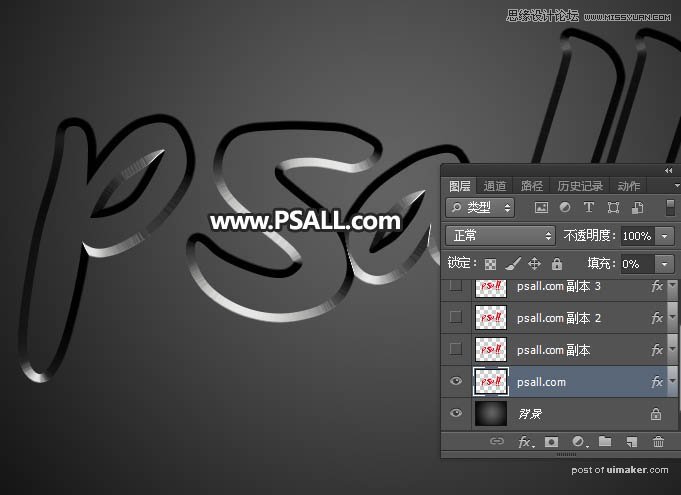
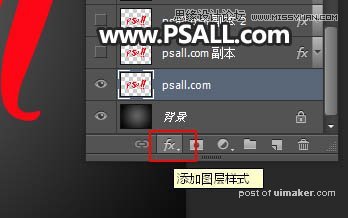
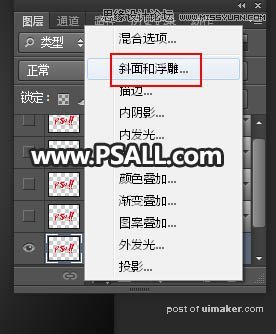
5、设置图层样式。点击图层面板下面的添加图层样式按钮,然后选择“斜面和浮雕”。
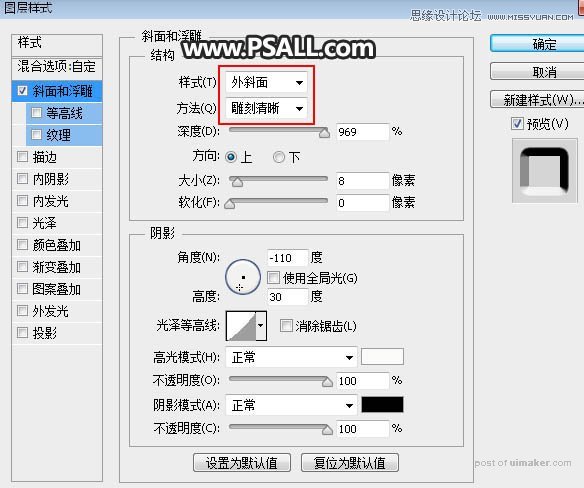
斜面和浮雕:
6、确定后把填充改为0%,如下图。