来源:网络 作者:昀恒

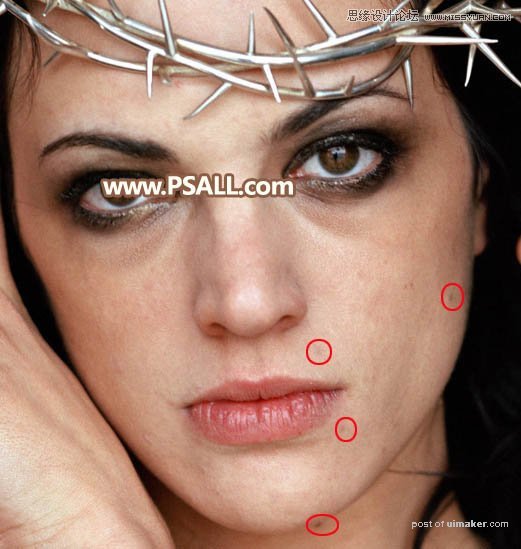
原图

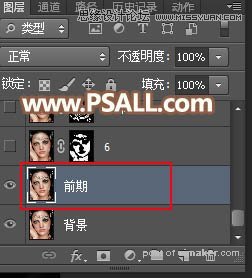
1、前期处理。打开原图uimaker.com/uimakerdown/">素材,按Ctrl + J 把背景图层复制一层,并命名为“前期”,如下图。
2、在工具箱选择“修复画笔工具”,属性设置如下图。

3、现在来消除较大的痘痘。如下图,在痘痘附近的正常肤色区域按住Alt键 + 鼠标左键点击取样,松开Alt键后调节笔触的大小,然后在痘痘上面点击一下去除痘痘。

4、其它几个较大的痘痘也是同样的方法去除,如下图。
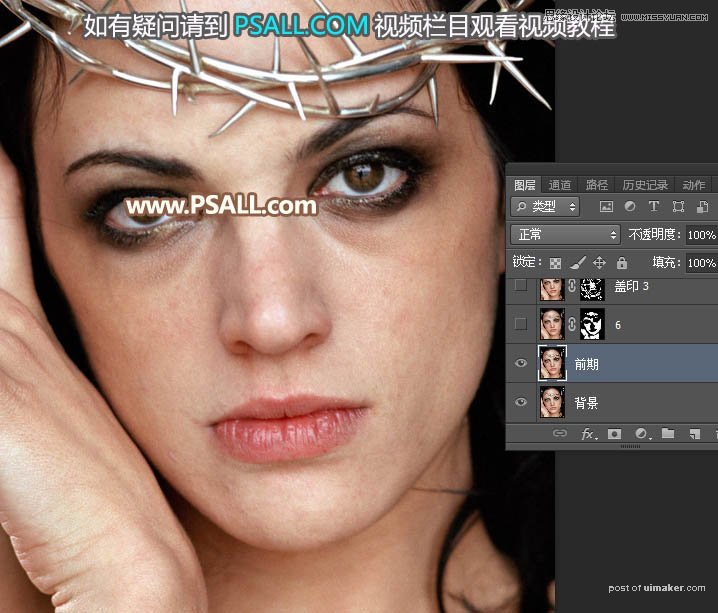
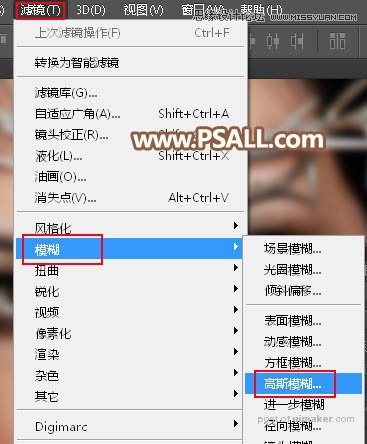
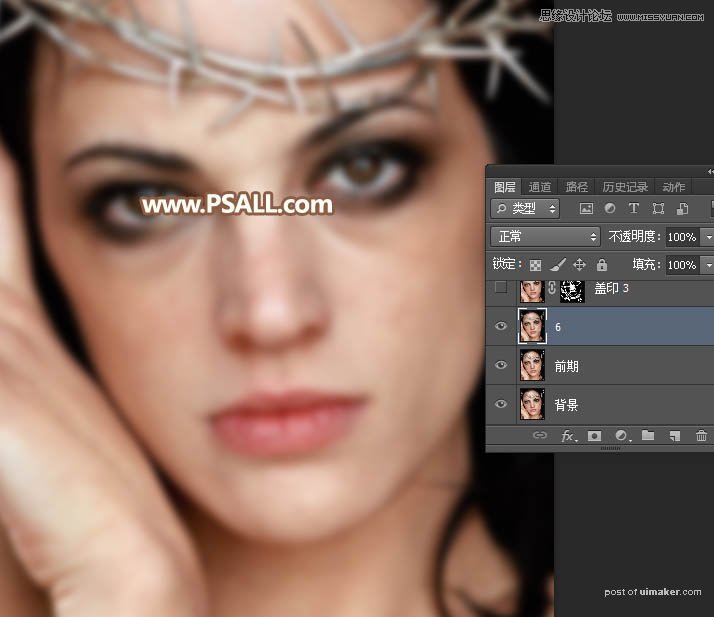
5、光滑磨皮。按Ctrl + J 把当前图层复制一层,然后选择菜单:滤镜 > 模糊 > 高斯模糊,半径设置为6,如下图。