来源:网络 作者:卡乐筠
uimaker.com/uimakerdown/">素材:

教程开始
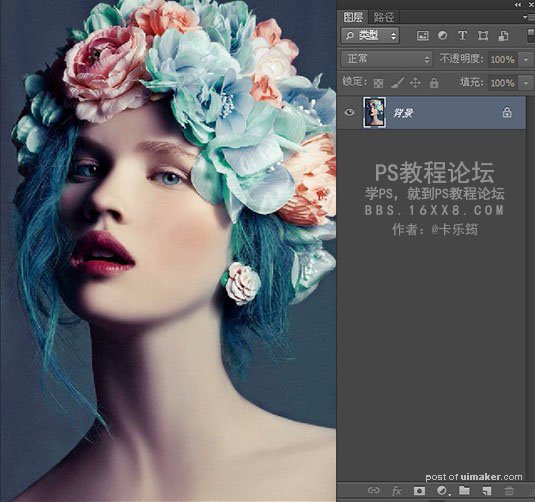
1、打开上面的素材
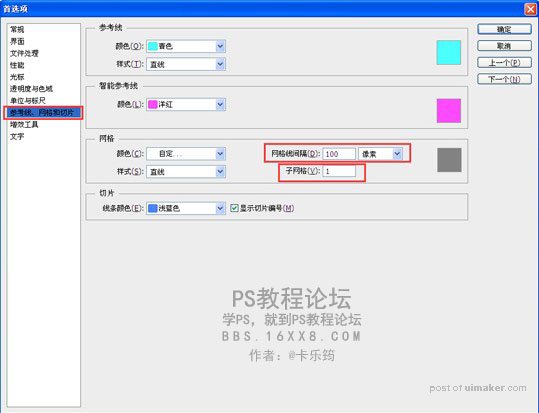
CTRL+K打开首选项(或编辑菜单~首选项)找到参考线、网格和切片,设置风格线间隔为100像素,子网格为1(数值的设定:因为我的背景是1200像素X1800像素的,所以风格间隔为100像素保证了每个格子都是正方形的。因为各种图片都不相同,所以根据自己的图片情况来,也可以将图片裁剪成正方形,网格线间隔设置成10成分经,,这样出来的格子也都是正方形。)
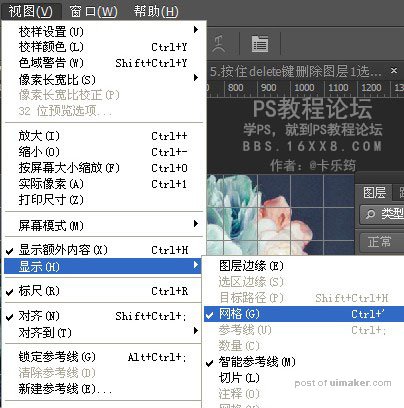
2、若是没有网格显示,可以打开视图菜单~显示~勾选上网格即可。
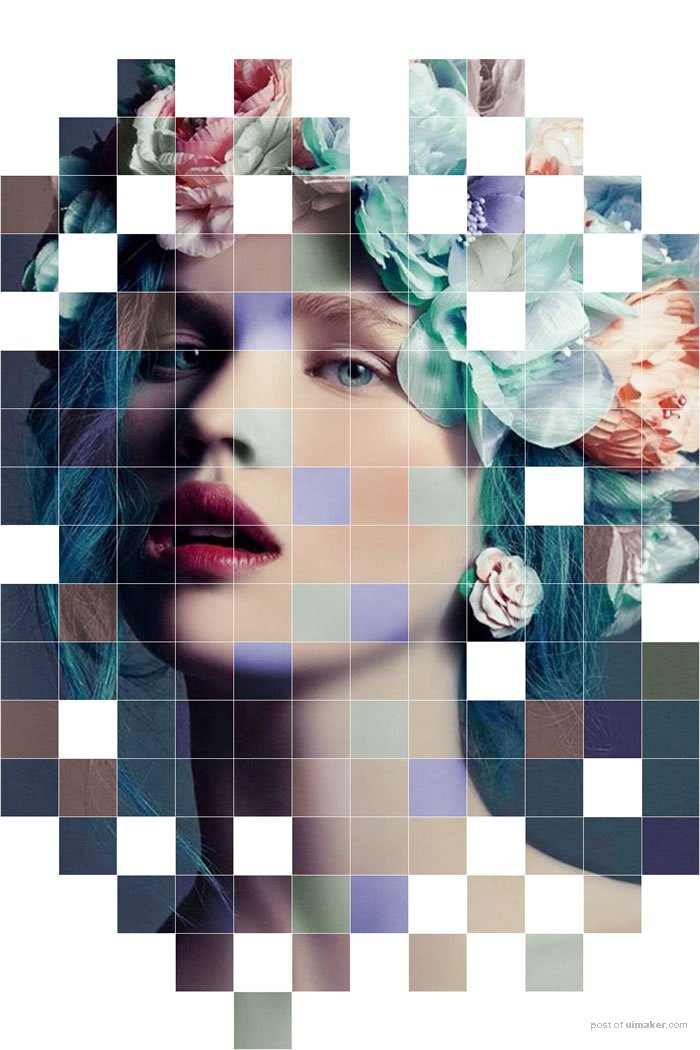
效果