来源:网络 作者:kylin

步骤1
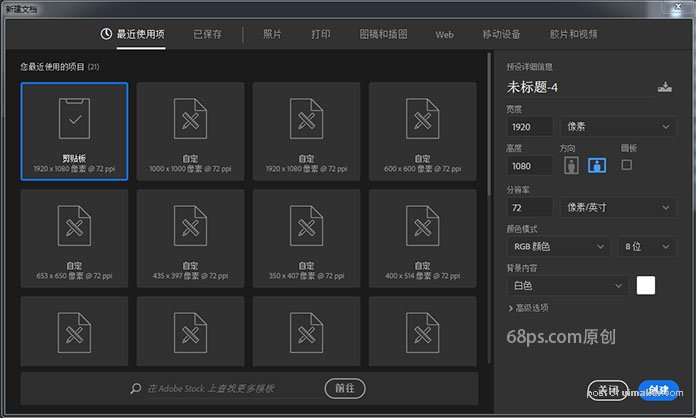
我们新建或Ctrl+N,创建1000 x 1000像素大小的新文件 。
步骤2
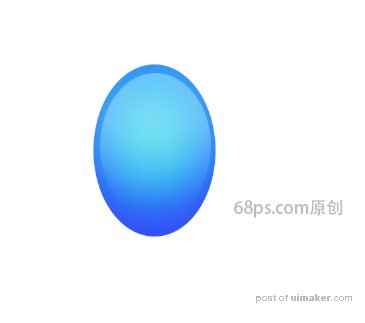
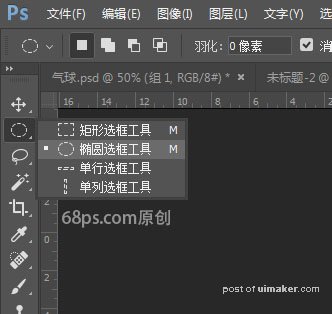
转到图层面板,新建图层,命名椭圆1。用椭圆选框工具在画布上画一个椭圆。

步骤3
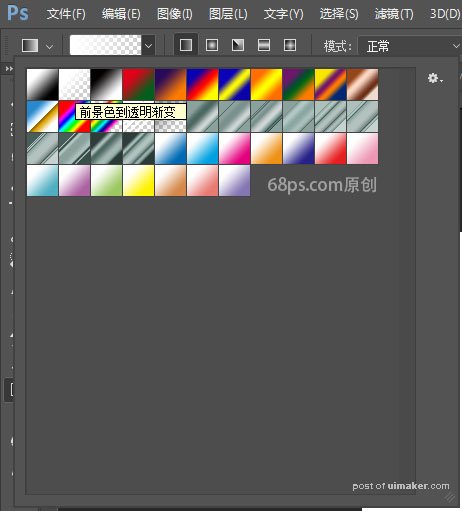
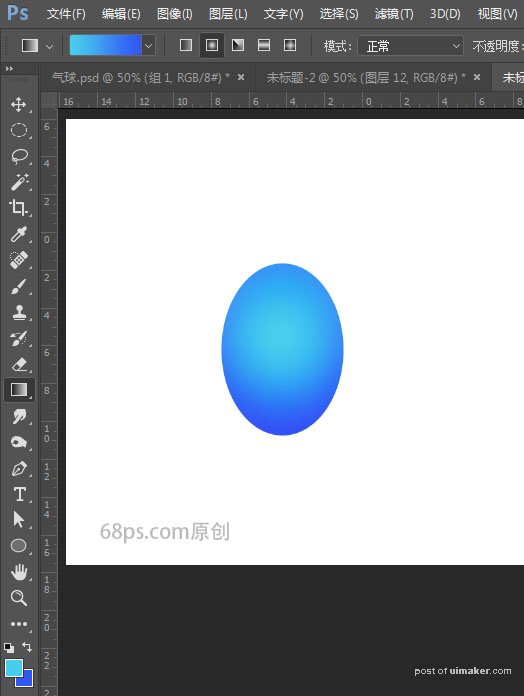
选前景色为 #47cded, 背景色#3156f6,选浙变工具中的径向浙变,在选区中心往下拉浙变。
步骤4
转到图层面板,新建图层,名椭圆2。用椭圆选框工具在画布上画一个椭圆,这个圆比第一次画的椭圆要小一些,按快捷键D将前景色和背景色变成黑、白,按快捷键X进行转换使前景色为白色。
选浙变工具中的线性浙变,浙变中选前景色到透明浙变,从上往下拉浙变。转到图层面板,改模式为柔光,不透明度90%。