来源:网络 作者:AMNY_神医

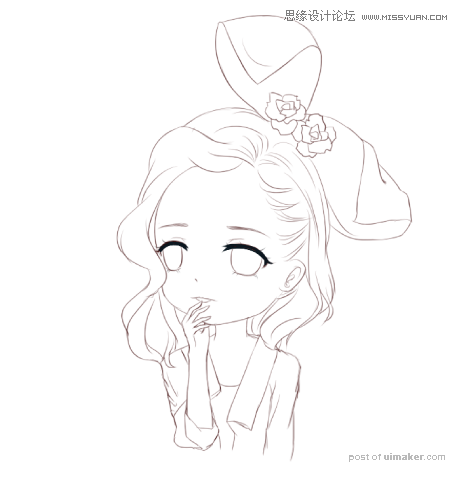
原图:
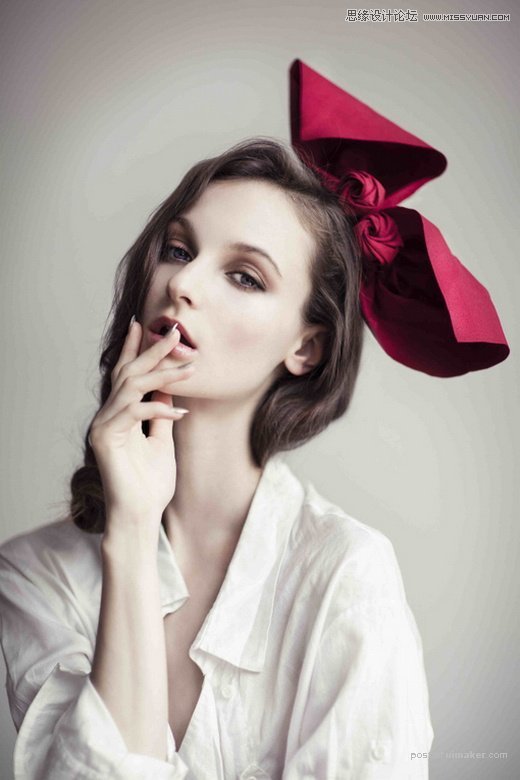
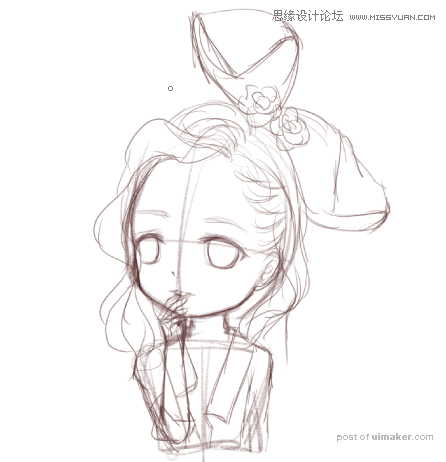
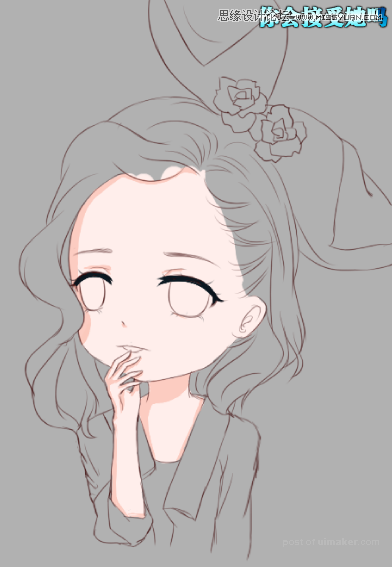
软件是sai,板绘,这些不用多说了,然后先根据照片,打出大概的草稿。
第二步就是描出线稿啦,我描线稿用的是自己调的笔刷。
线稿笔刷设置
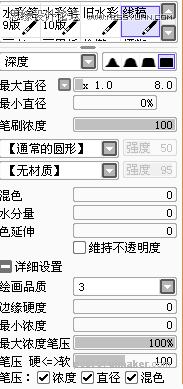
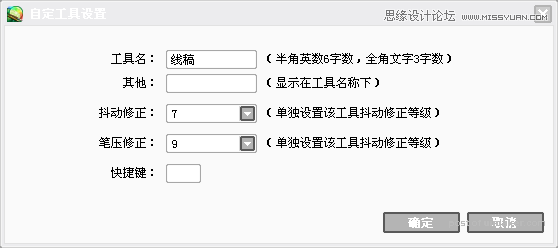
ps:右键笔刷点击设置会弹出这个,这里面的抖动修正和笔刷修正建议开5~7,不要开高了,不然线条会偏离到外太空。
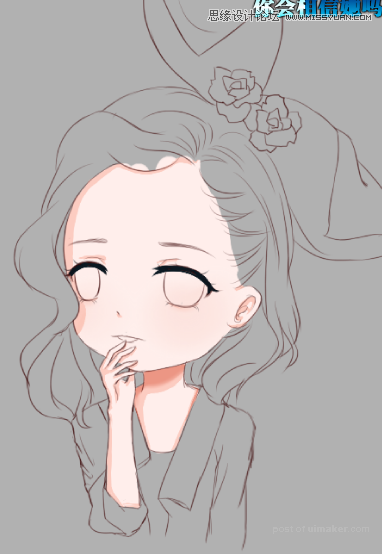
第三步:脸的上色,先上好底色,上色之前新建一个图层在最下面,用油漆桶倒一个不怎么鲜艳的眼神,好保护眼睛。
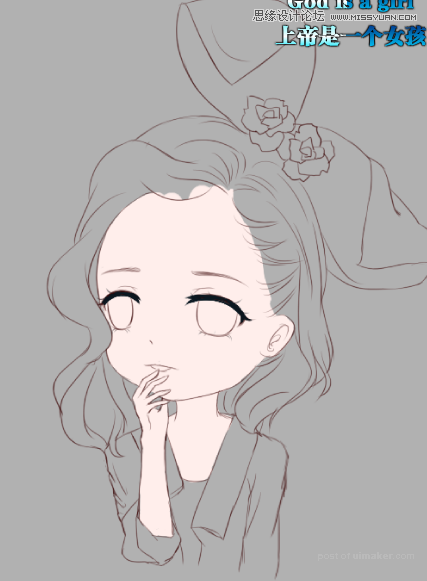
用偏红一点的颜色画阴影,一般头发遮挡和脖子的下面都会有阴影【废话】
新建一个图层,用更深一点的颜色上第二层阴影【一般都是脖子下面】
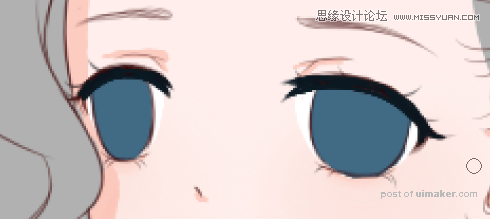
眼睛的话比较简单,先铺好底色