来源:网络 作者:kylin
步骤1
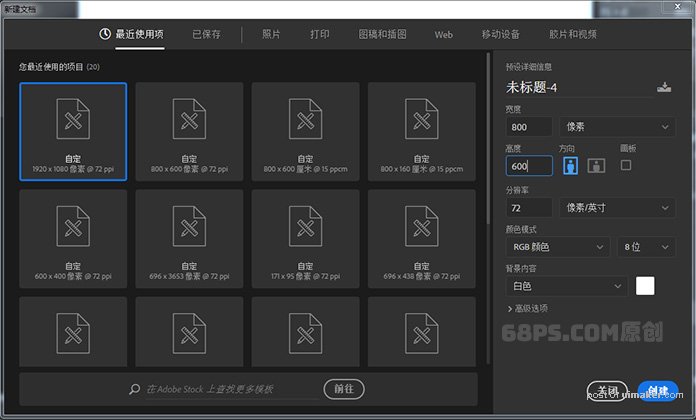
我们新建或Ctrl+N,创建800x 600像素大小,分辨率72像素/英寸,RGB颜色,8位,背景内容为白色的新文件 。大小也可以根据需要自己设定。
步骤2
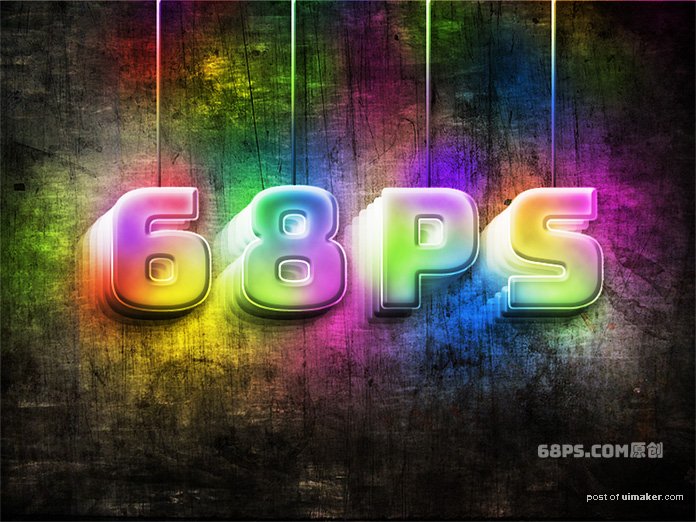
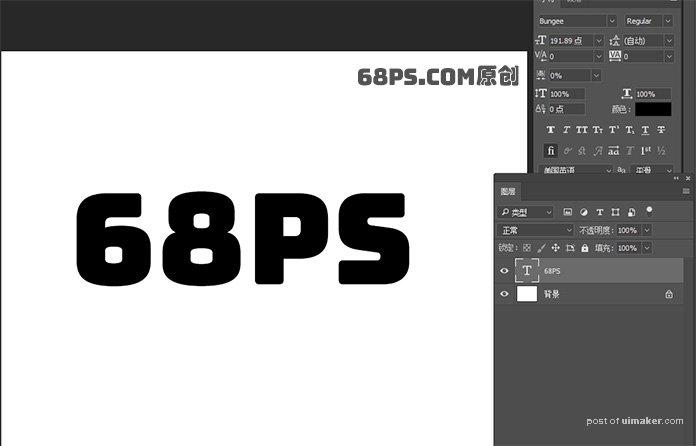
选择文字工具(T),输入文字 ,调整字的大小、间距、字体。我用的字体是Bungee。
步骤3
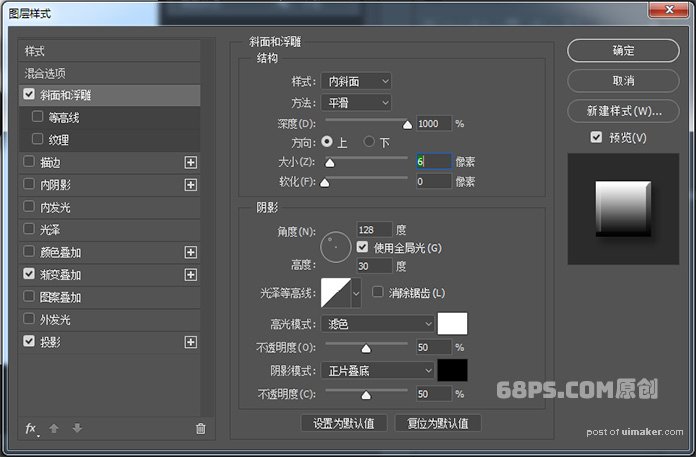
转到图层-图层样式,使用以下设置添加斜面和浮雕 :
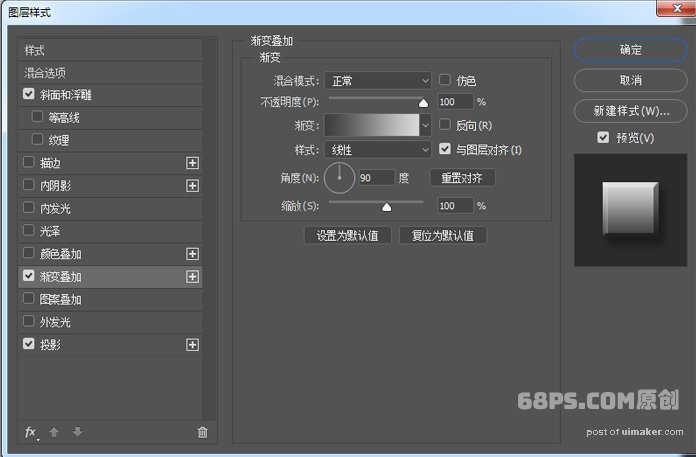
使用以下设置浙变叠加 :
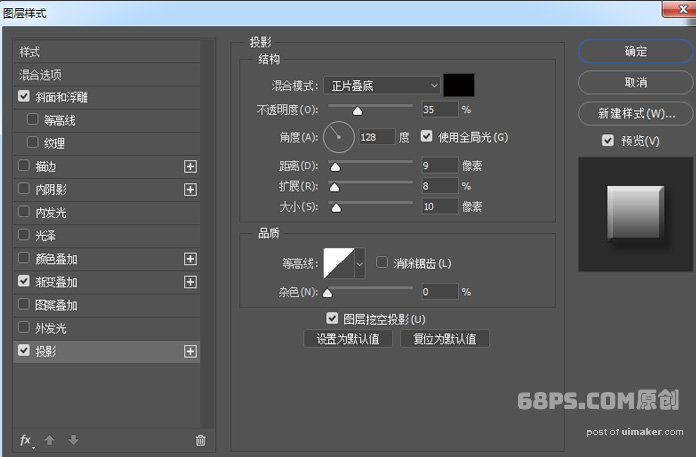
使用以下设置投影 :
步骤4
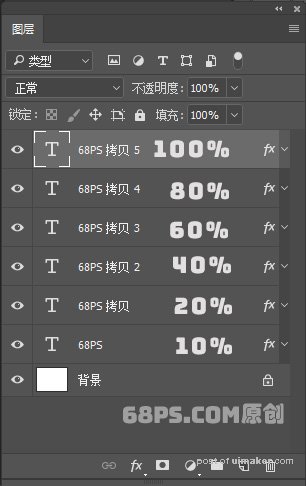
Ctrl+J复制文字图层5次,把每个图层的不透明度分别设为100%,80%,60%,40%,20%,10%。