来源:网络 作者:昀恒
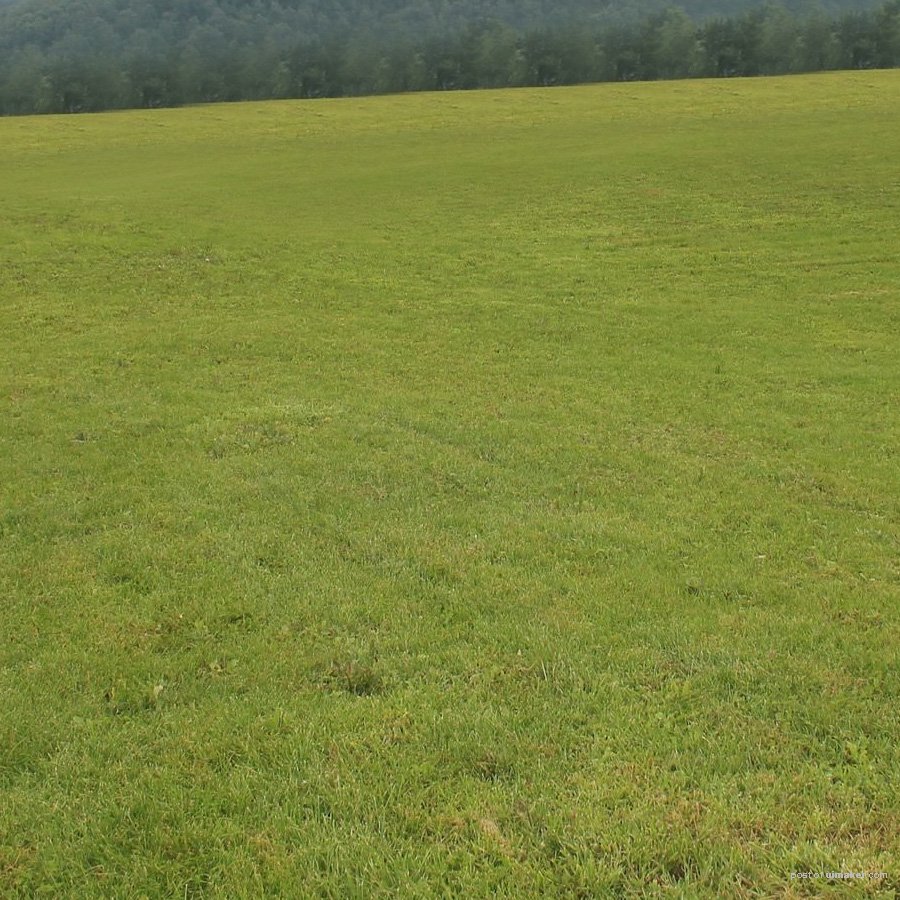
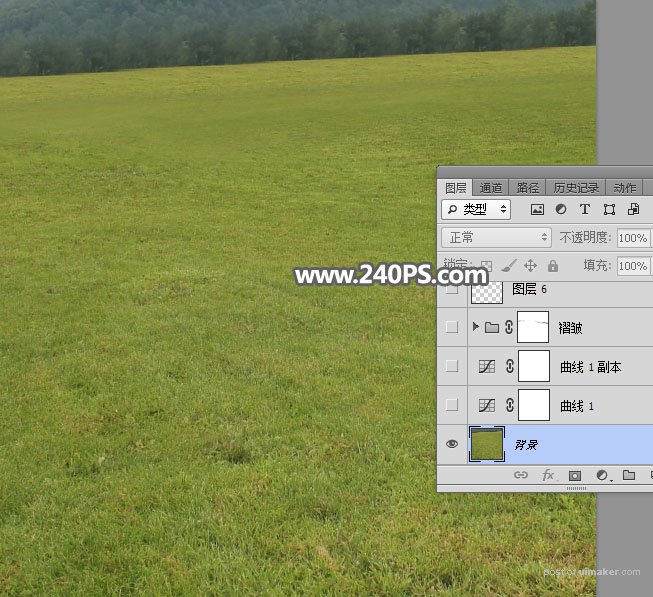
1、首先把下面的草地素材保存到本机,打开PS软件,再打开保存的草地素材。
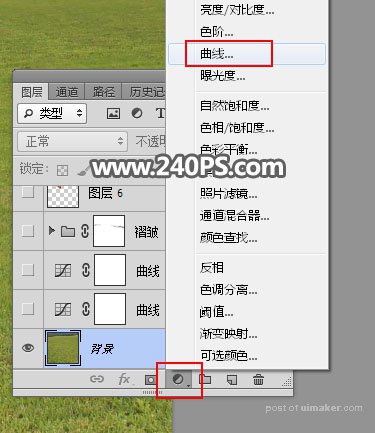
2、点击图层面板下面的“创建新的填充或调整图层”按钮,选择“曲线”。
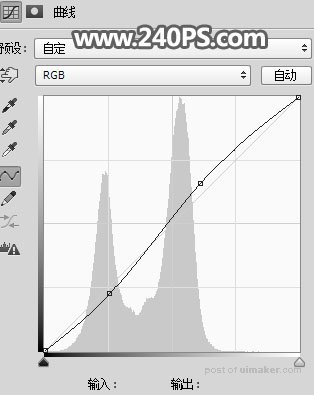
3、增加RGB通道明暗对比,参数及效果如下图。

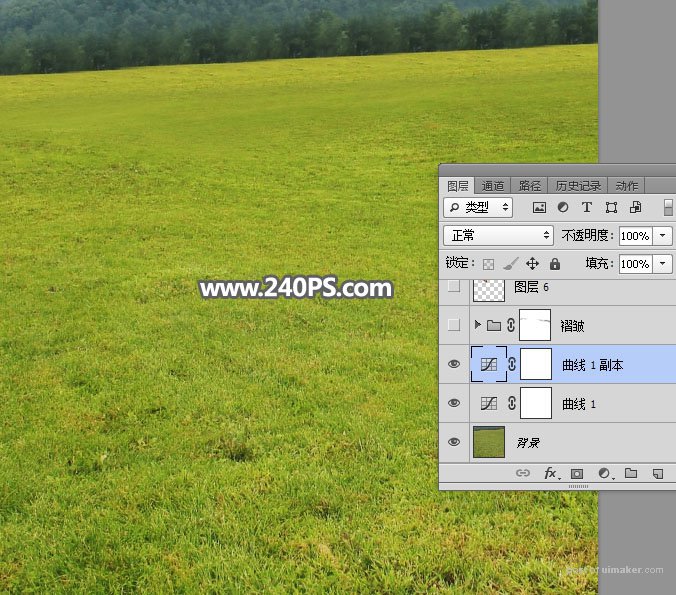
4、按Ctrl + J 把当前曲线调整图层复制一层,效果如下图。
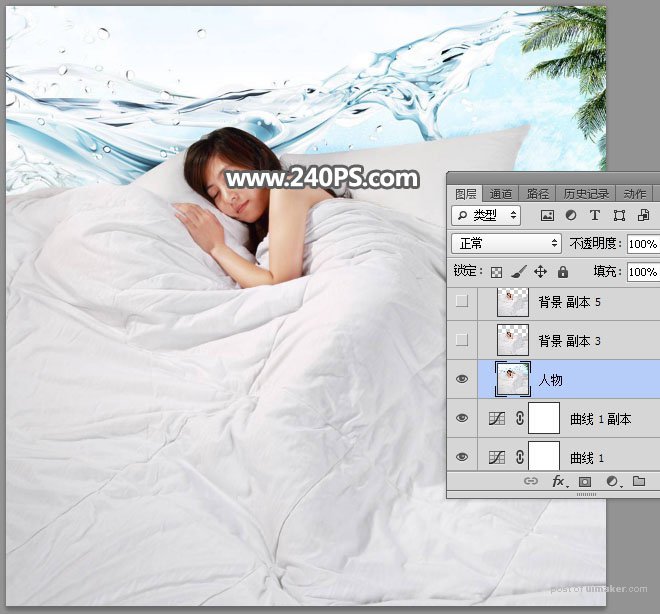
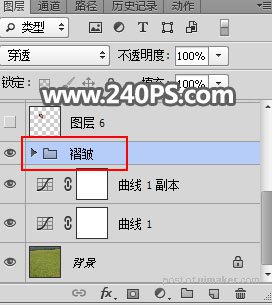
5、新建一个组,命名为“褶皱”,如下图。
6、把下面的人物uimaker.com/uimakerdown/">素材保存到本机,再用PS打开,,用移动工具拖进来。

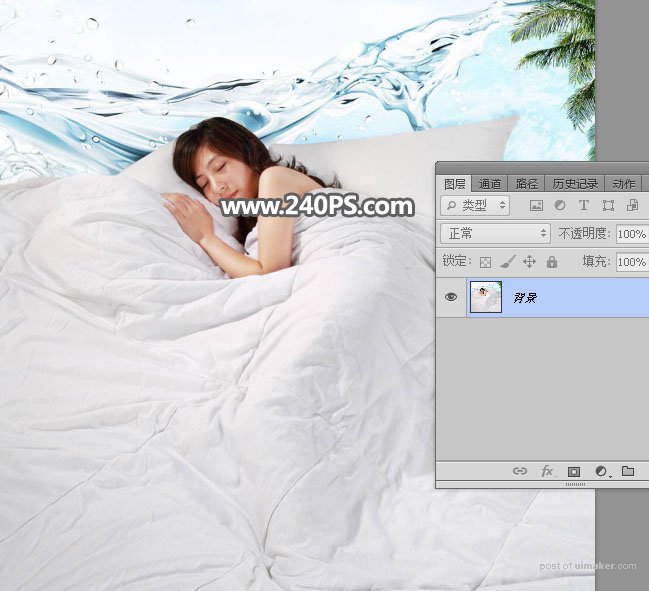
7、人物素材与背景素材尺寸一致,调整两张素材重合,如下图。然后把人物素材复制一层,把原图层拖到组里面,副本图层隐藏。