来源:网络 作者:谷风摄影
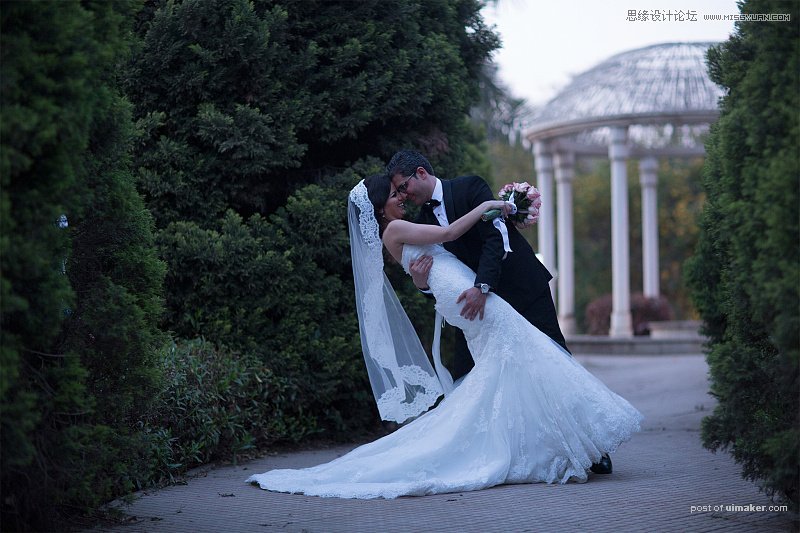
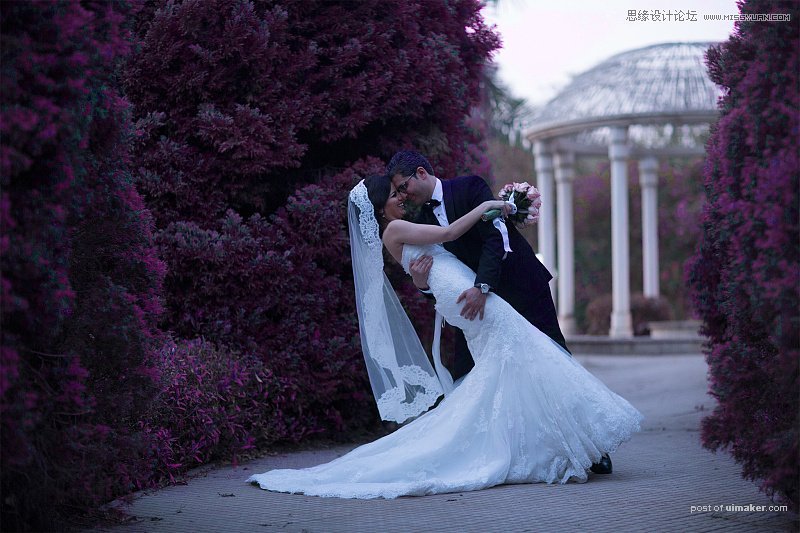
效果图
步骤演示
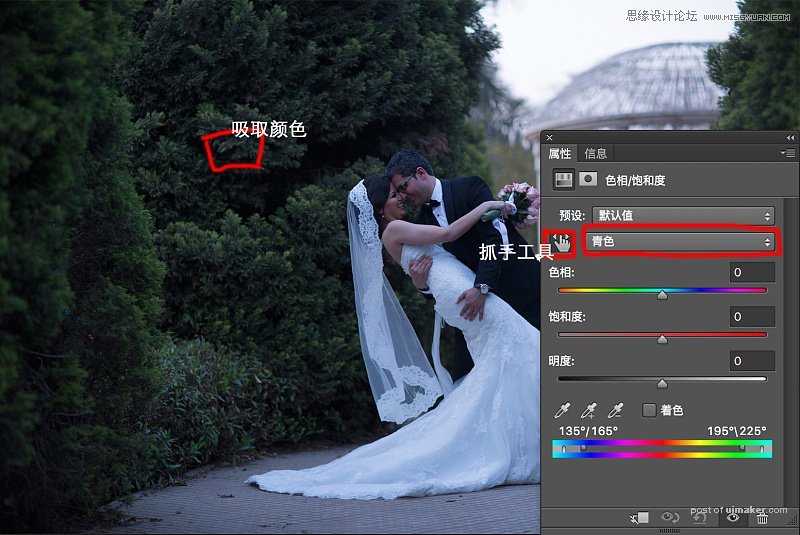
1、选择“色相饱和度”工具,用左上角抓手工具在画面中吸取一个颜色,因为这个画面中可能有绿色,还有青色,当你不确定的时候就可以用这个抓手工具吸取辨别:
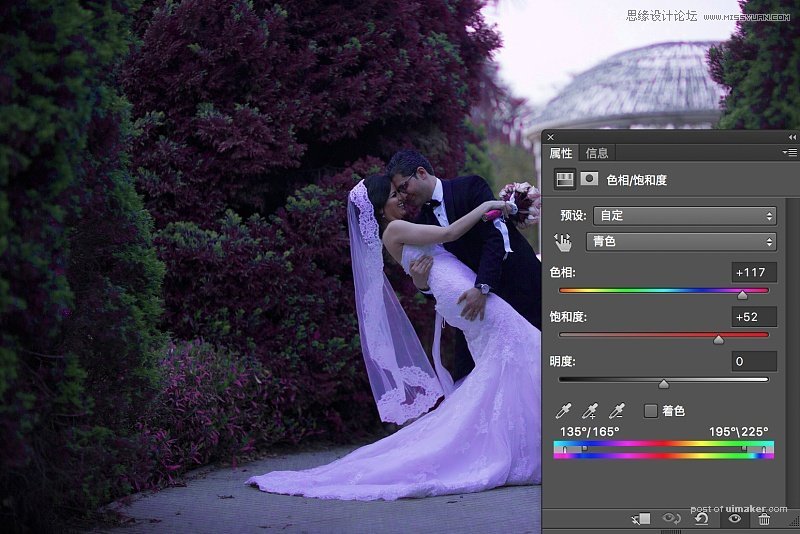
2、当我们吸取确定是青色后,然后先进行色相转换,然后发现色相转换还不够红,所以加一些饱和度:
3、用同样的方式在绿色的地方吸取一下,然后再进行色相转换,并且调节色相饱和度:
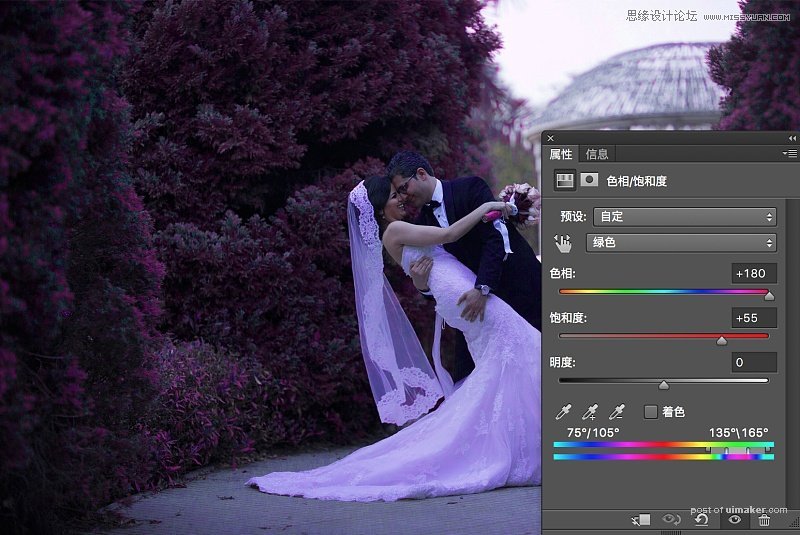
基本上通过这两部就完成了变脸,但是我们发现人物身体以及其它的一些地方并不是很好看,所以这时候我们就需要用蒙版将不需要改变的地方给恢复回来。