来源:网络 作者:昀恒
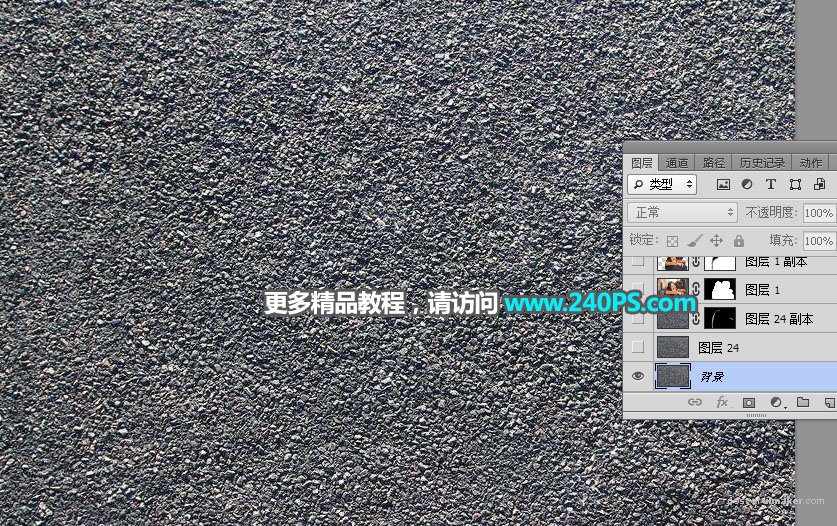
1、把下面的碎石纹理uimaker.com/uimakerdown/">素材保存到本机,再用PS打开作为背景。

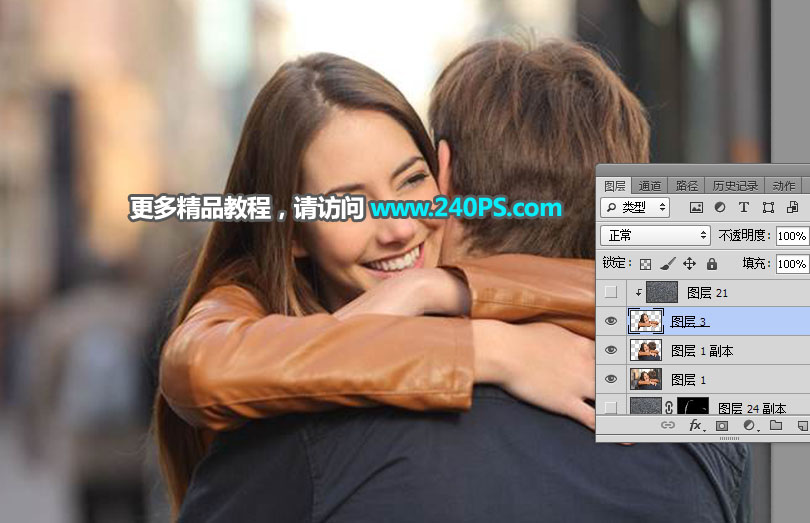
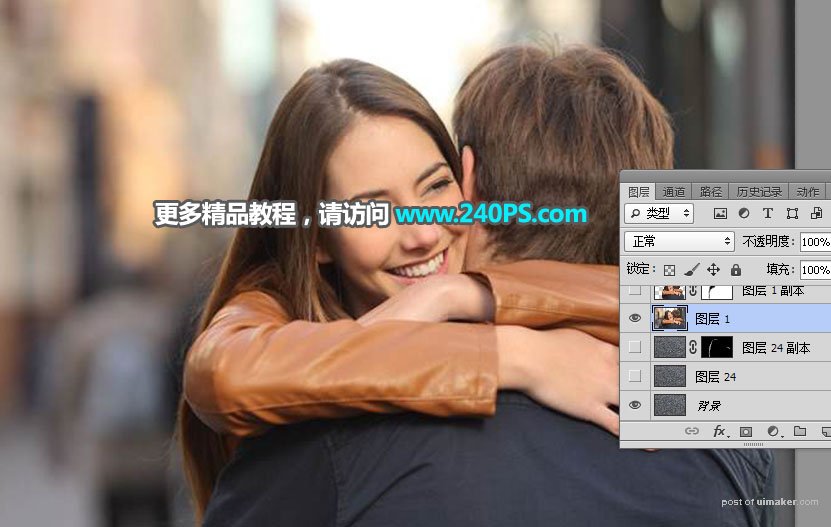
2、打开下面的人物素材,用移动工具拖到纹理素材上面,并调整好位置。

3、在工具箱选择“钢笔工具”,,在属性栏选择“路径”,如下图。

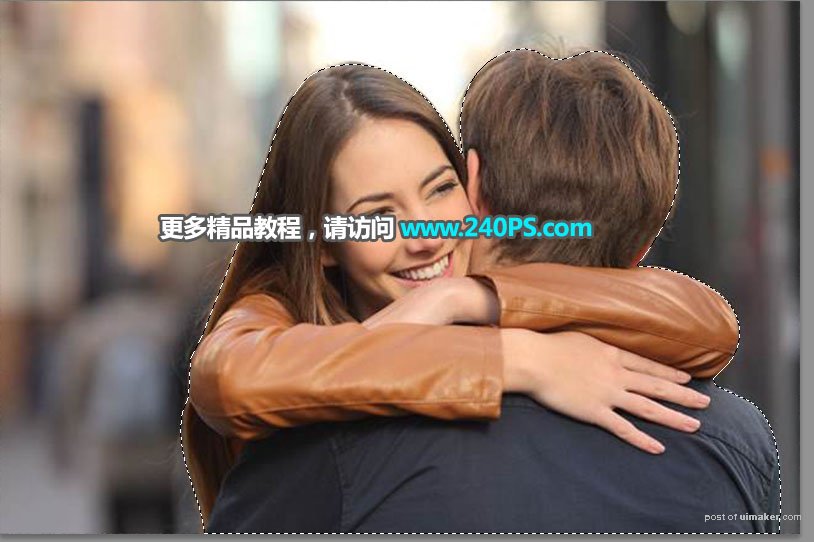
4、用钢笔勾出人物轮廓路径,如下图。

5、按Ctrl + 回车把路径转为选区。
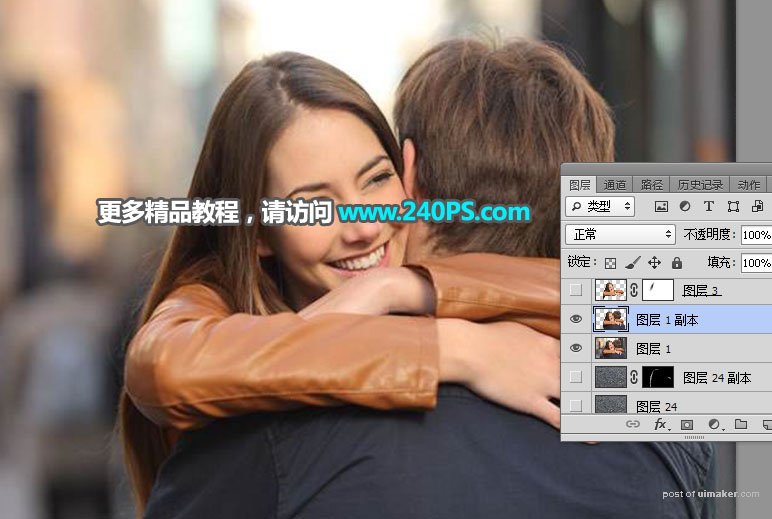
6、按Ctrl + J把选区人物复制到新的图层,如下图。
7、再用钢笔勾出女孩轮廓路径。
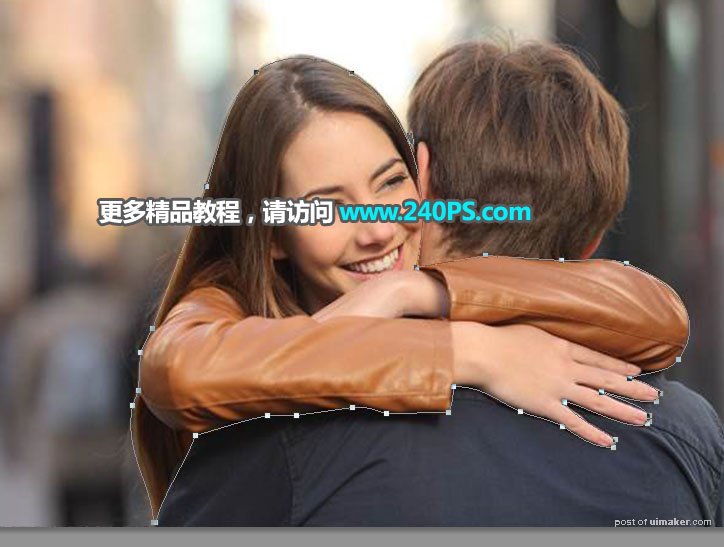
8、按Ctrl + 回车把路径转为选区,按Ctrl + J 把女孩复制到新的图层,如下图。