来源:网络 作者:昀恒

1、把下面的树林背景uimaker.com/uimakerdown/">素材保存到本机,打开PS软件,然后打开保存的素材。

2、新建一个图层,用椭圆选框工具拉出下图所示的椭圆选区,按Shift + F6 羽化50个像素。
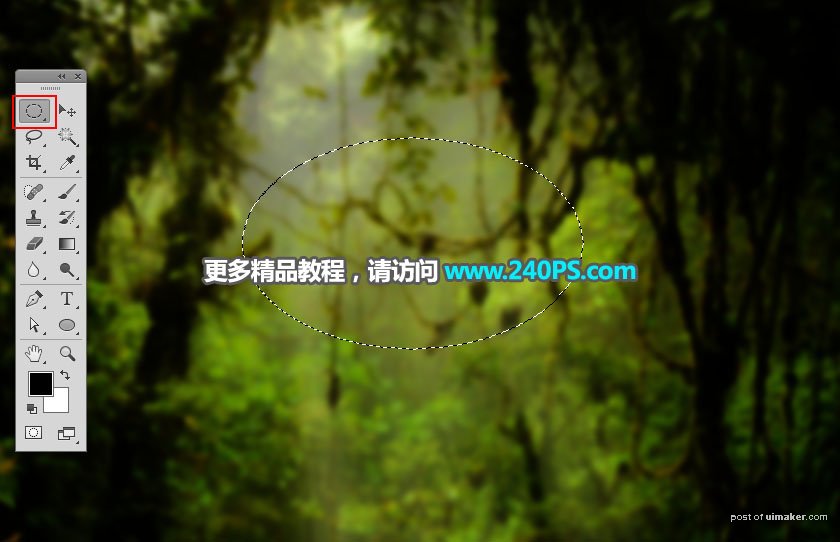
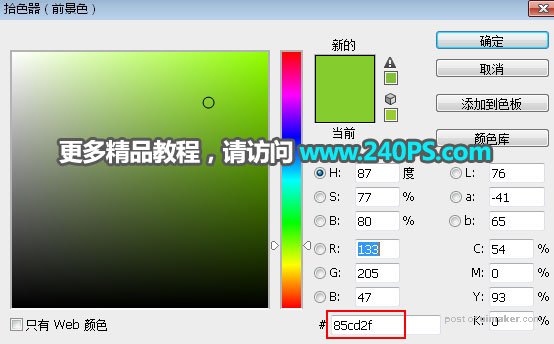
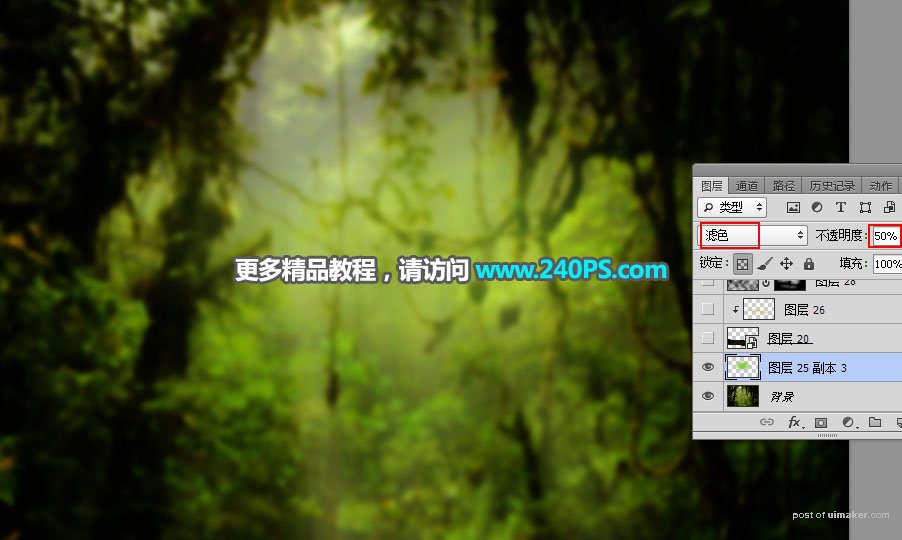
3、把前景色设置为绿色#85cd2f,然后按Alt + Delete键把选区填充前景色,按Ctrl + D 取消选区;再把图层混合模式改为“滤色”,不透明度改为50%,如下图。
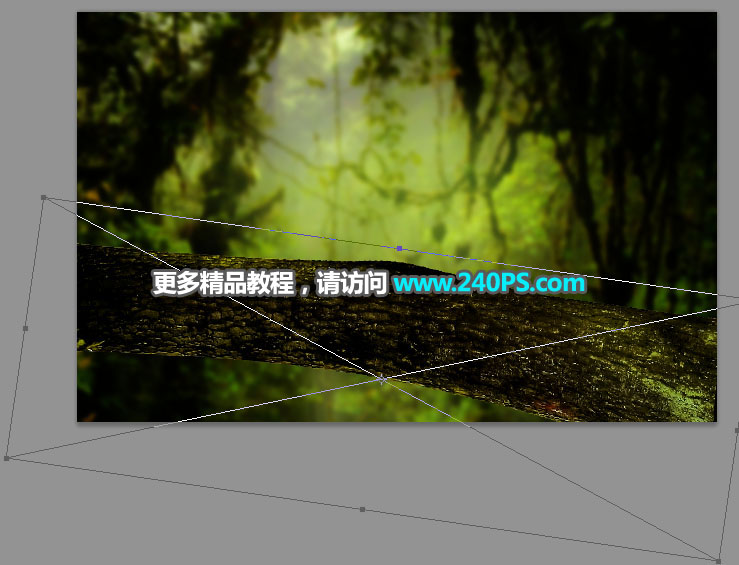
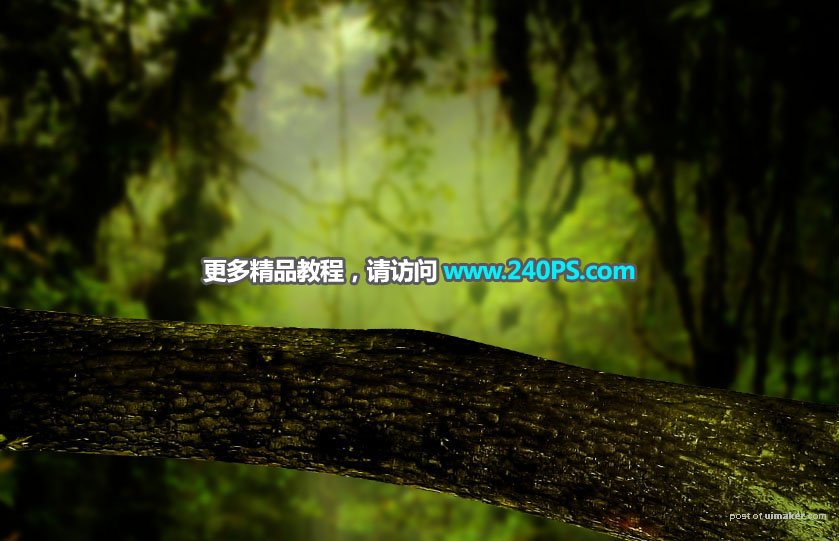
4、打开下面的树干素材,用魔棒工具抠出树干,用移动工具拖进来。

5、按Ctrl + T 变形,调整一下大小和角度,,满意后回车确定。