来源:网络 作者:昀恒
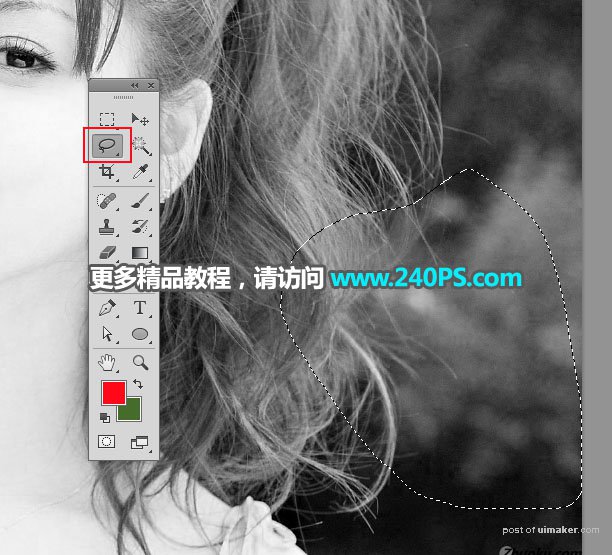
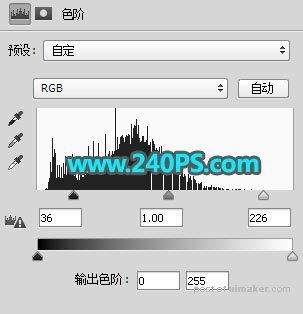
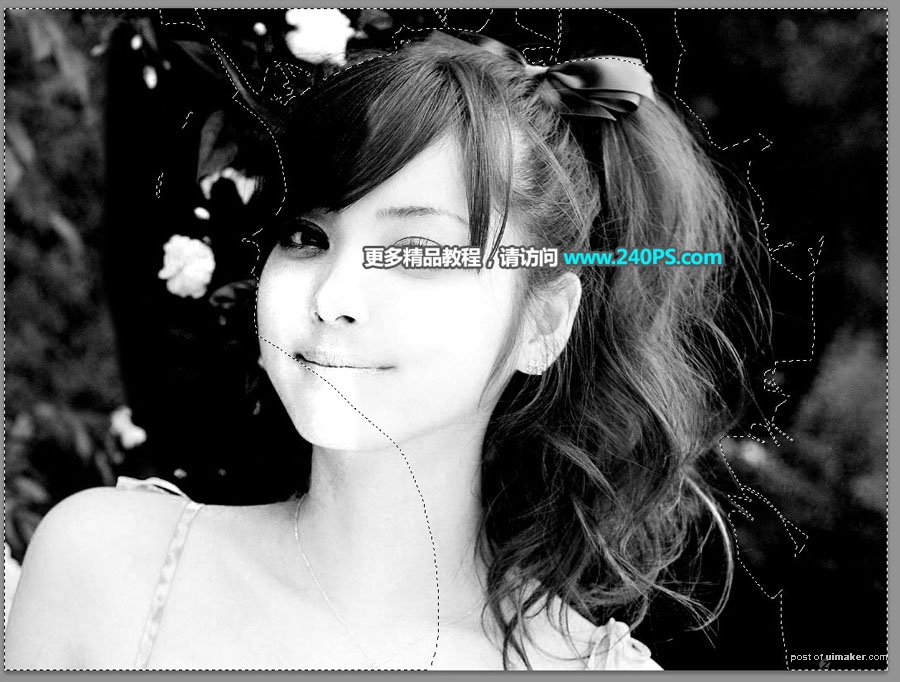
13、微调较亮的背景。在工具箱选择套索工具,勾选出较亮的背景部分选区,按Shift + F6 羽化6个像素;然后创建色阶调整图层,微调明暗对比,参数及效果如下图。
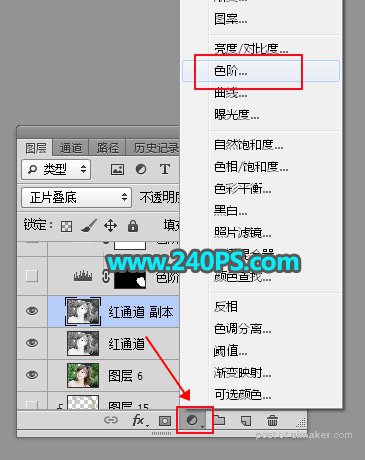
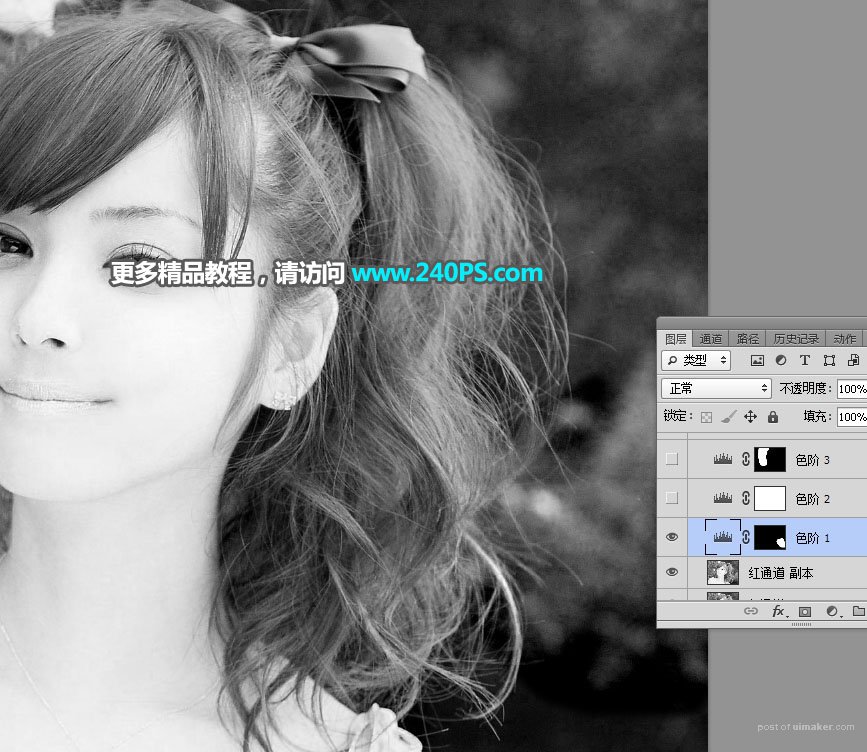
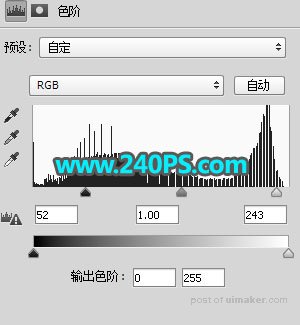
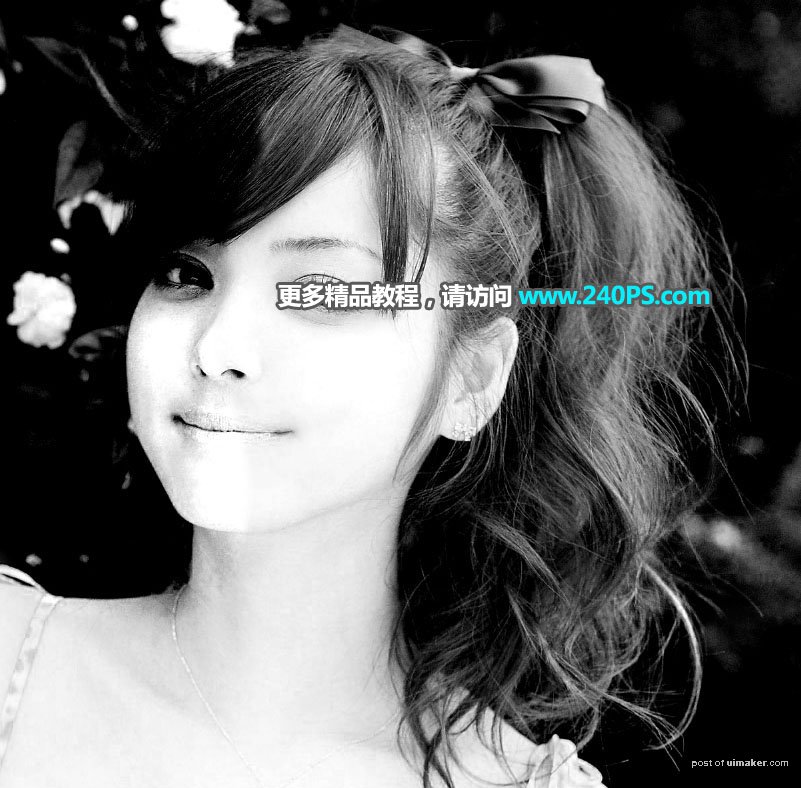
14、压暗发丝边缘背景。创建色阶调整图层,把暗部大幅压暗,高光部分稍微调亮一点,参数及效果如下图。

15、其它部分也是同样的方法调整,过程如下图。
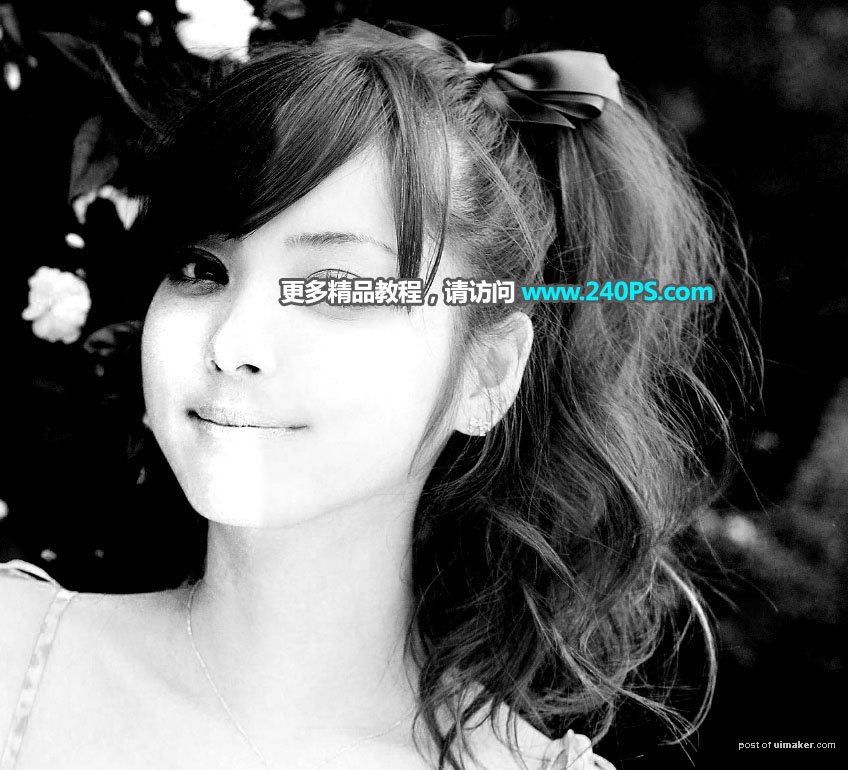
16、局部细小的区域也需要微调好,大致效果如下图。
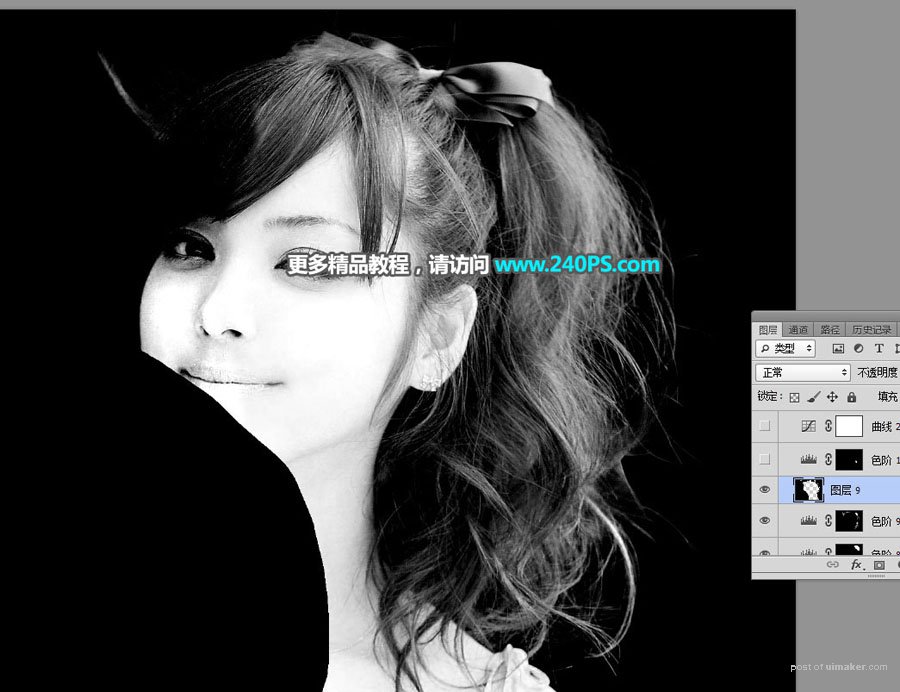
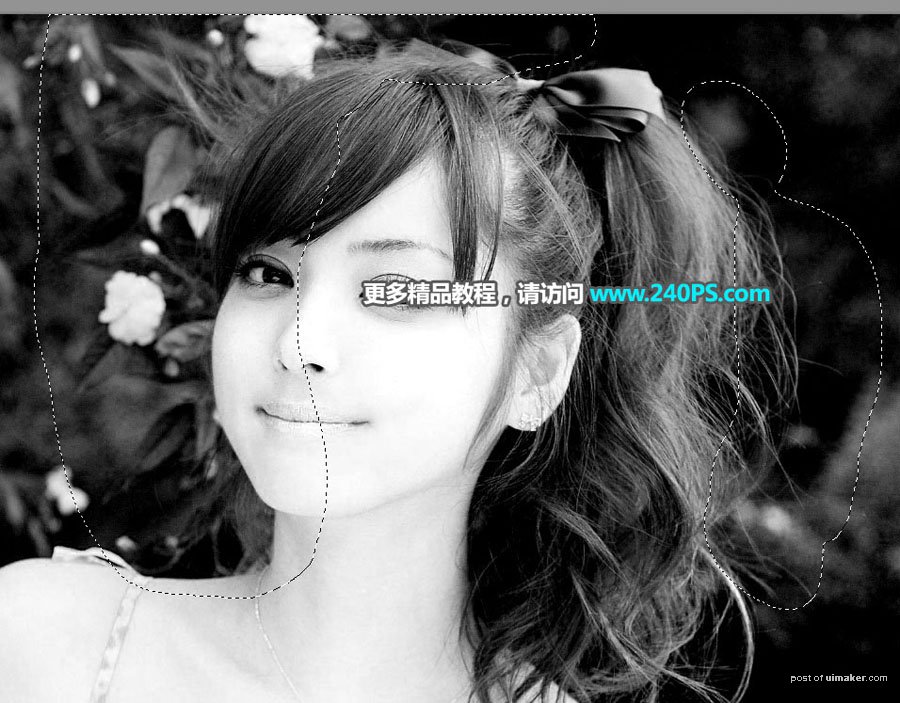
17、分离背景。这一步稍微繁琐一点,用钢笔工具沿着发丝边缘勾出背景部分的选区,如下图。
18、背景填充黑色。新建一个图层,把选区填充黑色,按Ctrl + D 取消选区。