来源:网络 作者:赵老师
本教程主要使用Photoshop制作红色质感的3D立体字教程,uimaker.com/uimakerhtml/uistudy/">教程只要使用PS自带的3D工具来完成,这种效果在海报设计中经常的用到,喜欢的朋友让我们一起来学习吧。
先看一下显示的最终效果

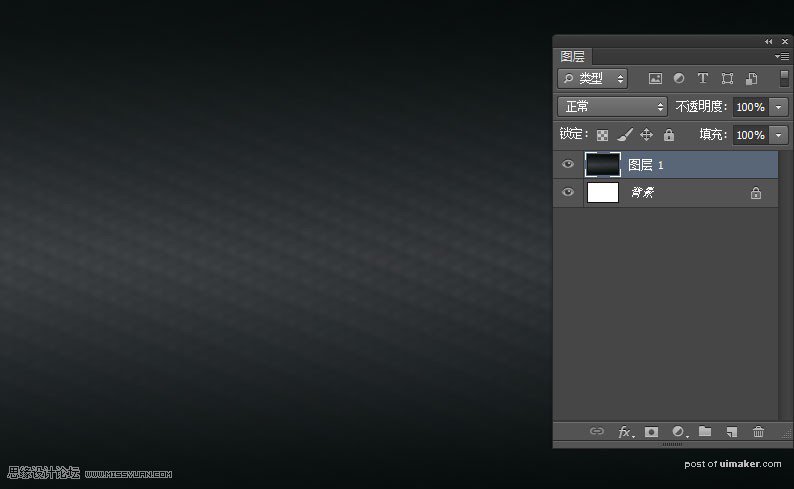
1、新建文件导入背景
2、快捷键“T”输入文字
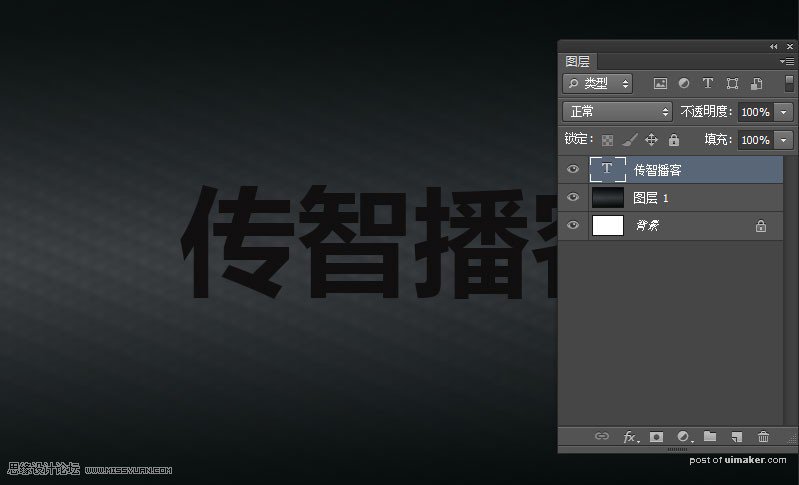
3、感兴趣的朋友,可以给字体从新设计一下,将文本转化成形状,点击菜单“文本”>”转换为形状”。进行拖拽锚点。
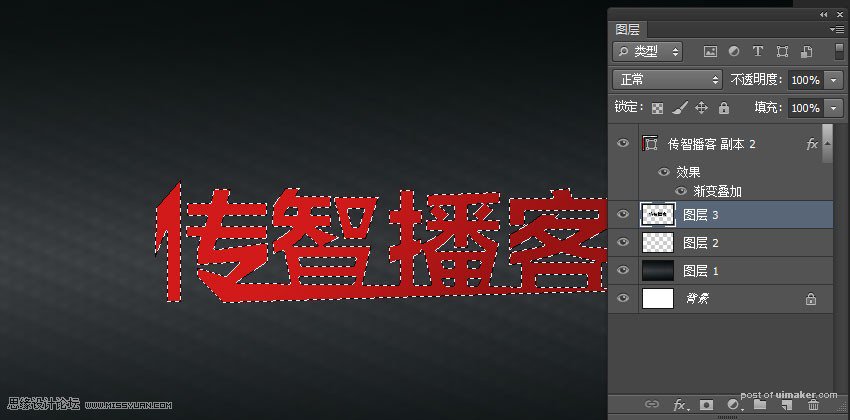
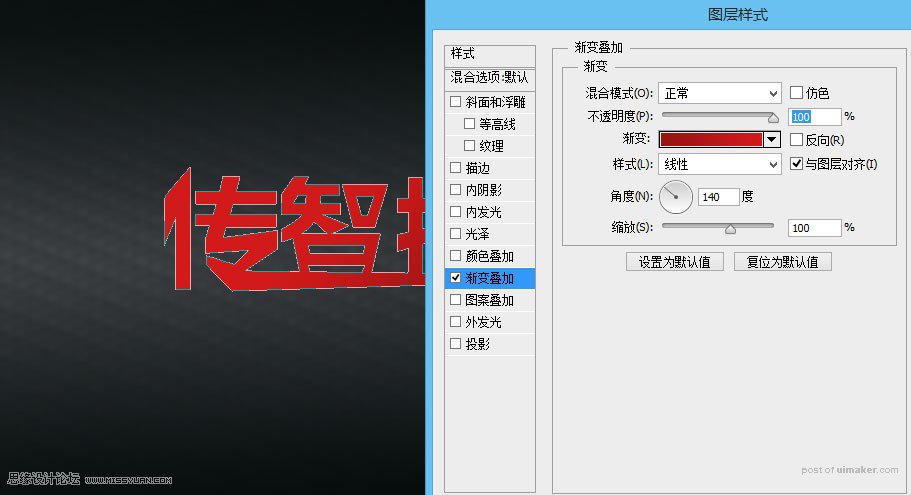
4、双击文字图层,给文字图层叠加图层样式,“渐变叠加”,设置如图。
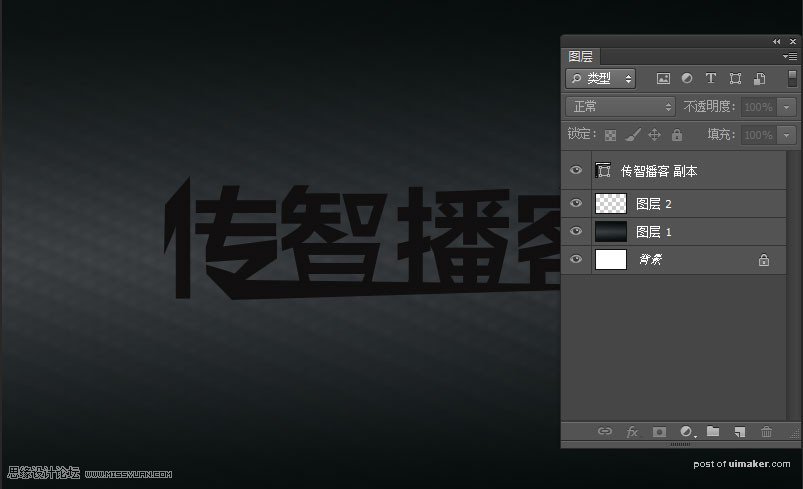
5、按住ctrl键点击文字图层,,调出选取,新建图层填充黑色