来源:网络 作者:华夏梁子
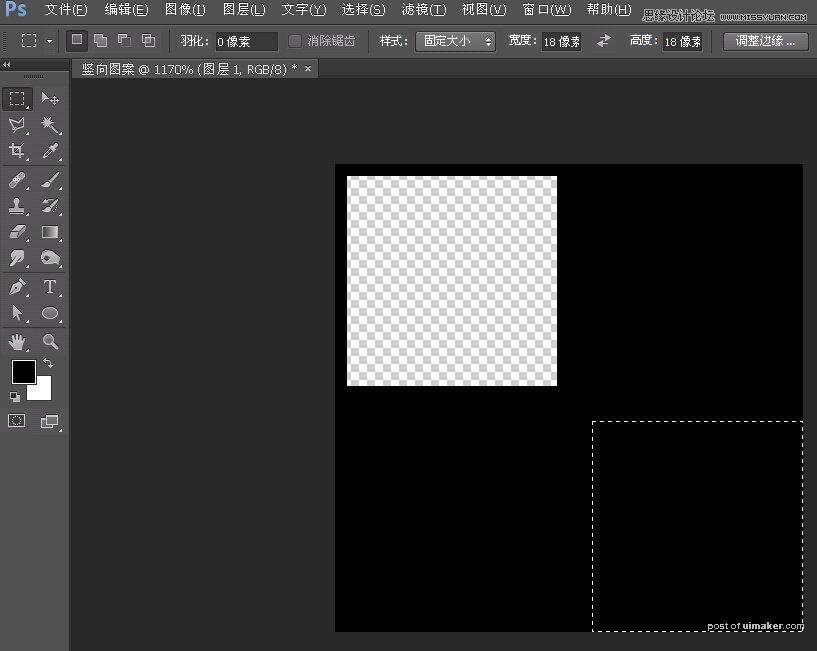
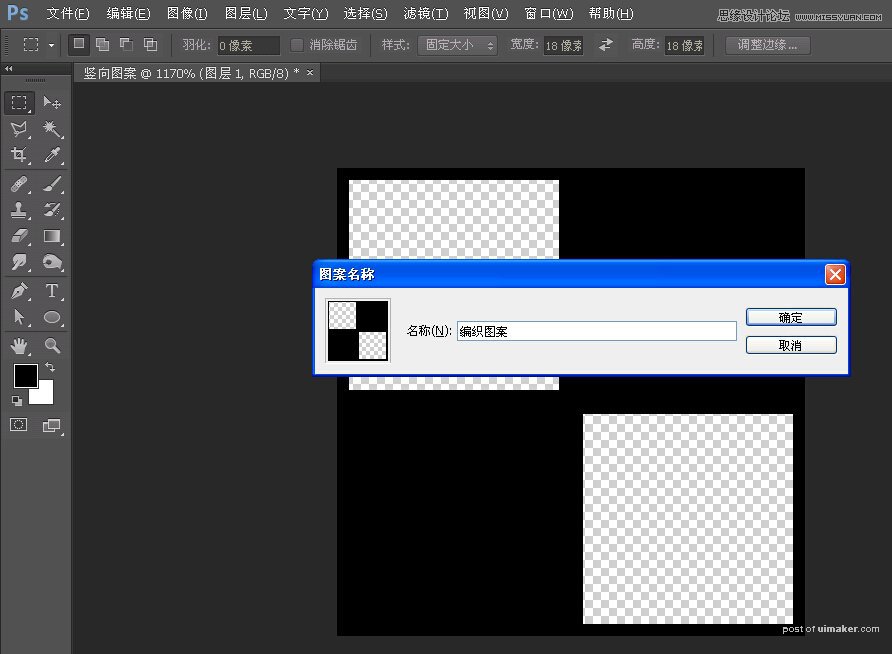
4. 将画面填充黑色,绘制固定大小18×18像素的矩形,对齐页面左上角,分别向右向下移动1像素,删除图像。再将选区对齐画面右下角,分别向上向左移动1像素,删除图像,定义图案命名为编织效果。
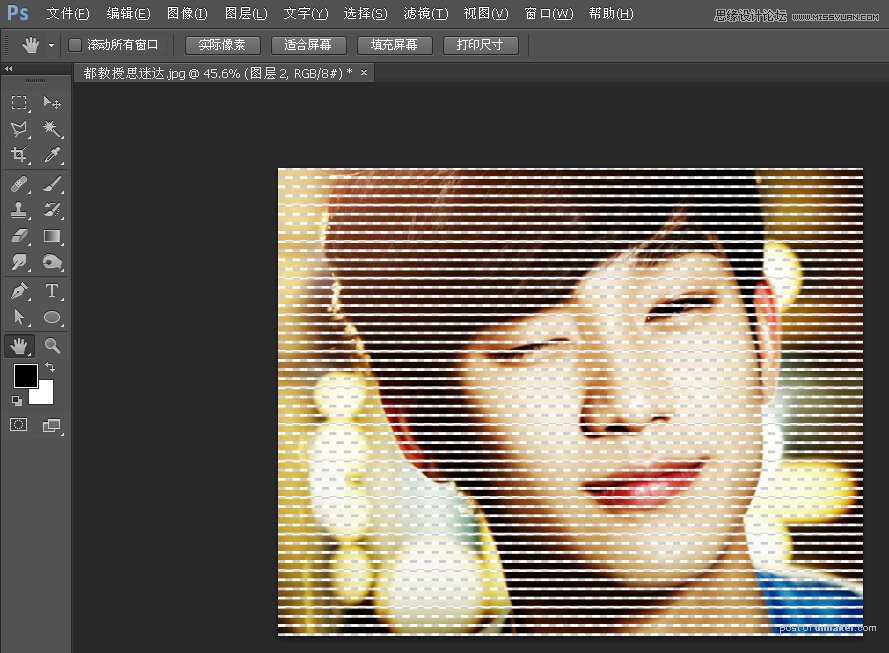
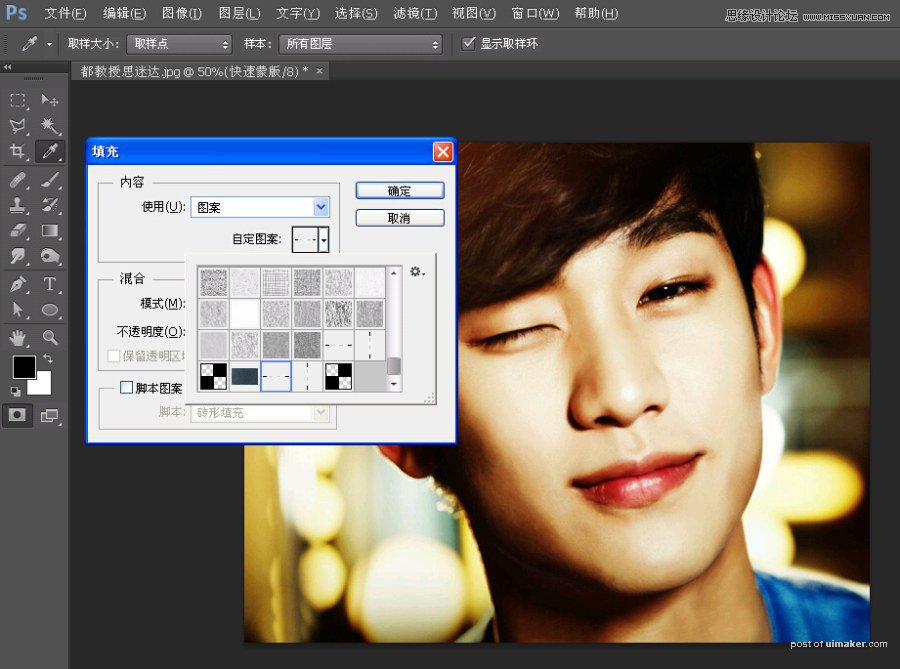
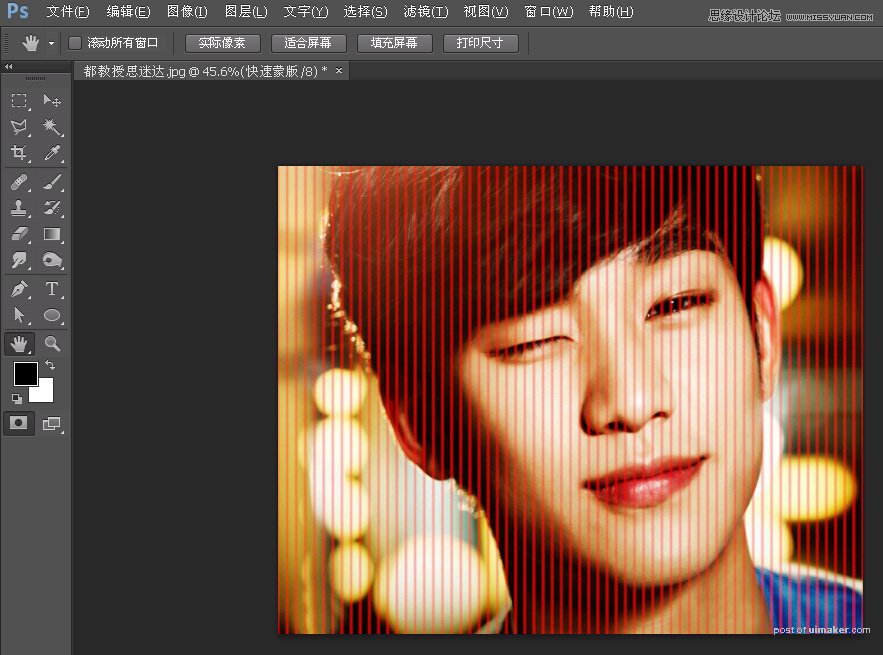
5. 打开uimaker.com/uimakerdown/">素材图像,进入快速蒙版模式Q,填充竖向图案shift+F5,返回正常编辑模式Q,Ctrl+J复制选区内图像命名为竖向图像。
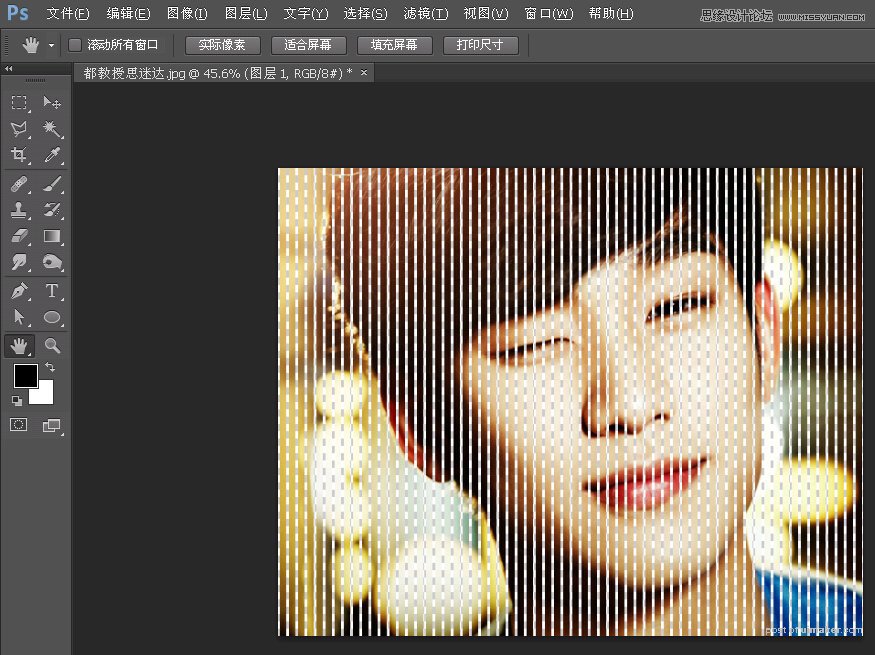
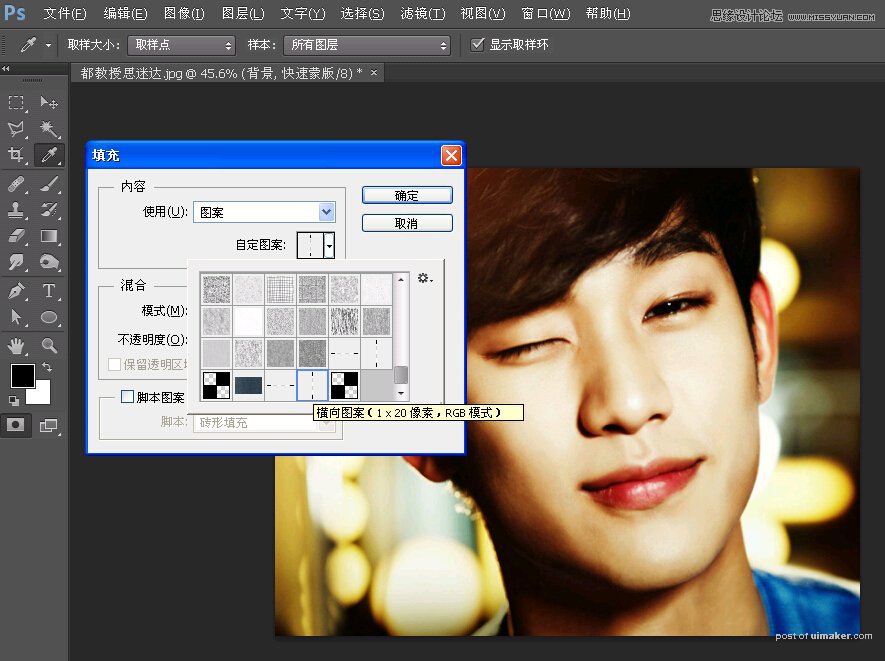
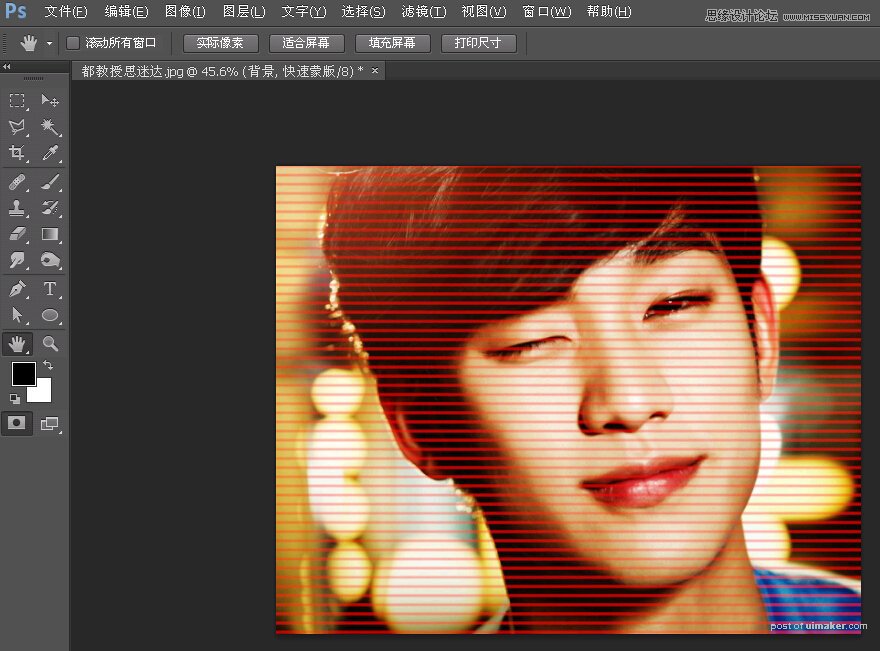
6. 选择背景图层,进入快速蒙版模式Q,填充图案横向图案shift+F5,,返回正常编辑模式Q,Ctrl+J复制选区内图像命名为横向图像。