来源:网络 作者:赵老师
本教程主要使用Photoshop制作绚丽光线装饰的艺术字,字体主要使用图层样式和3D工具来完成,喜欢的朋友让我们一起来学习吧。
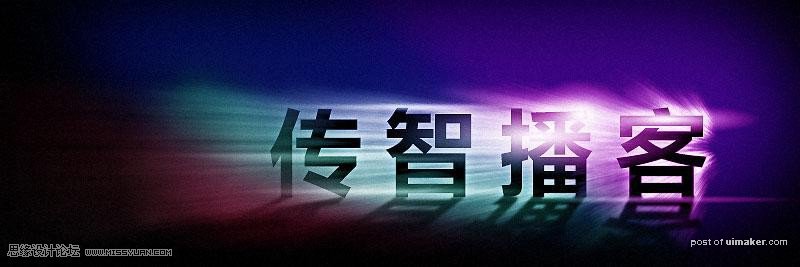
先看一下显示的最终效果

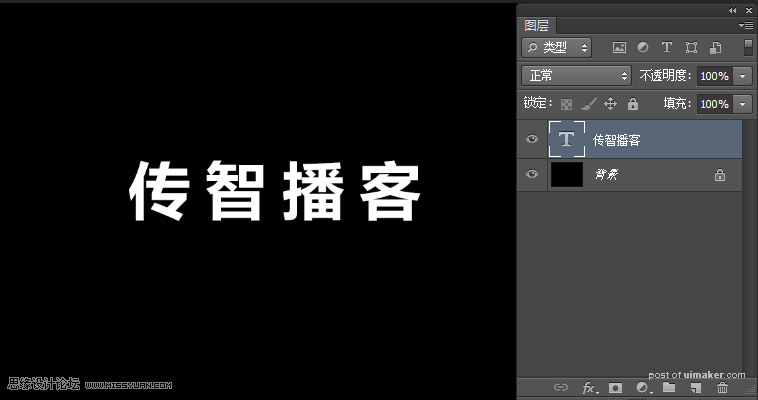
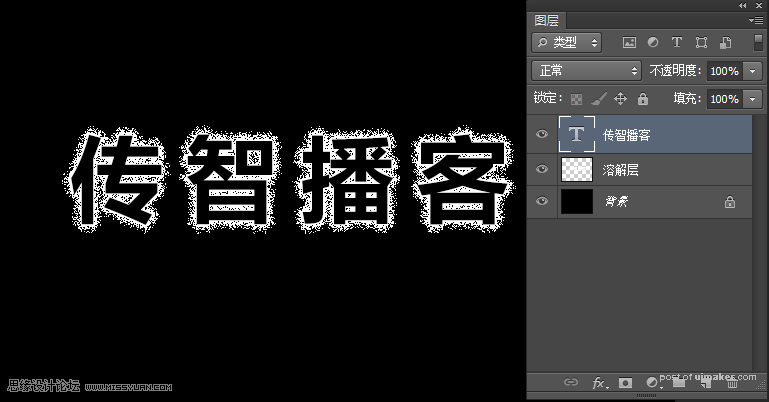
1、新建文件输入文本,如图
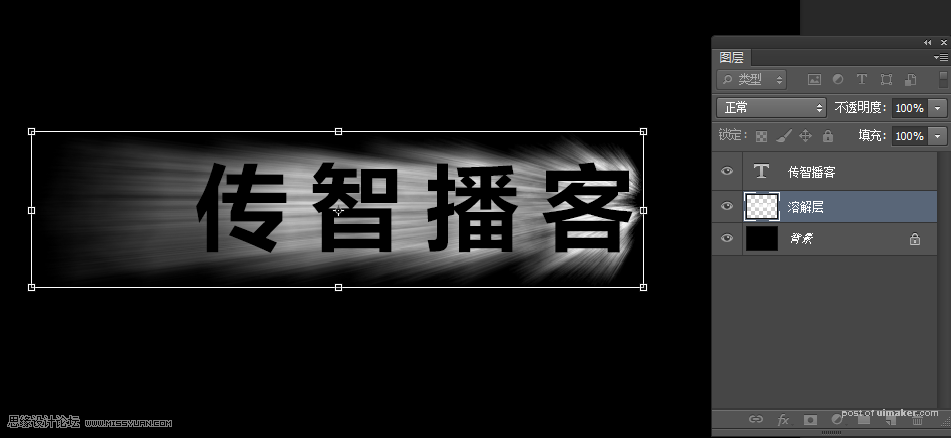
2、按ctrl键点击文字图层小窗口,调出选区,点击菜单选择---修改---边界如图

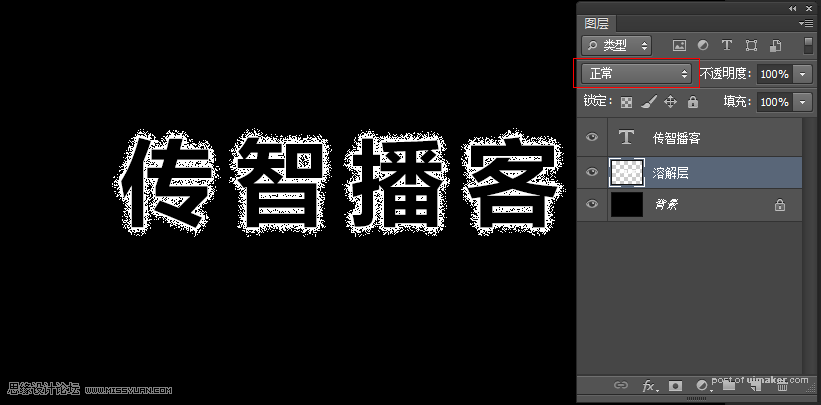
3、新建图层填充白色,将图层模式改成溶解

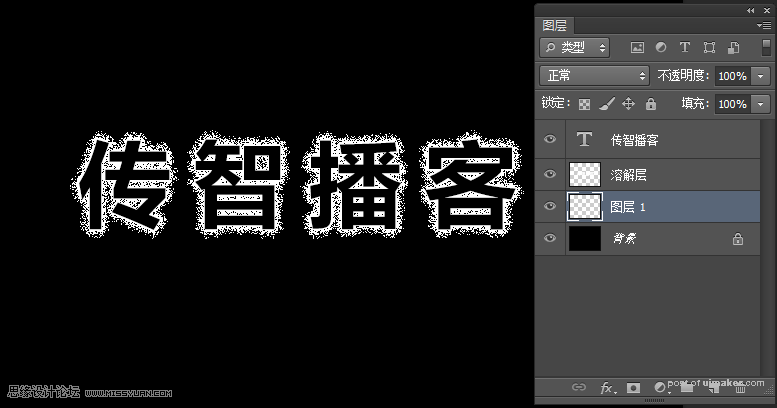
4、将文字图层移到顶层,改成黑色如图
5、新建图层放置溶解层下层,然后ctrl+E进行合并(目的,让溶解层变成正常图层)
6、选择溶解层,点击滤镜--模糊--径向模糊,ctrl+t自由变换在调整一下。如图