来源:网络 作者:赵老师
本uimaker.com/uimakerhtml/uistudy/">教程主要使用Photoshop设置时尚绚丽的动感光线效效果图,这种光线的效果在海报中经常用到的,主要使用路径描边光线来完成,喜欢的朋友一起来学习吧。
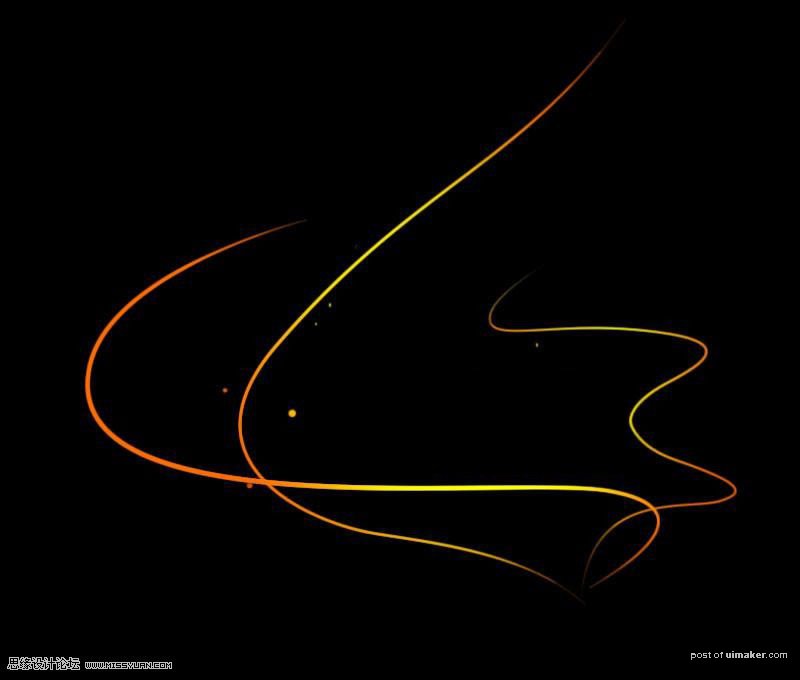
先看一下显示的最终效果
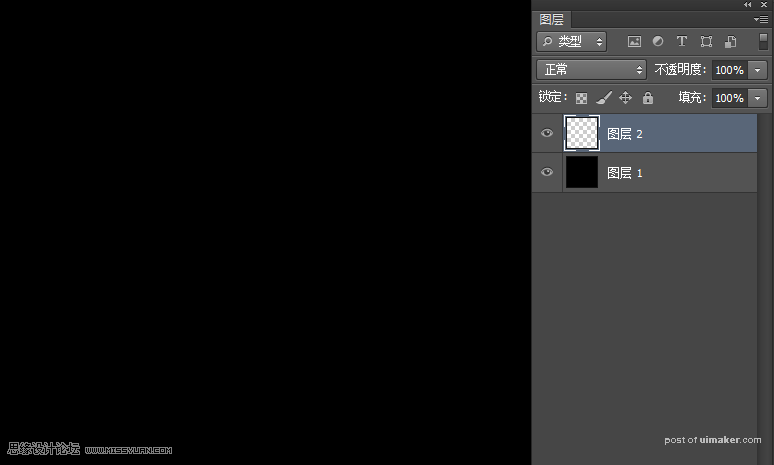
1、新建文件填充黑色,新建图层
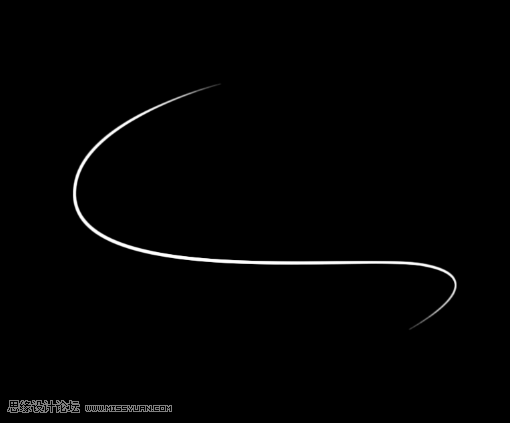
2、用钢笔工具绘制出一个曲线路径
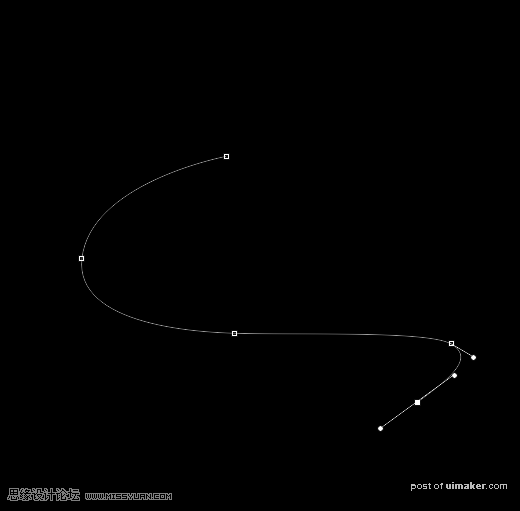
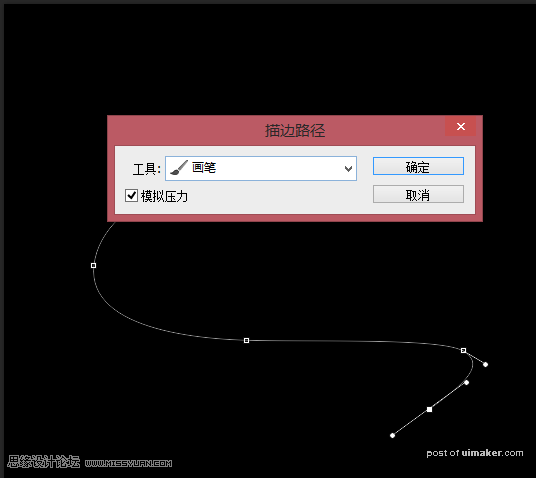
3、切记不要换成小黑箭头工具,继续用钢笔工具右键选择描边路径(在这之前最好找,两头细中间粗的画笔,例如画笔里面的钢笔)。如图
4、用同样的方式绘制出其它线条(这个可根据自己的喜好发挥哦,让画面美观就ok)