来源:网络 作者:流年绘
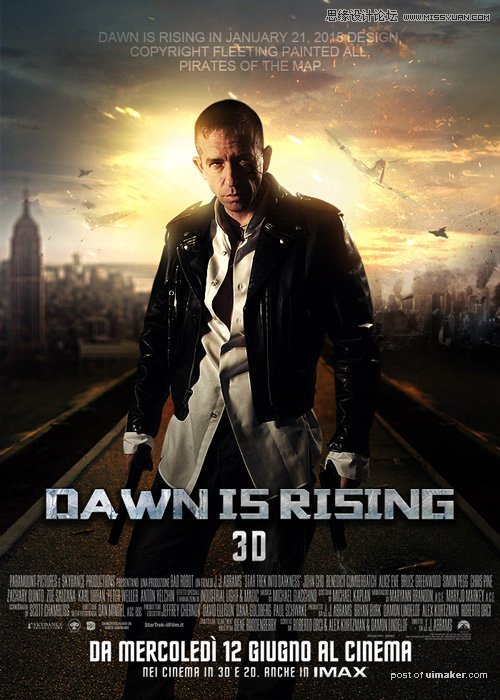
本uimaker.com/uimakerhtml/uistudy/">教程主要使用Photoshop合成黎明崛起电影海报教程,教程主要分为三部分:背景、人物、字体效果。背景部分需要根据创作需要,搜集及组合相关的素材;人物部分主要是润色,根据受光情况调整局部明暗及添加环境色等;字体部分也比较重要,也要根据主题来设计相关字体效果。
教程素材和源文件:超酷的电影海报设计PS教程素材
最终效果
1、接到一个设计要求的时候,不要急着马上去做,先整理好思路,这样做起来就顺畅多了。
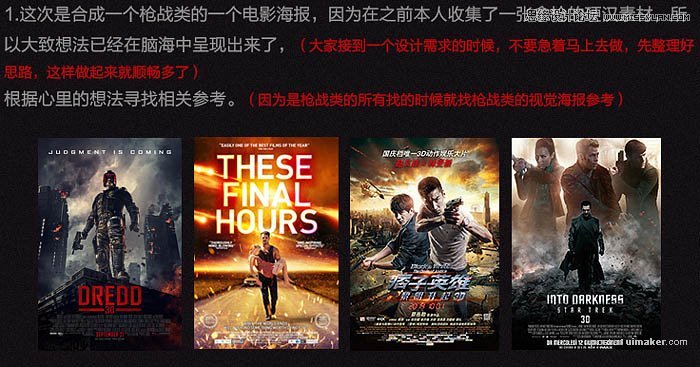
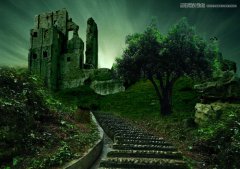
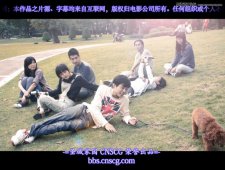
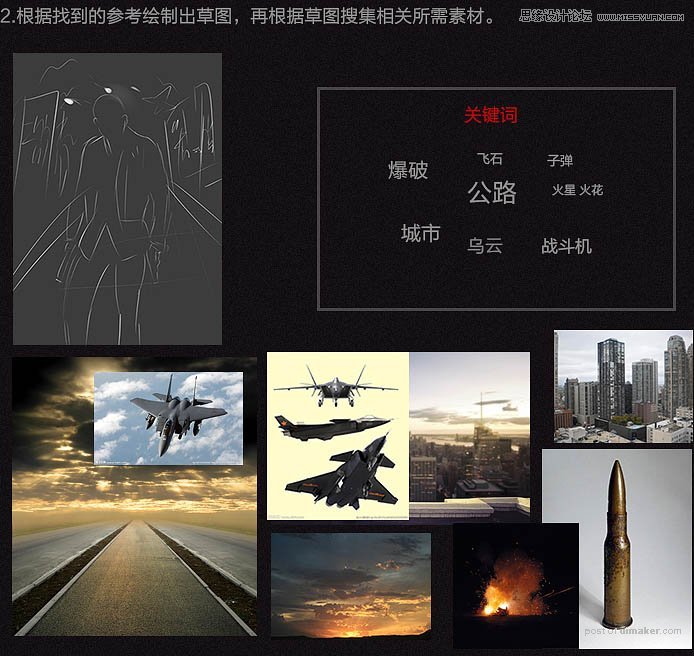
2、根据找到的参考绘制草图,再根据草图搜集相关所需素材。
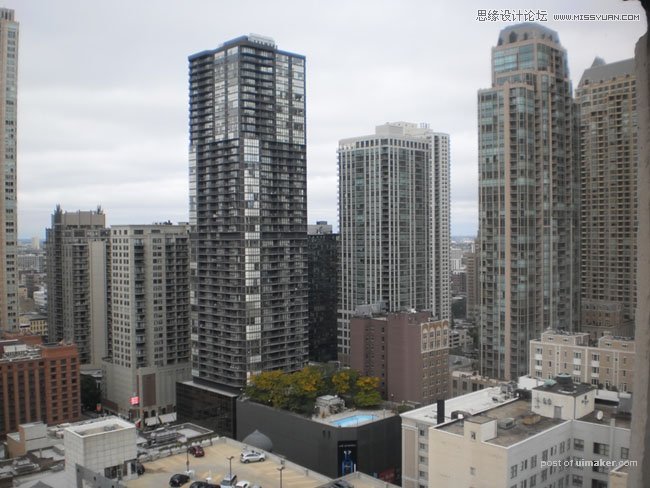
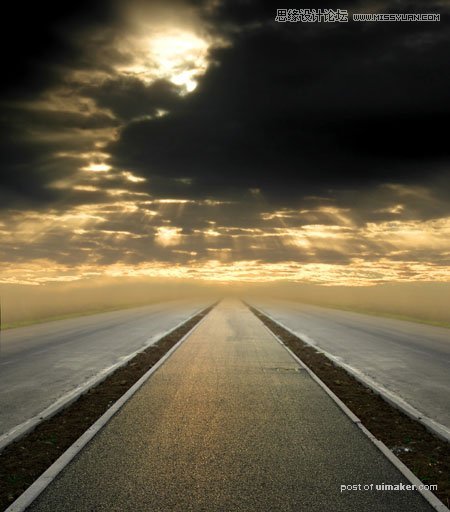
3、新建一个1500 * 2100像素大小的文档,置入公路图,调整好适当大小及位置。

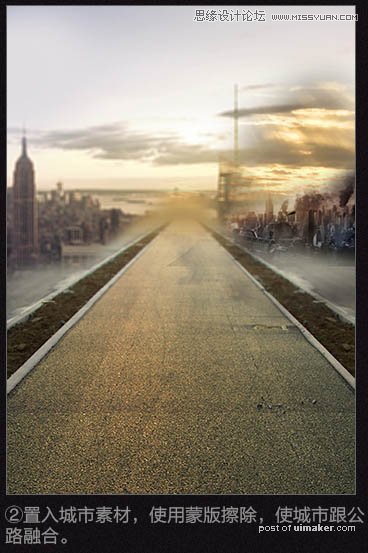
4、置入城市素材,,使用蒙版擦除,使城市跟公路融合。