来源:网络 作者:Sener

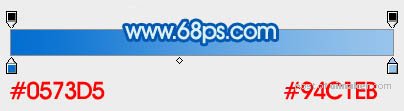
1、新建一个1000 * 750像素,分辨率为72的画布,选择渐变工具,颜色设置如图1,然后由上至下拉出图2所示的线性渐变作为背景。
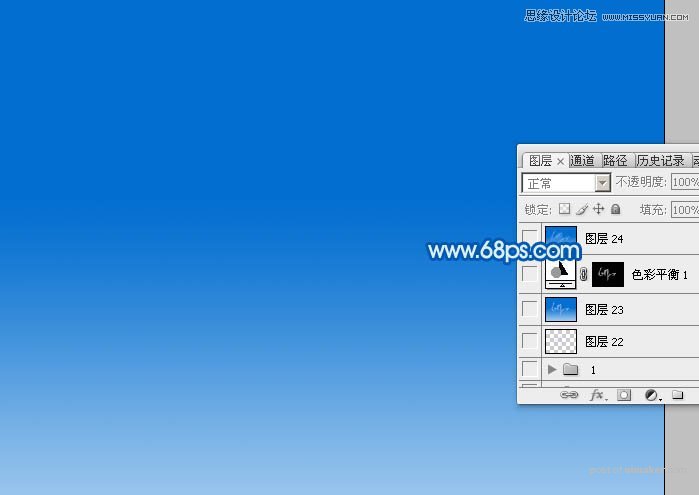
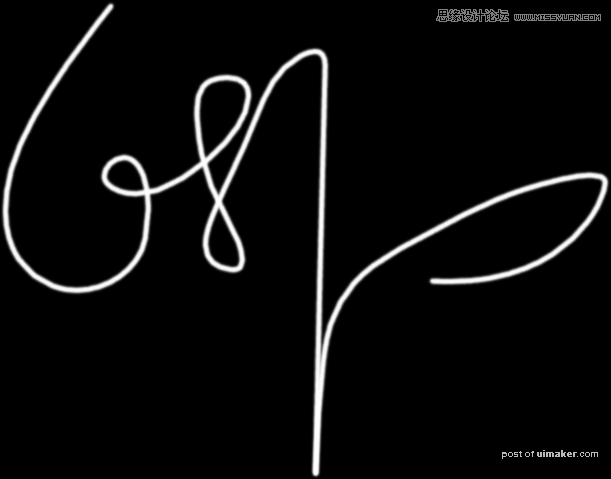
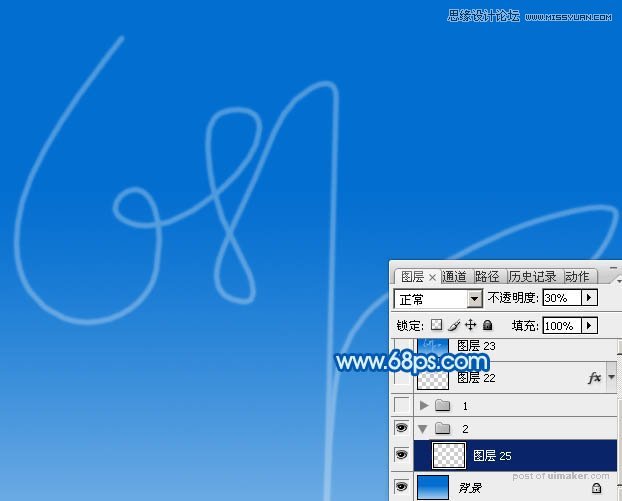
2、打开文字uimaker.com/uimakerdown/">素材(文字为PNG格式,直接保存到本机,用PS直接打开使用),也可以自己用钢笔勾出想要的连写字。新建一个组,把文字拖到组里面,不透明度改为:30%,如下图。
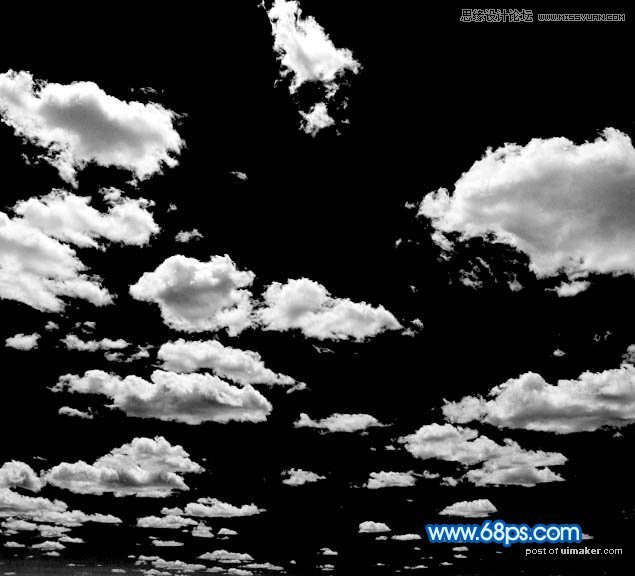
3、制作文字之前,先来提取一些云彩素材,打开云彩图片。

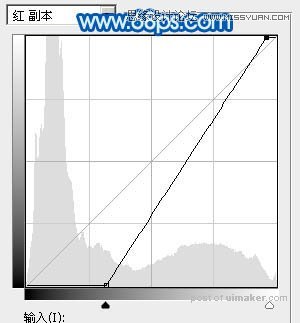
4、进入通道面板,把红色通道复制一层,得到红副本通道,对红副本通道进行处理。
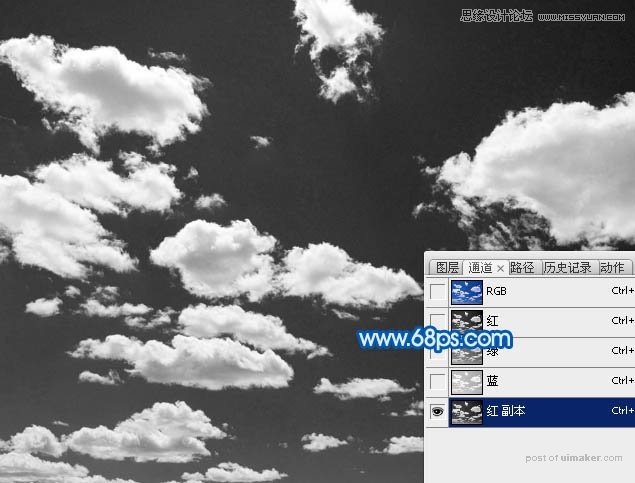
5、按Ctrl + M 调整曲线,参数及效果如下图。