来源:网络 作者:AprilWang
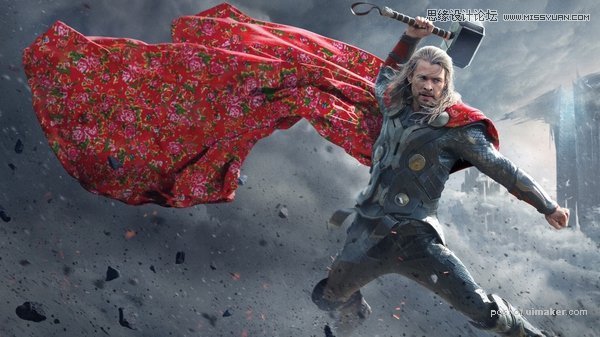
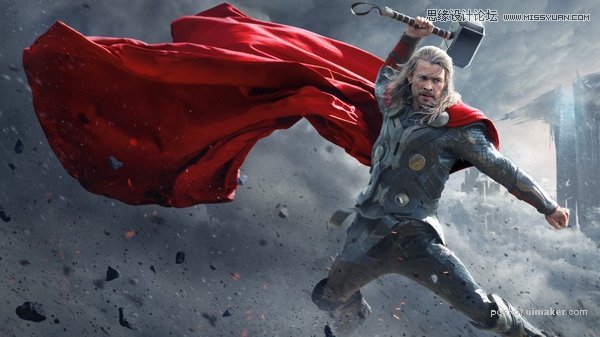
原图
东北大花布uimaker.com/uimakerdown/">素材

第一步、对东北大花布素材进行处理,打开东北大花布素材,适当裁剪
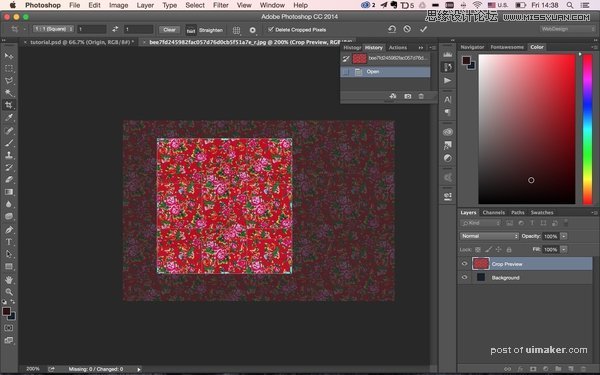
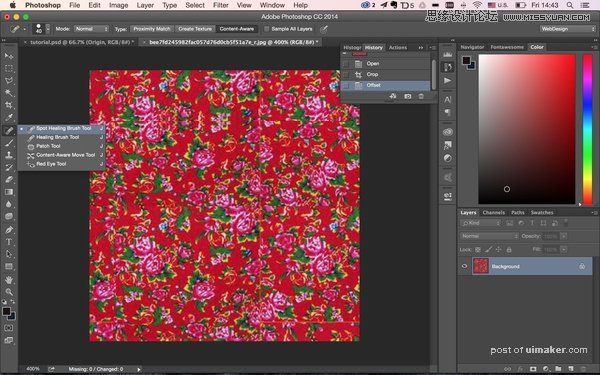
接下来用到了制作3D无缝贴图的一个技巧,,使图片最后被拼接起来的时候看不到明显的缝隙,【滤镜-其他-位移】调整适当的位移量。

这是调整完之后的贴图,可以看到明显的接缝,貌似图片本来也有这么两条黄线

使用污点修复工具,Alt选择一块好的区域,然后涂抹在需要覆盖的线段上【工具栏-污点修复工具】
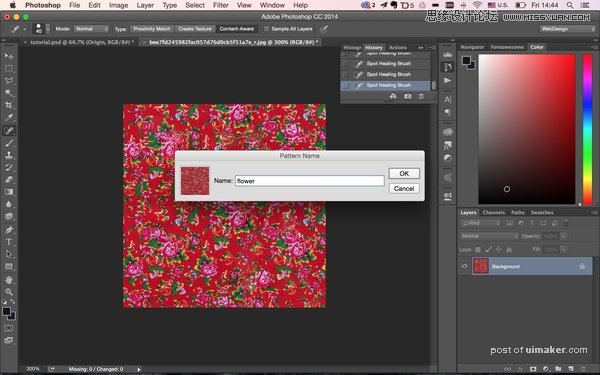
对于调整完的贴图,将它定义成图案,在【编辑-定义图案】中

取一个厉害的名字