来源:网络 作者:bdstar
3、使用“橡皮擦工具”将多余的花朵擦除如图6,单击“减淡工具”,设置“曝光度”为34%,在花朵左侧涂抹,减淡图像如图7,再选择“加深工具”,在花朵右侧涂抹,加深图像。

图6
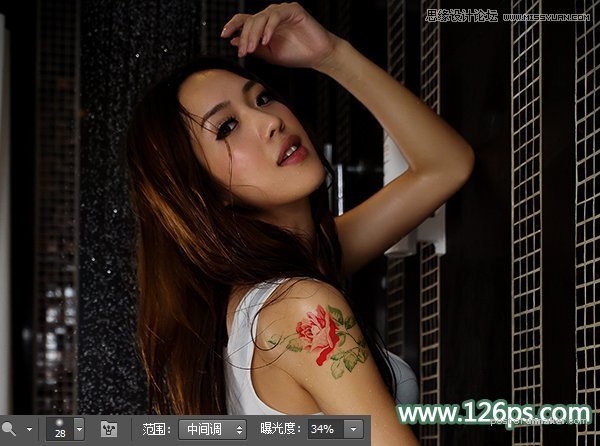
图7
4、在“图层”面板中创建“色彩平衡”调整图层,选择“阴影”选项,设置颜色为+10 、+0、-14如图8,选择“中间调”选项,设置颜色为-17、-10、-21,设置后花朵颜色与人物皮肤更加融合,如图9、10。
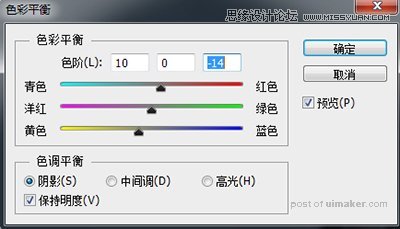
图8
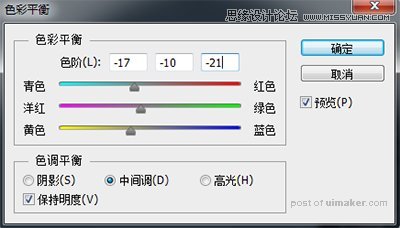
图9

图10
5、载入花朵选区,单击“调整”面板中的“曲线”按钮,在“属性”面板中设置曲线,降低花朵的亮度。如图11、12
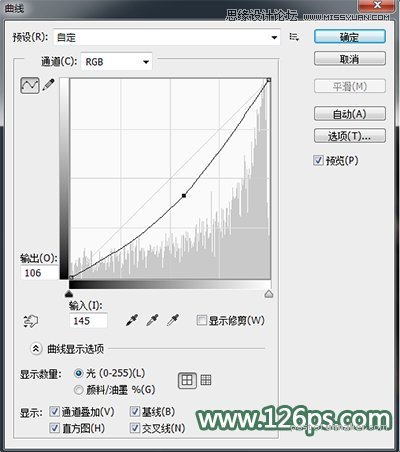
图11
图12