来源:网络 作者:柒月08205427
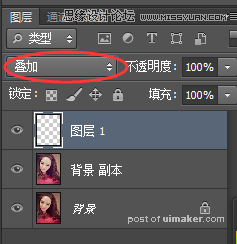
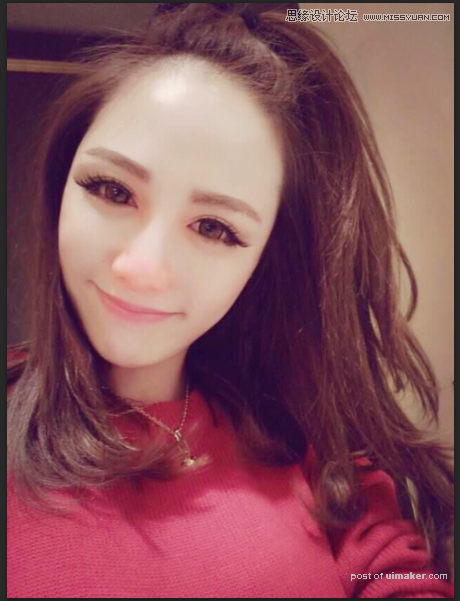
然后就是液化,,根据自己的口味来液化就行了,不过最好不要液化的太不像。新建图层,图层模式选为叠加模式
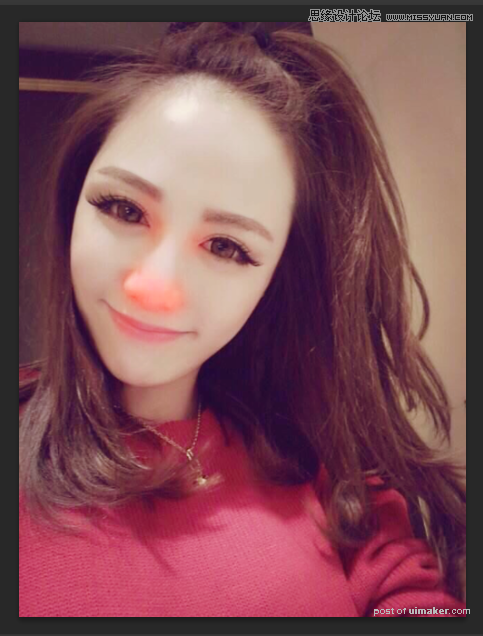
选画笔工具,吸取颜色。 在鼻子,嘴巴以及眼窝处涂抹。
调整不透明度。
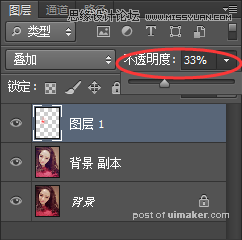
叠加图层向下合并
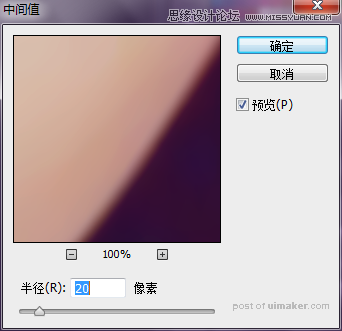
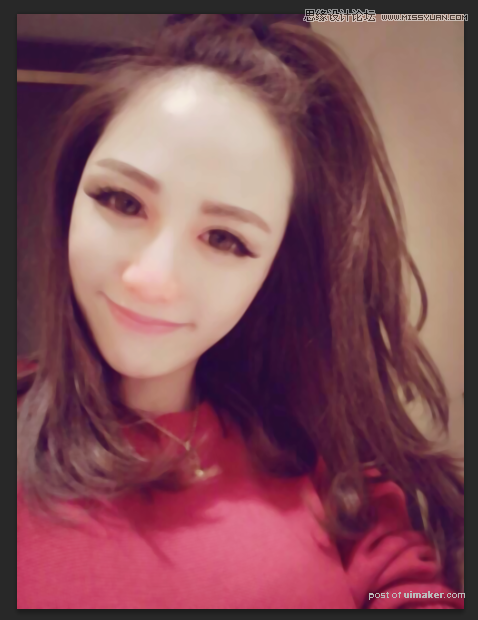
杂色,中间值。
背景图层副本向下合并,保存文件,拖到sai里。
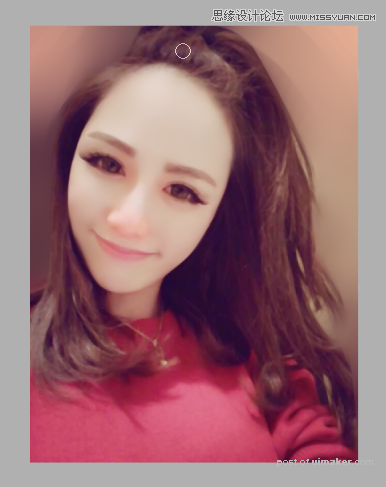
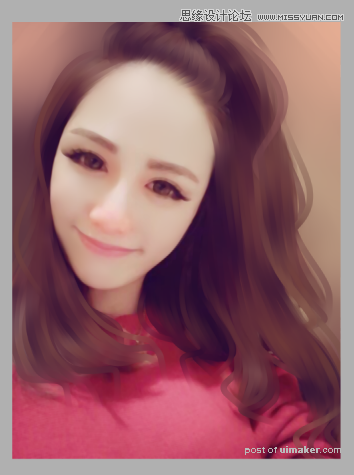
在sai里用水彩笔简单处理下背景,涂抹一下皮肤。
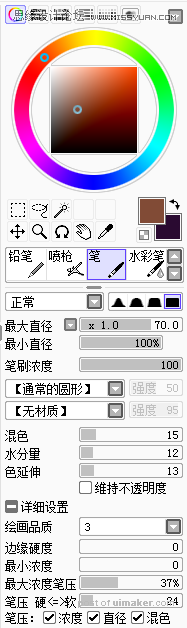
头发铺下底色,楼主用的是工具“笔”设置如下。
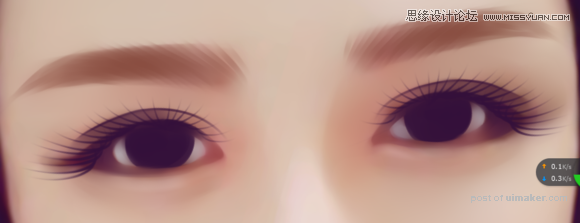
画眼睛,楼主基本都是用的水彩笔 ,用水彩笔涂了一下眼白的位置,除了睫毛眉毛都是用的水彩笔。
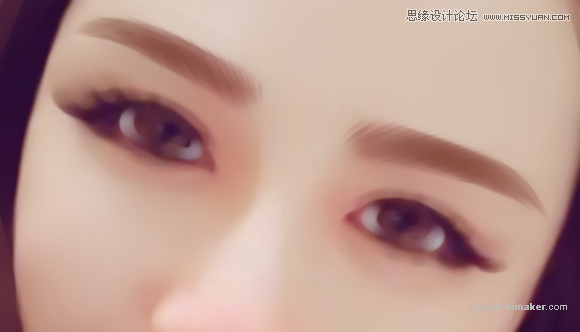
楼主不太会画眉毛跟睫毛,各位凑合看看吧,画完上睫毛继续画下睫毛。