来源:网络 作者:P大点S
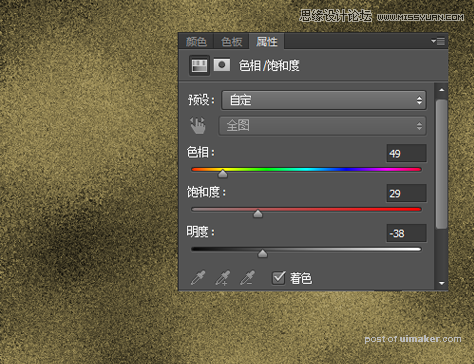
现在我们赋予污垢图层颜色,创建一个“色相/饱和度”调整层,设置如下:
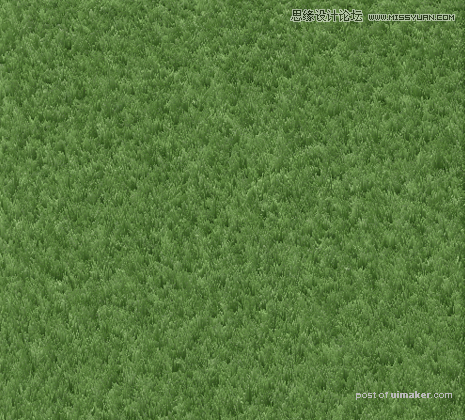
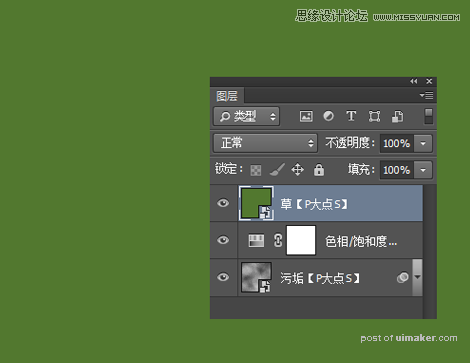
OK,污垢层的创建到这里就算完成了,我们留着到最后再用,下面开始创建草地。新建一个图层,命名为“草地”,填充#52782F,并转换为智能对象。
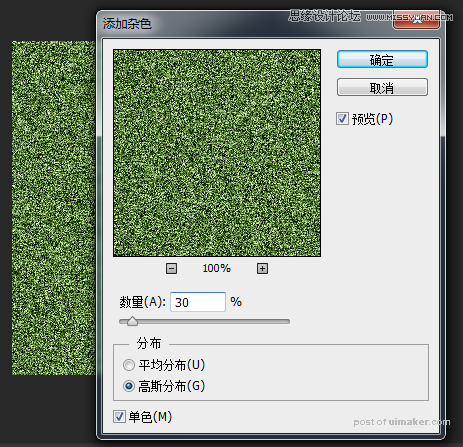
执行“滤镜—杂色—添加杂色”,设置数量为30%,高斯分布,勾选单色。
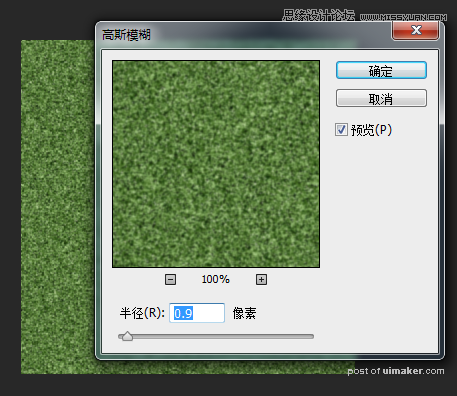
执行“滤镜—模糊—高斯模糊”,设置模糊半径为0.9像素。
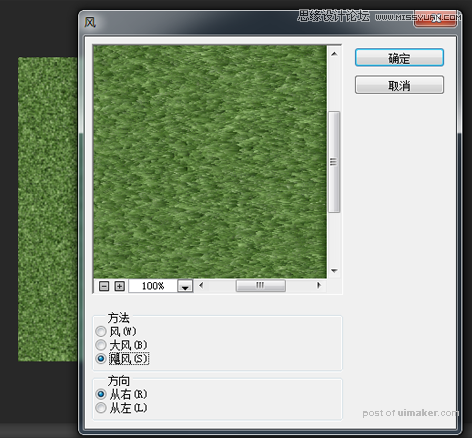
执行“滤镜—风格化—风”,方法设置为飓风,方向设置为从右。
将草地图层再次转智能对象,旋转90度。再次执“滤镜—风格化—风”,设置方法为“飓风”,方向从左。然后再转一次智能对象,旋转-90度。