来源:网络 作者:Silent Gary
2.2导入PS进行精修,进行裁剪及画布拓展,目的是让画面显得更加大气
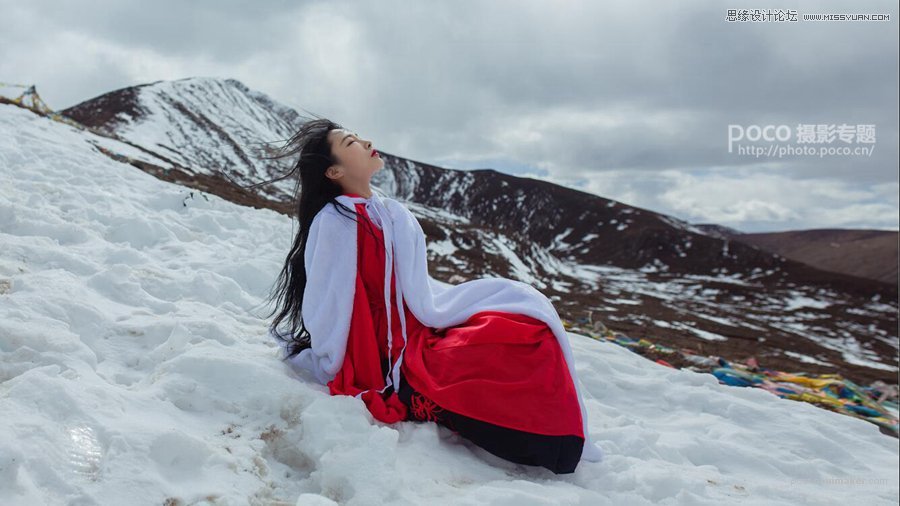
2.2.1按16:9的比例对原图进行裁剪,裁剪后效果如下:
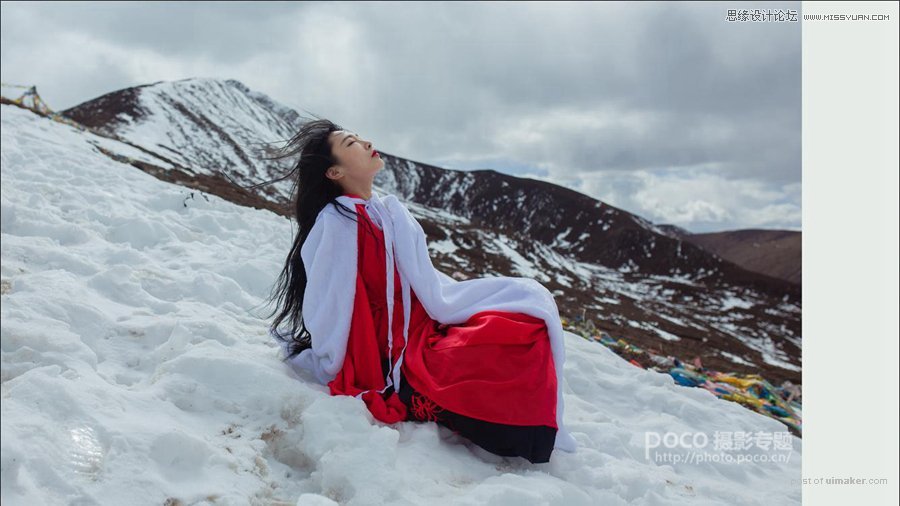
2.2.2用矩形选择工具选择下图红色区域
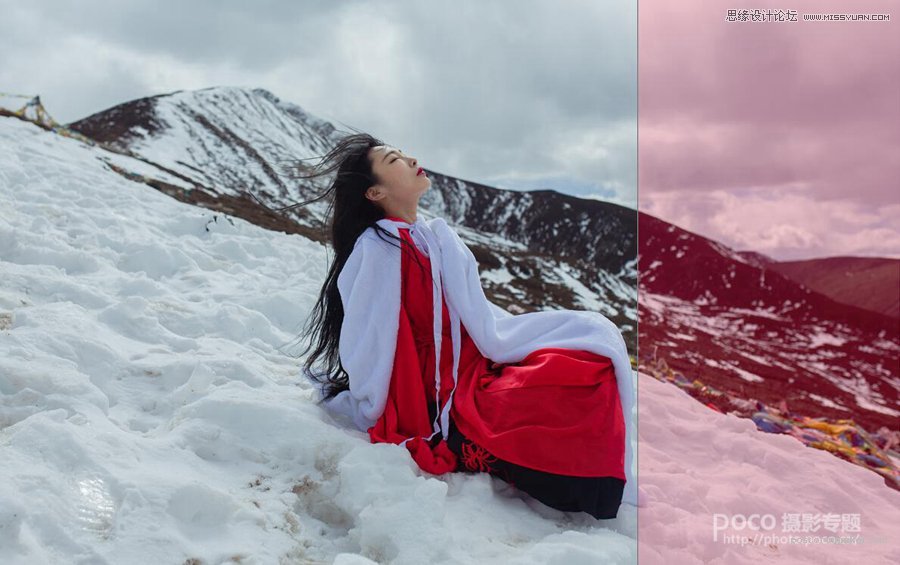
2.2.3执行Ctrl+c、Ctrl+v、Ctrl+t,进行画布拓展,,效果如下:
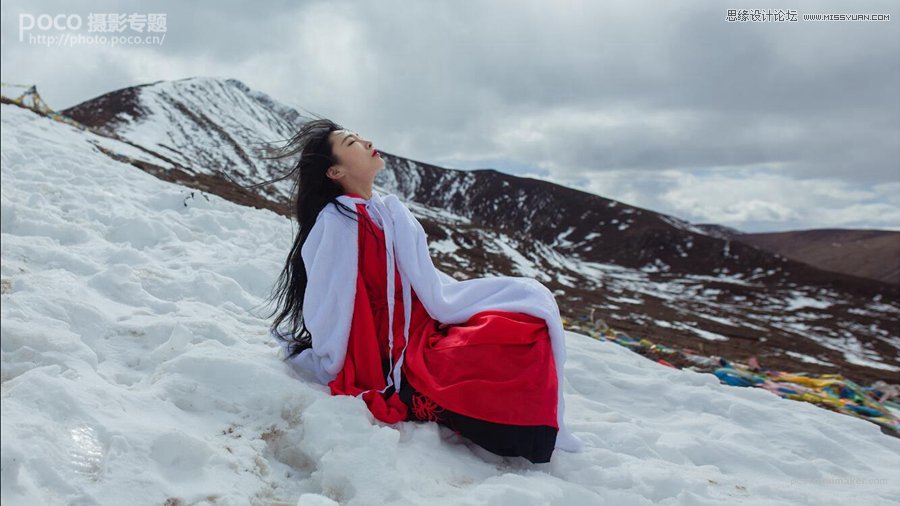
2.3执行液化、磨皮,在此不再具体讲解,效果如下:
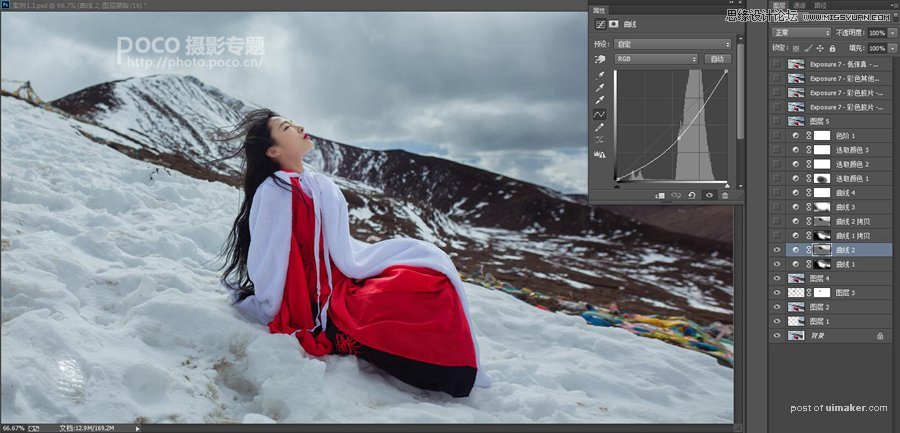
2.4处理明暗关系2.4.1用曲线提亮人物,黑色蒙版还原环境,效果如下:
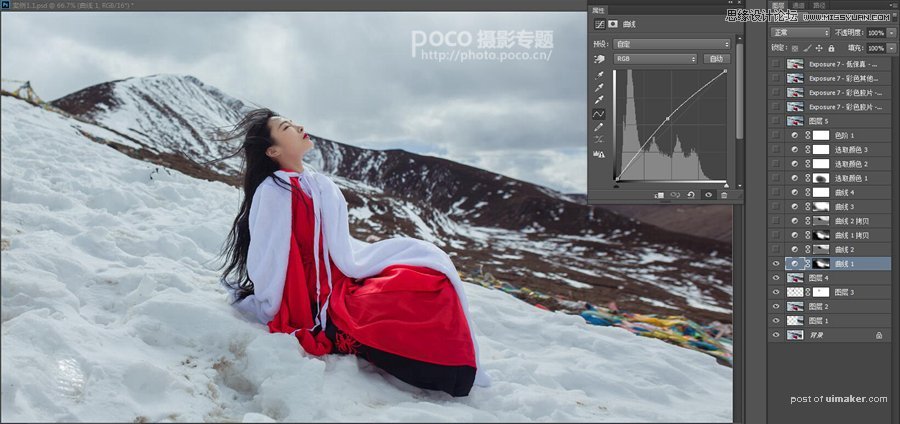
2.4.2用曲线压暗云层及白雪,还原人物,使云朵及环境层次更加清楚,效果如下: