来源:网络 作者:摄影师-喵咪
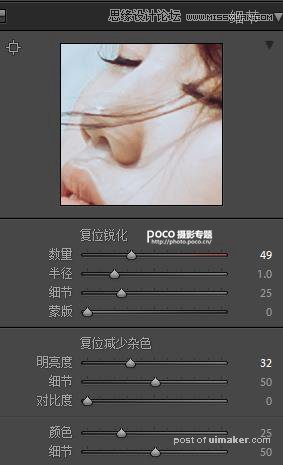
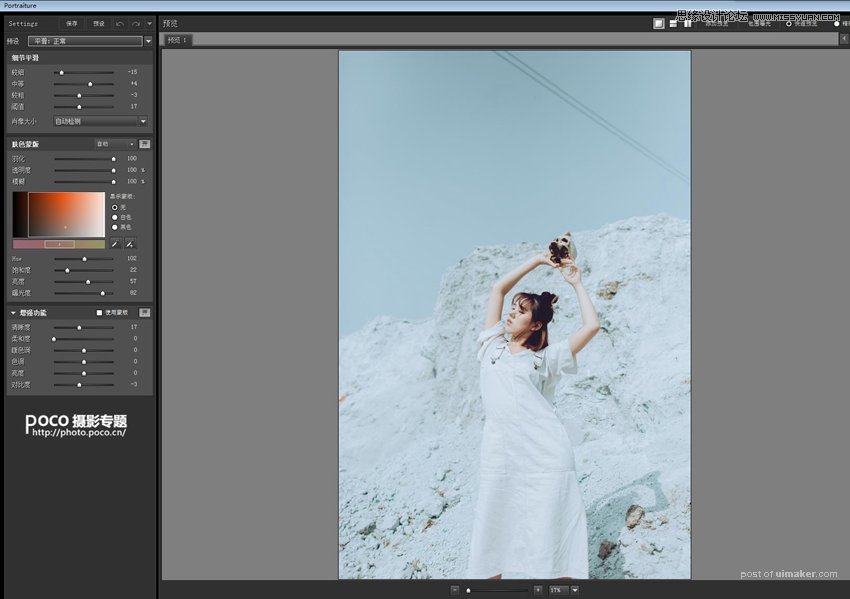
五、细节调整
调整锐化增加整体质感,这个调整要适度,锐化大了会显得生硬,控制减少杂色选项,可以起到给照片减噪的效果。
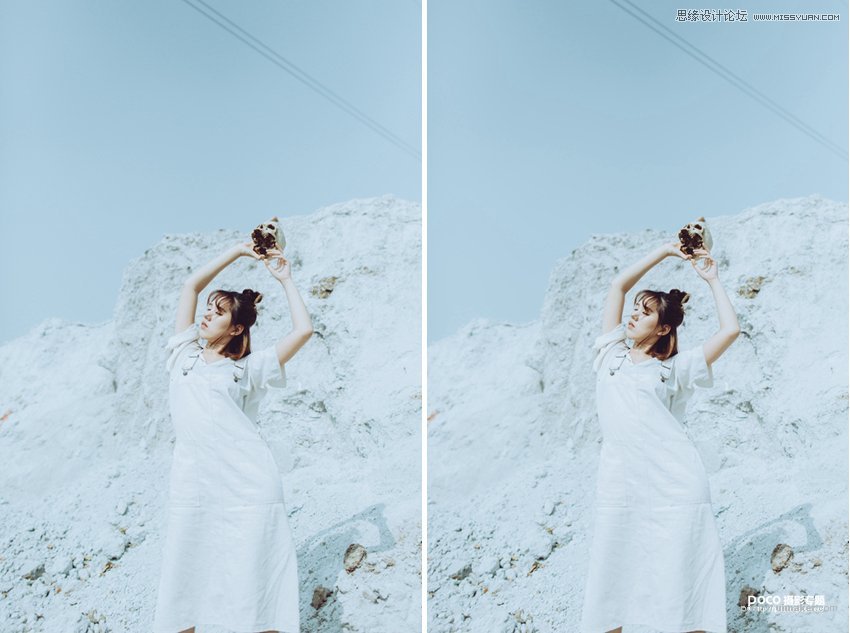
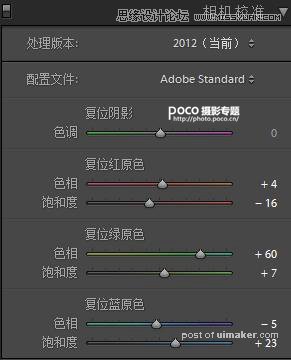
六、相机校准
调整三原色里的红色,绿色和蓝色,蓝色和绿色可以改变皮肤的通透度。

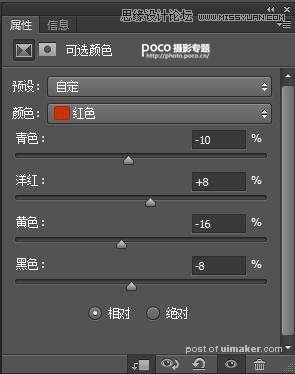
七、导入PS调整
对皮肤进一步调整,我用的最多的是图章磨皮,然后可选颜色对肤色处理,配合蒙板擦掉不需要的颜色,然后液化、滤镜磨皮,最后出片。
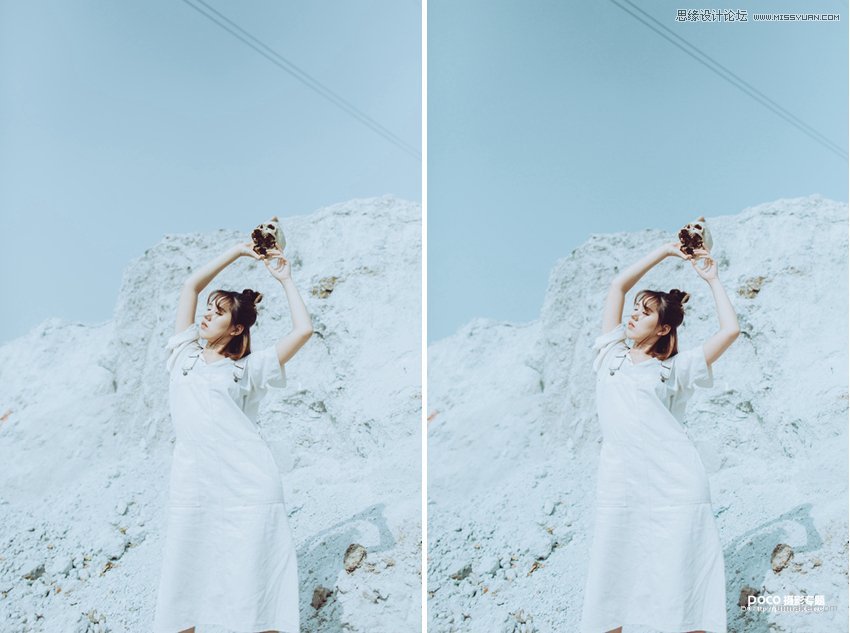
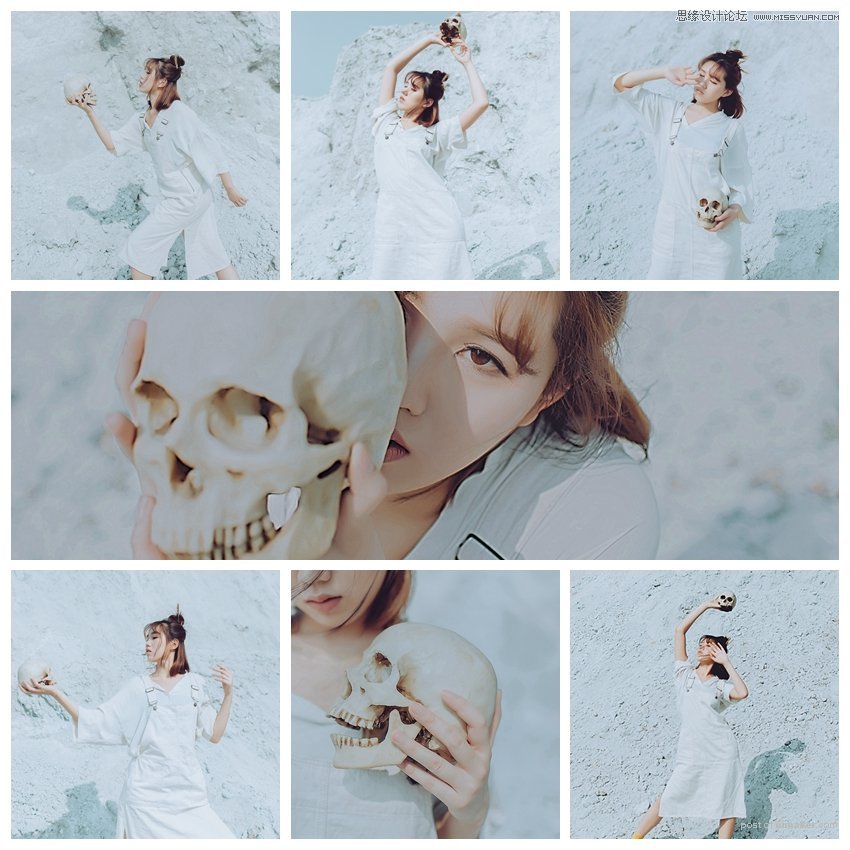
以上就是本次调色的全部过程,在炎热的夏天来一组性冷淡人像,是不是别有一番风味呢?为了大家熟练掌握本教程,附上了教程使用的【LR预设以及练习原片】(链接: 密码:aw9e),请大家多多练习,好好掌握!