来源:网络 作者:Valentine
(6)Shift+Alt+E盖印图层,然后再复制两层。
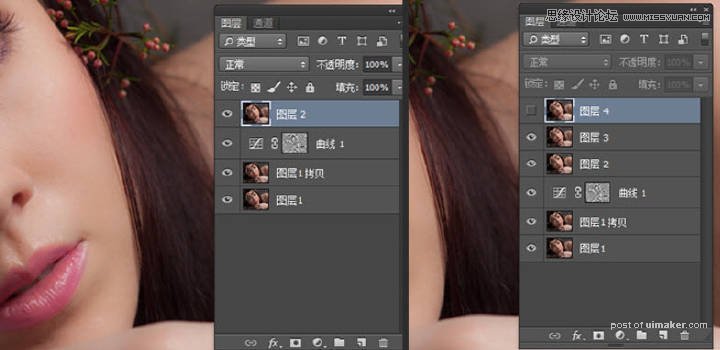
(7)对复制的图层3进行表面模糊,数值以看不到明显的粗糙为准。

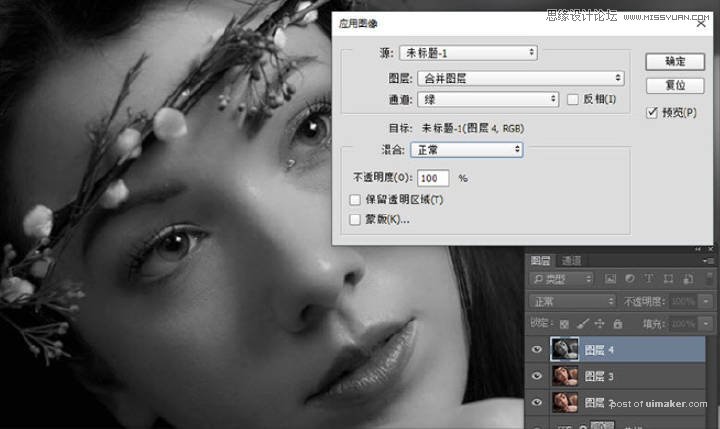
(8)选中复制的图层4,“图像-应用图像”选择绿色通道,点击确定。然后对图层4进行高反差保留,数值根据需要而定,数值越大纹理感越明显。并将图层模式改为线性光。

(9)选择图层3、图层4,Ctrl+G将两个图层移到一个组里面,并对组添加一个黑色蒙版。然后用白色揉角画笔对蒙版进行擦拭。将皮肤的质感擦出来 画笔不要太硬,不透明度和流量都要适当降低,根据实际情况而定,,脸部的敏感交界处不要擦拭。


(10)最后做一些颜色方面的调整即可。