来源:网络 作者:魔法世界的小姑娘
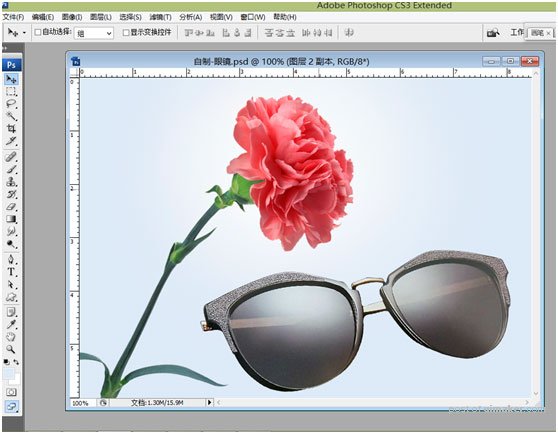
7.放到下面的位置。
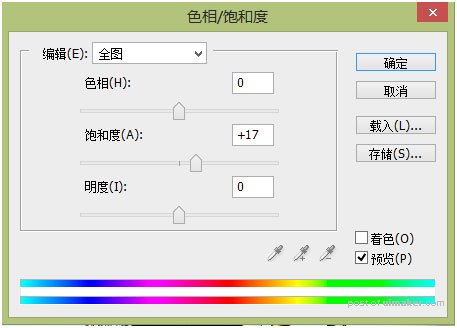
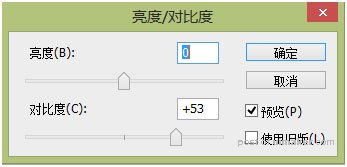
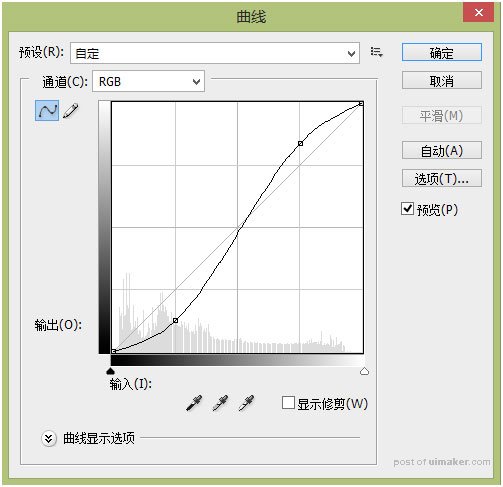
8.对墨镜作如下调整,色相/饱和度 亮度/对比度 曲线 数值设置如下,记得三个都要创建剪切蒙版哟!
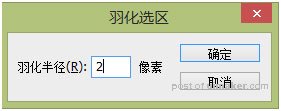
9.其他图层都关掉,只留下墨镜图层和上面针对墨镜进行调整的三个剪切蒙版图层,Ctrl + Shift + Alt + E 盖印图层,在墨镜下面新建一个图层,按住Ctrl键调出墨镜的选区,Shift + F6 羽化选区,羽化值为2,然后填充黑色,移动到墨镜右下方的位置,降低透明度20%。

10.给墨镜层添加图层样式,设置数值如下图所示。
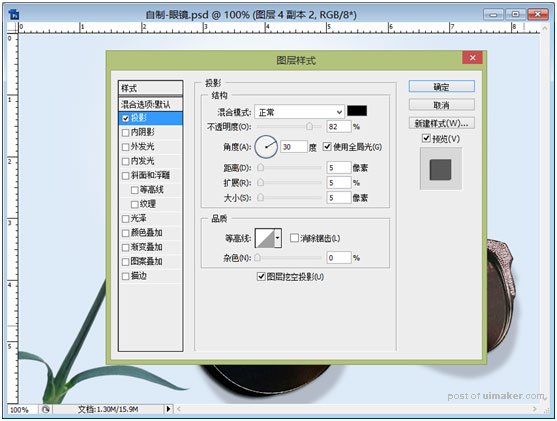
11.设置完,下面的效果。

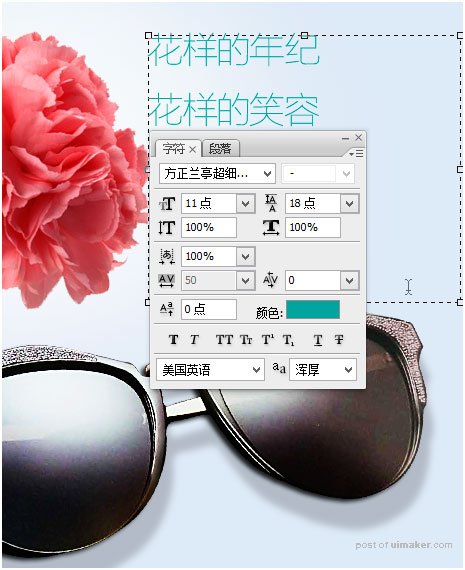
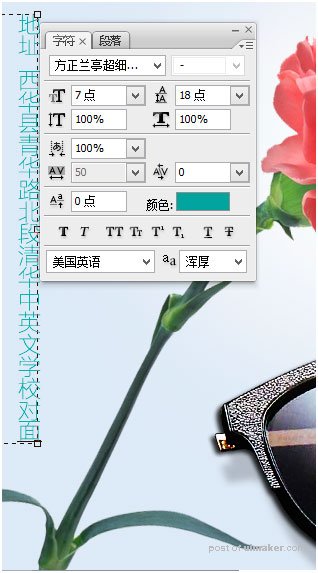
12.添加字体,如果觉得字体颜色有点浅,可以复制一层。