来源:网络 作者:你们的三先生
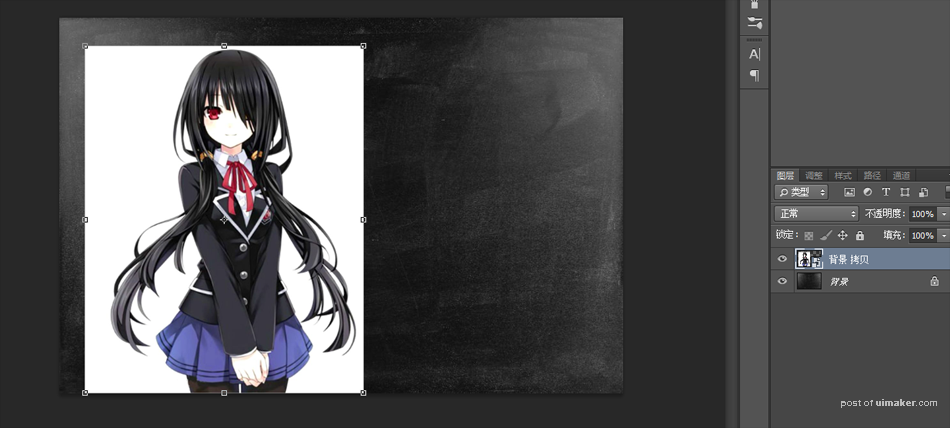
1、将我们的背景黑板素材和漫画素材拖拽进PS
同时右键单击漫画图层,将其转化为智能对象以方便我们的后期操作
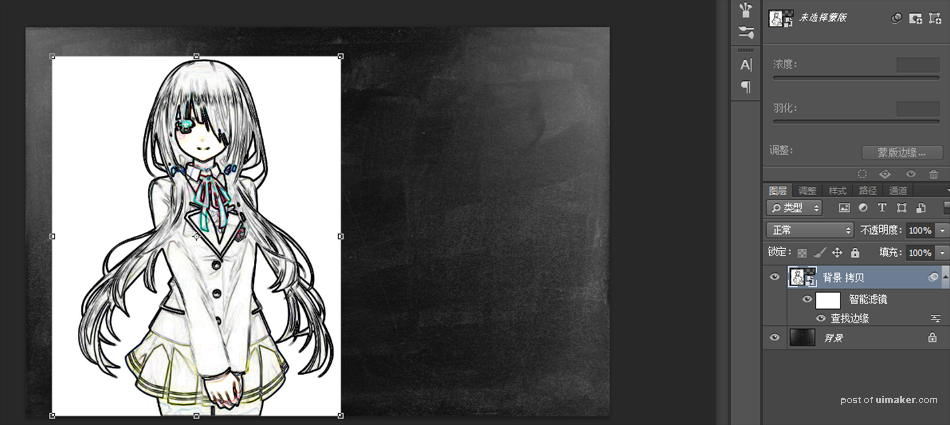
2、点击滤镜-风格化-查找边缘
先将uimaker.com/uimakerdown/">素材的轮廓勾画出来。
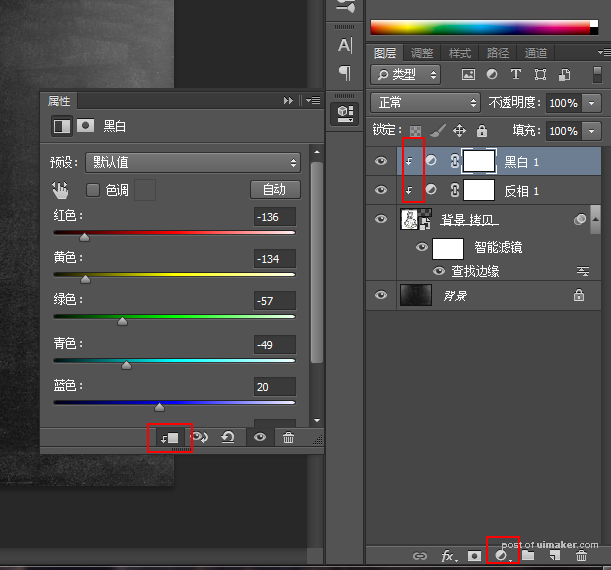
3、接下来我们对素材进行反向并应用于下面的单一图层。

4、继续为图层添加去色效果同样应用于下面的单一图层;滑块数值大家可以自行调节。
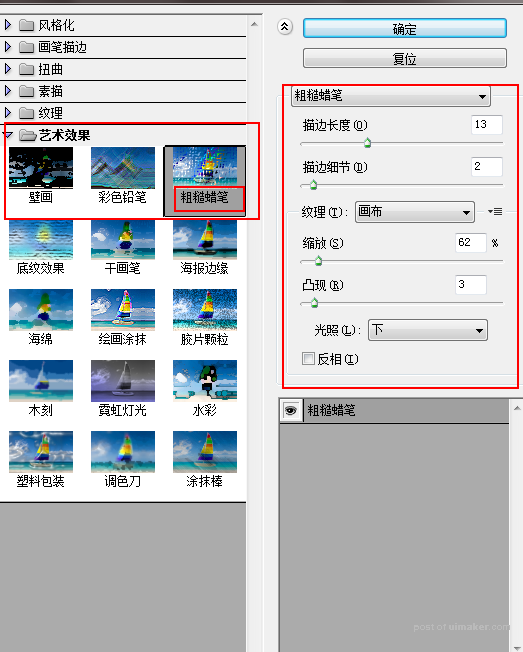
5、选择素材图层,点击滤镜-滤镜库-艺术效果-粗糙蜡笔;数值大家可以根据素材自行调节。
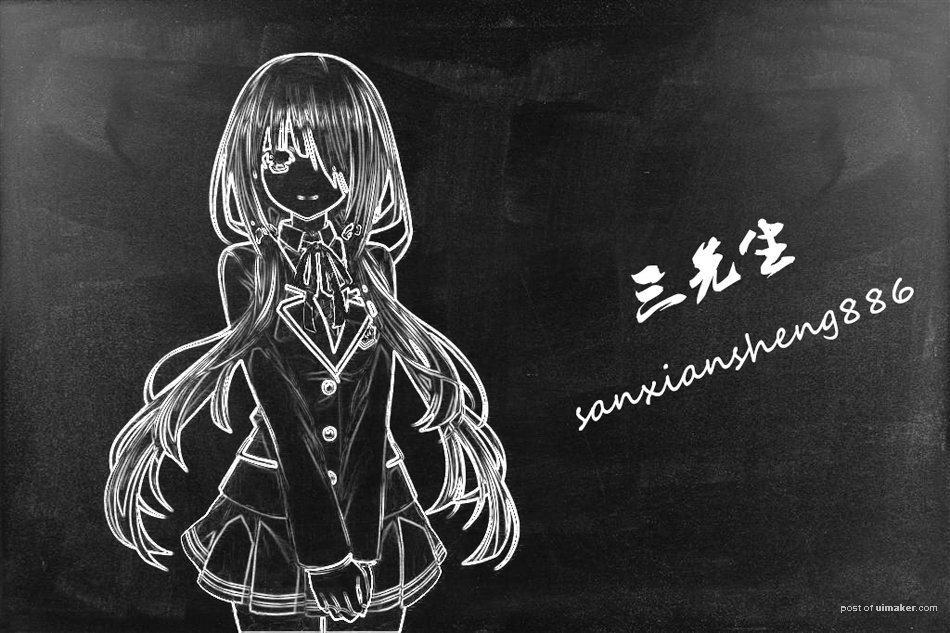
6、最后我们将图层混合模式更改为滤色,那么我们的粉笔画效果就制作完成了
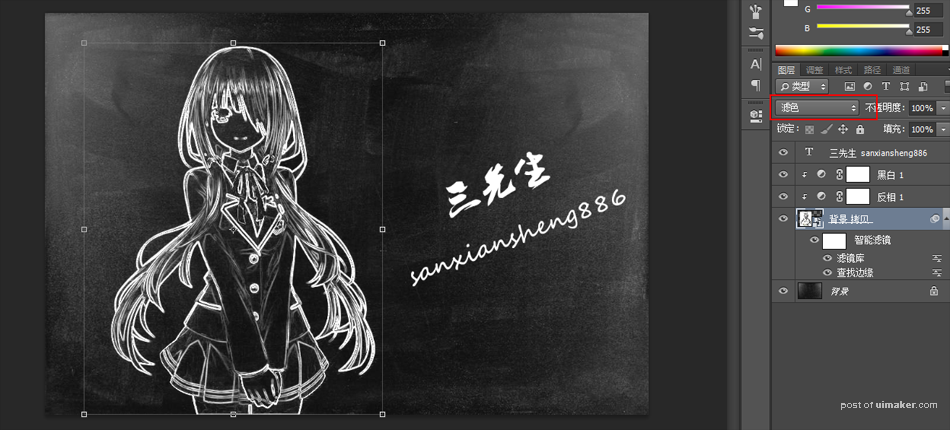

,


