来源:网络 作者:全栈UI笔记
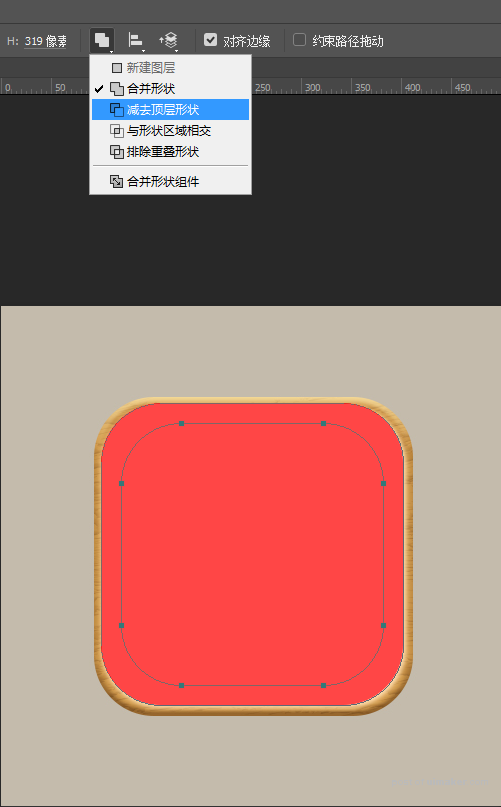
步骤四:现在来绘制底座高光,绘制俩个圆角矩形,使用小黑工具单击选中内步形状,并减去顶层形状。
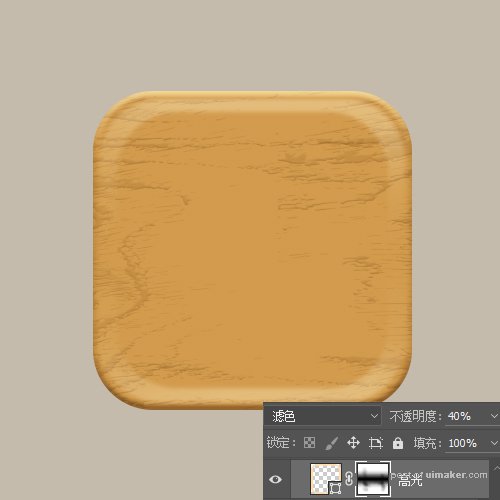
步骤五:将混合模式改为滤色,不透明度设置为40%,添加图层蒙版,擦除不需要的位置。
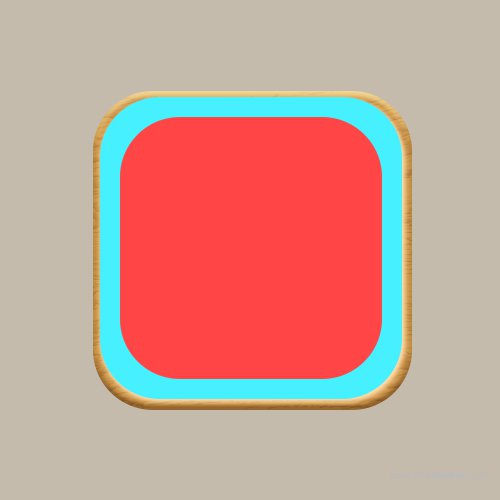
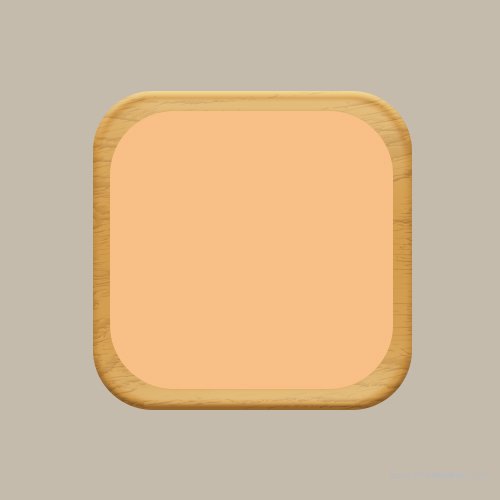
步骤六:继续使用圆角矩形工具绘制一个283px*278px圆角半径为60px的圆角矩形,颜色设置# f8bf86并命名为底座亮色。
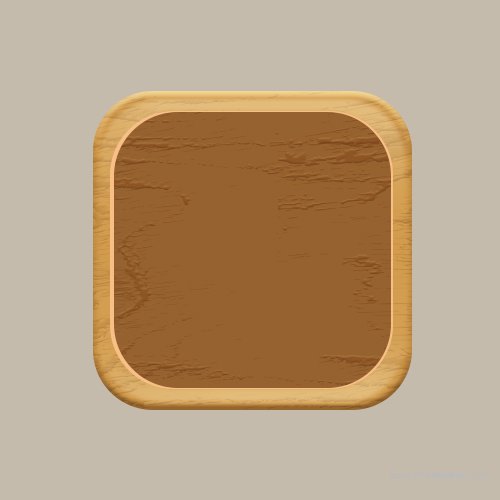
步骤七:我们复制一下底座亮色图层,将颜色设置为#96622f,重新命名为底座暗色,并移动到合适的位置。
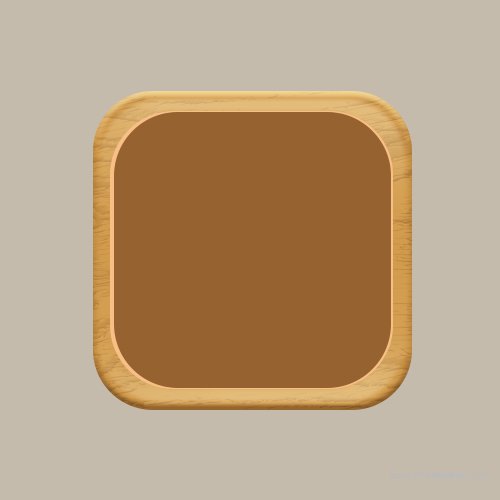
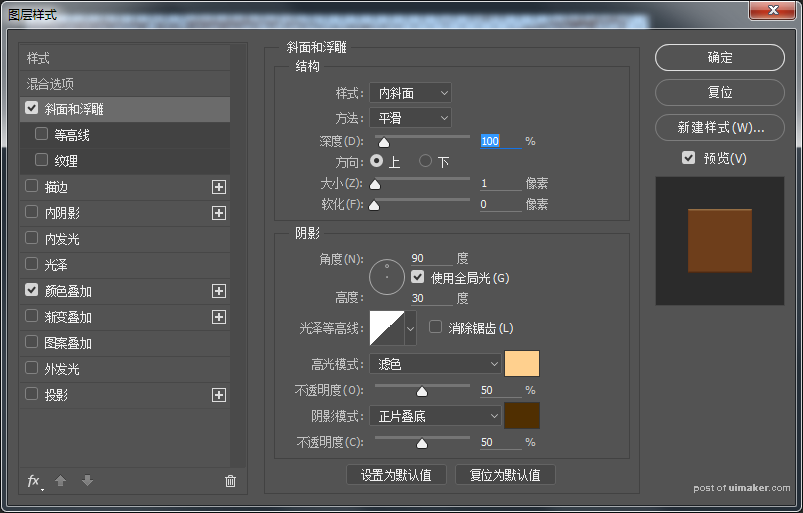
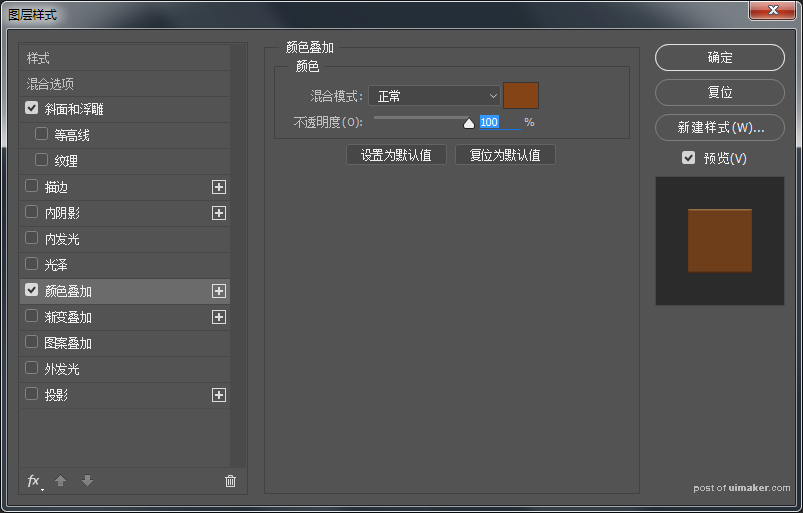
步骤八:继续打开素材,操作同上:为素材添加图层样式转换为智能对象并创建剪贴蒙版到底座暗色。将图层打组命名为底座。