来源:网络 作者:昀恒
uimaker.com/uimakerhtml/uistudy/">教程所需要的素材:创意的悬浮海岛效果图PS教程素材
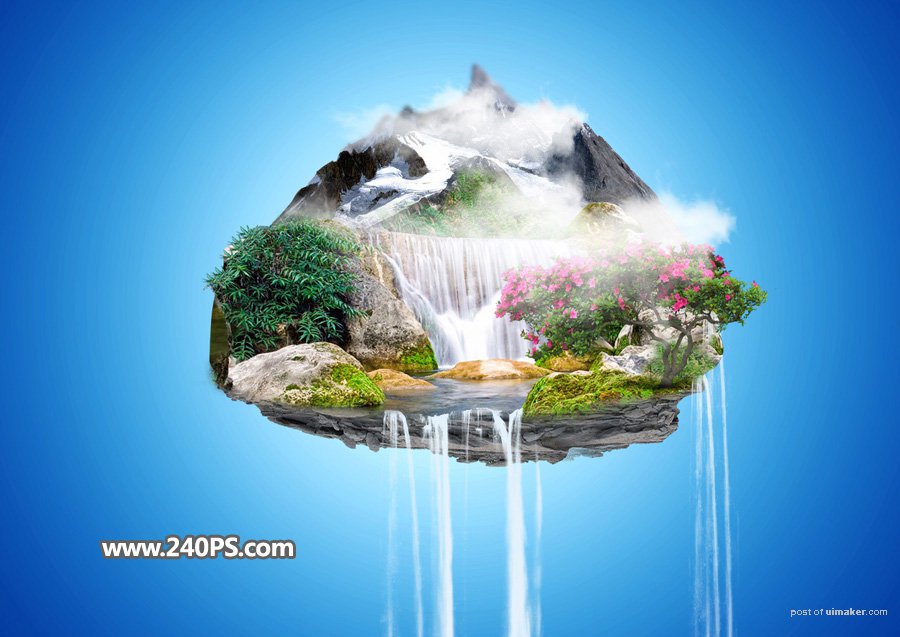
最终效果
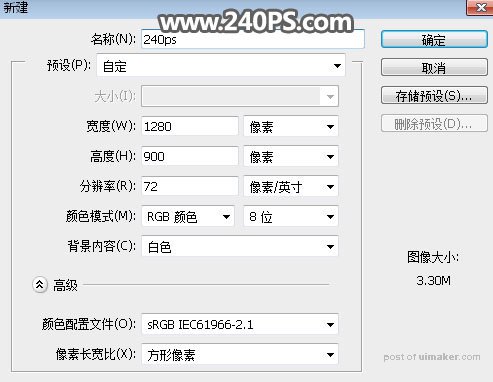
1、新建画布。打开PS软件,按Ctrl + N 新建画布,尺寸为1280 * 900 像素,分辨率为72像素/英寸,如下图。
2、选择渐变工具,然后点击渐变色设置渐变,如下图。
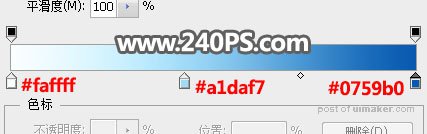
3、在属性栏选择“径向渐变”,不透明度设置为100%,然后由画布中心向边角拉出渐变作为背景。
4、创建曲线调整图层,把RGB通道稍微压暗一点,参数及效果如下图。

5、打开雪山素材,用钢笔工具勾出雪山。

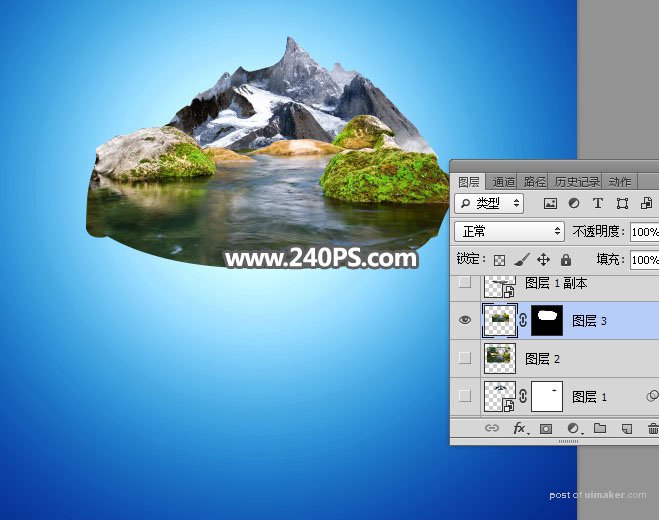
6、把抠好的雪山拖进来,转为智能对象后调整好大小,如下图。

7、导入瀑布流水素材,,调整好大小。

8、用钢笔勾出水面和石头部分,转为选区后添加图层蒙版,然后调整好大小和位置,如下图。