来源:网络 作者:昀恒

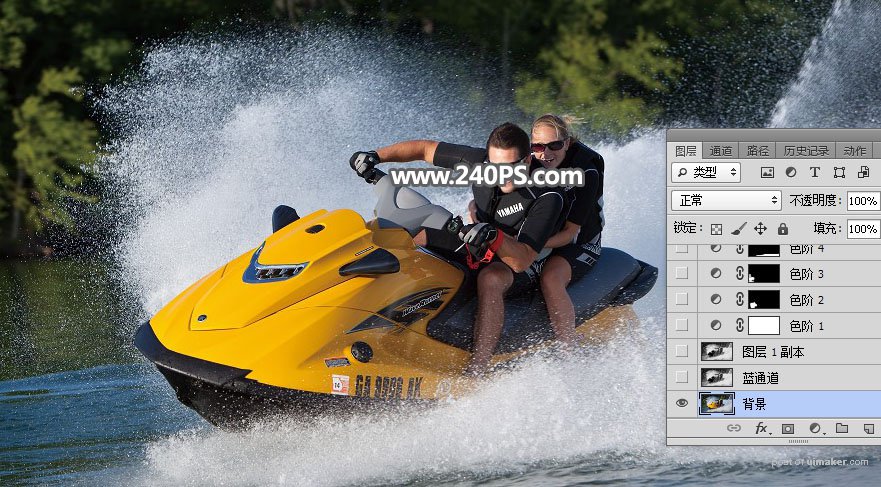
原图

1、首先打开原图。
2、进入通道面板,,观察各通道。
选择红通道:局部背景与水花颜色接近。
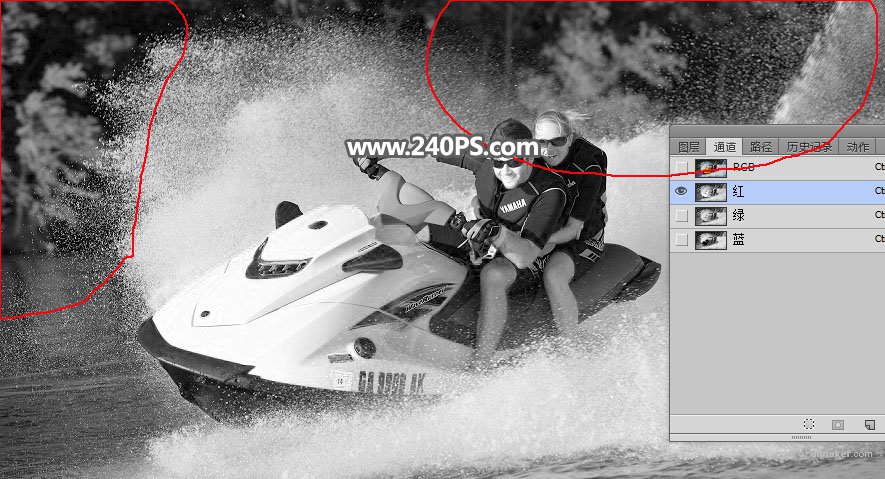
选择绿通道:与红通道接近,只是偏灰了一点。

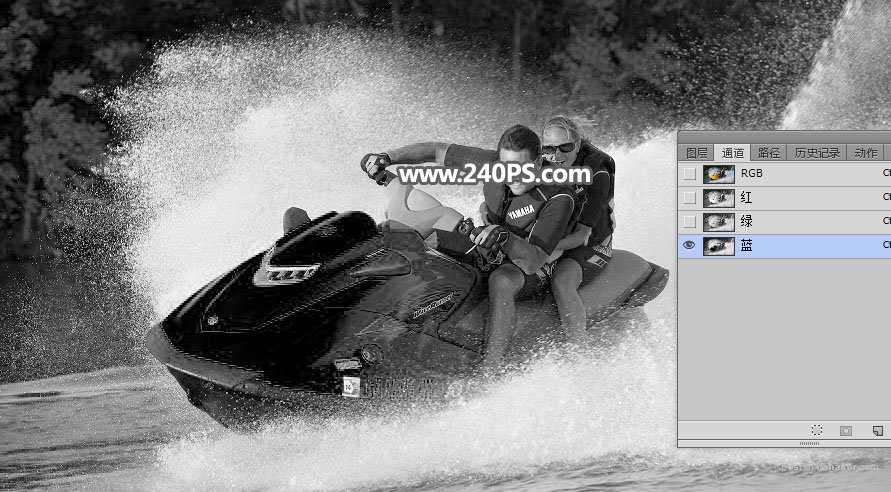
选择蓝通道:水花与背景有一定的色差,比较理想。
3、选择蓝通道,按Ctrl + A 全选,按Ctrl + C 复制。
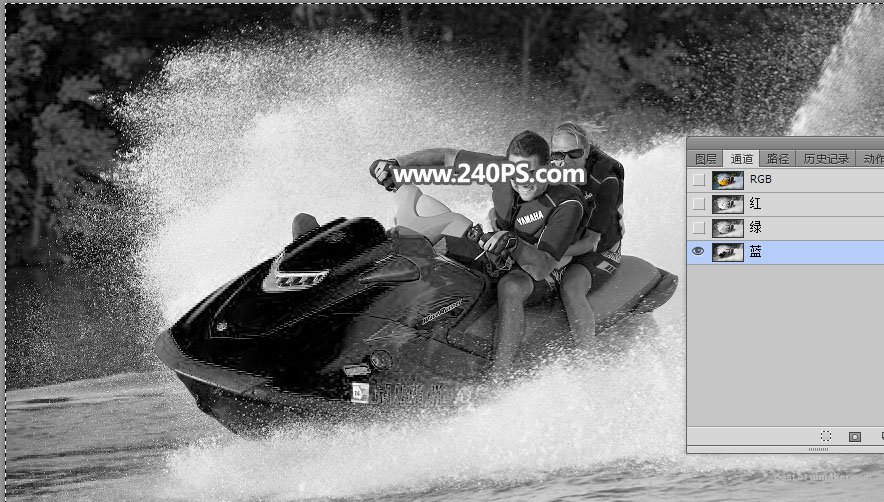
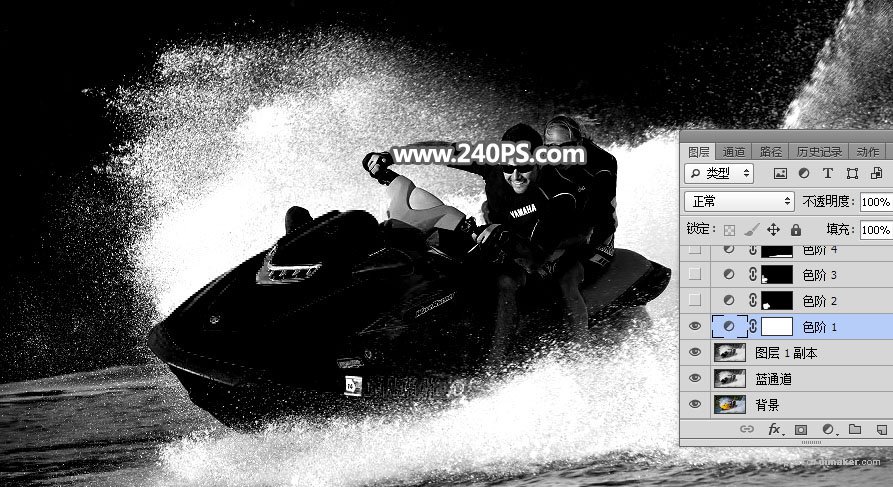
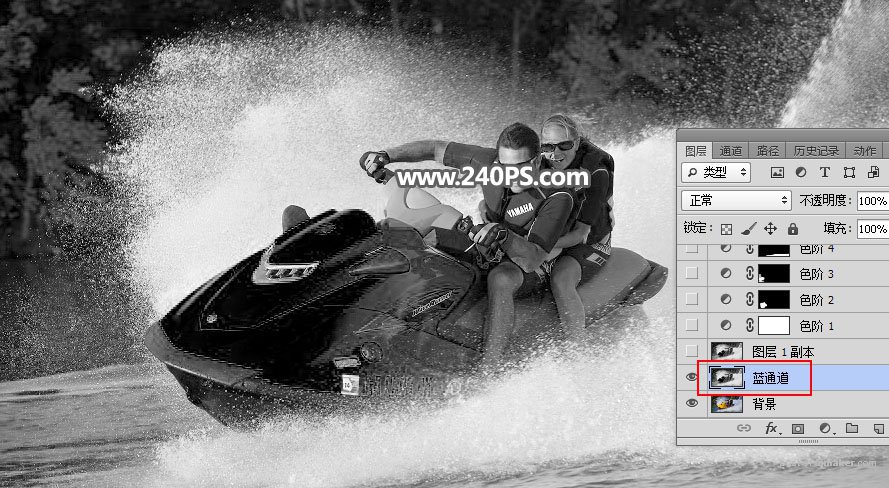
4、点RGB通道返回图层面板,新建一个图层,按Ctrl + V 把复制的通道粘贴进来,如下图。
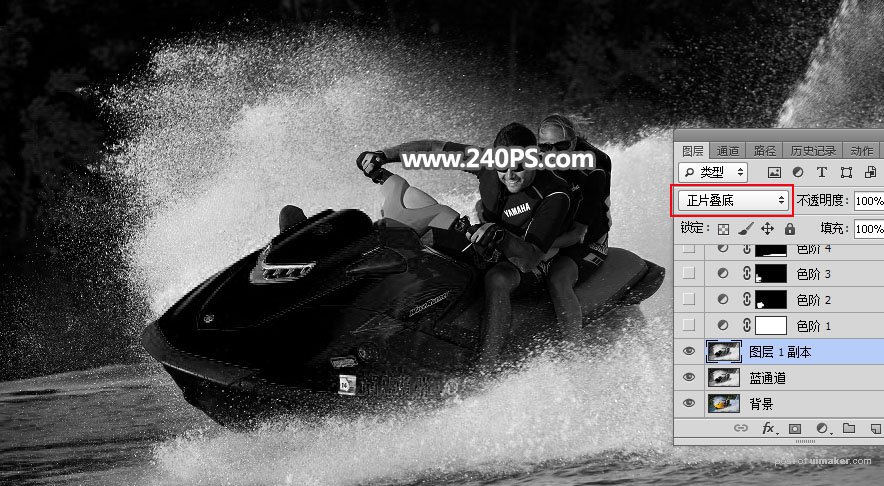
5、按Ctrl + J 把当前图层复制一层,混合模式改为“正片叠底”,效果如下图。
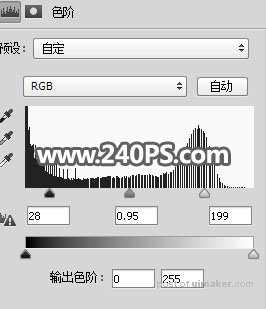
6、点击下面的按钮,创建色阶调整图层。
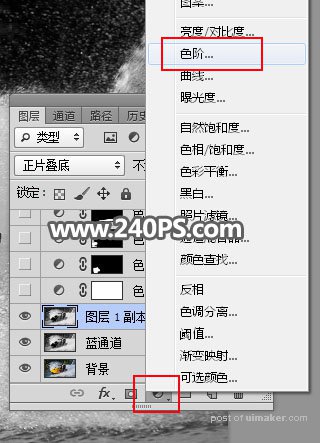
7、增加明暗对比,参数及效果如下图。