来源:网络 作者:昀恒
uimaker.com/uimakerhtml/uistudy/">教程所需要的素材:公路上正在冲浪的人物PS教程素材
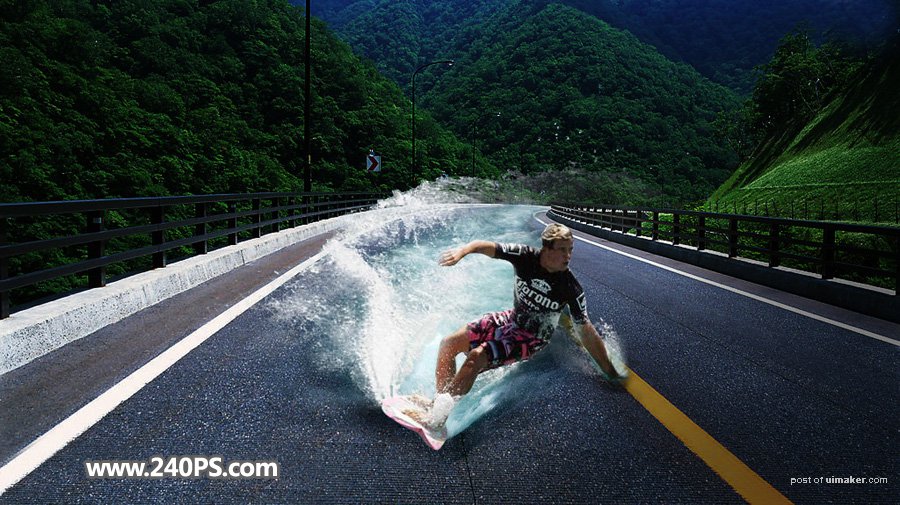
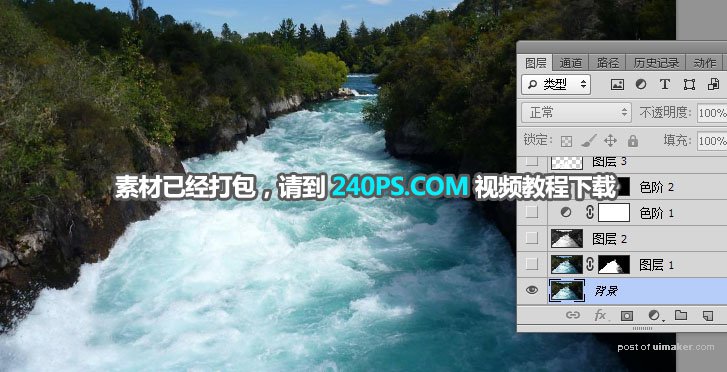
最终效果
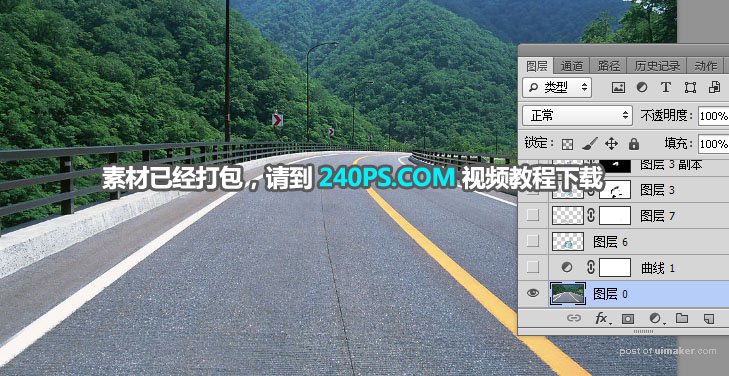
1、首先打开公里素材作为背景。
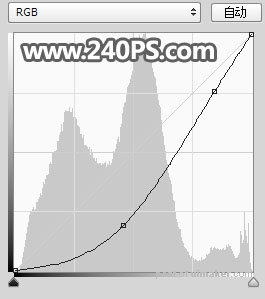
2、点击图层面板下面的创建新的填充或调整图层按钮,选择曲线。

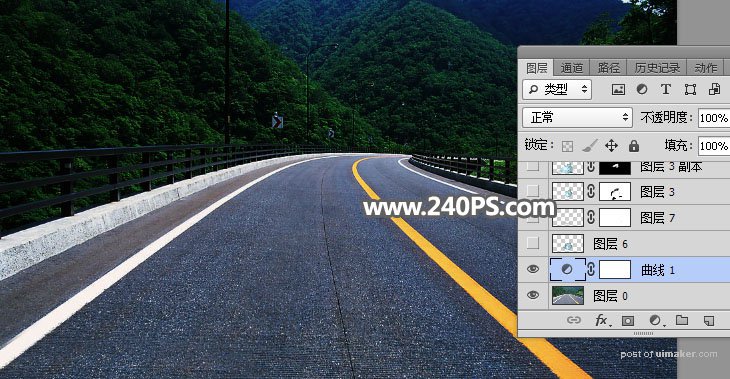
3、把RGB通道暗部区域压暗,,参数及效果如下图。
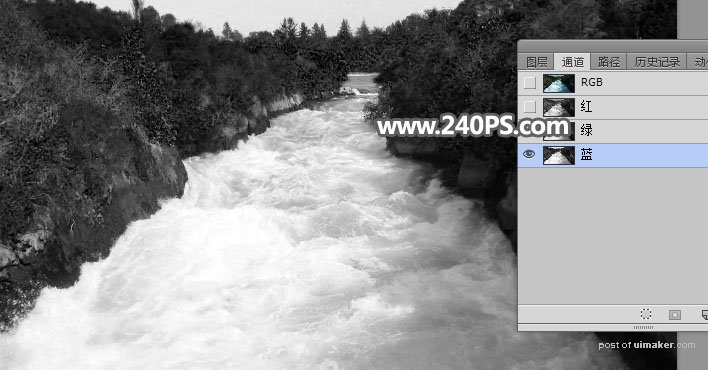
4、打开河流素材。
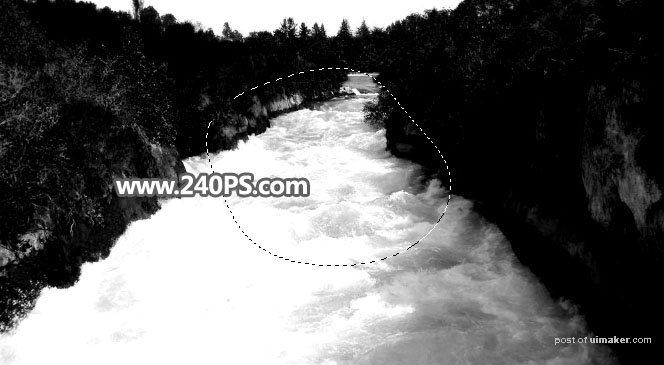
5、现在来抠河水。进入通道面板,观察一下各通道,然后选择蓝通道,按Ctrl + A 全选,按Ctrl + C 复制。
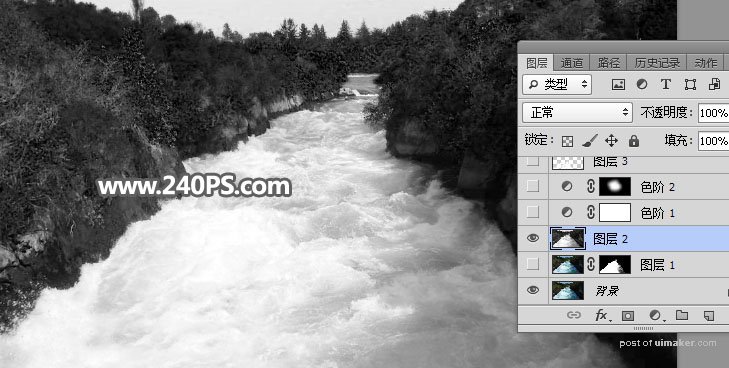
6、回到图层面板,新建一个图层按Ctrl + V 把复制的通道粘贴进来,如下图。
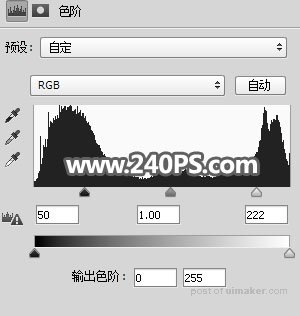
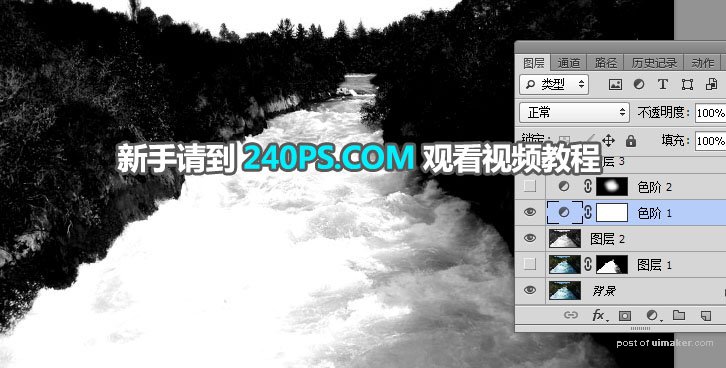
7、创建色阶调整图层,增加明暗对比,参数及效果如下图。
8、用套索工具勾出顶部区域,并把选区羽化8个像素。