来源:网络 作者:雨夜丶月
分页
标题#e#
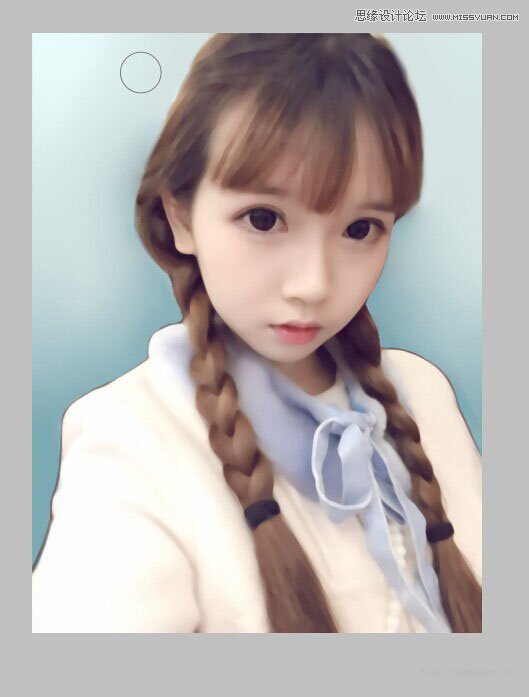
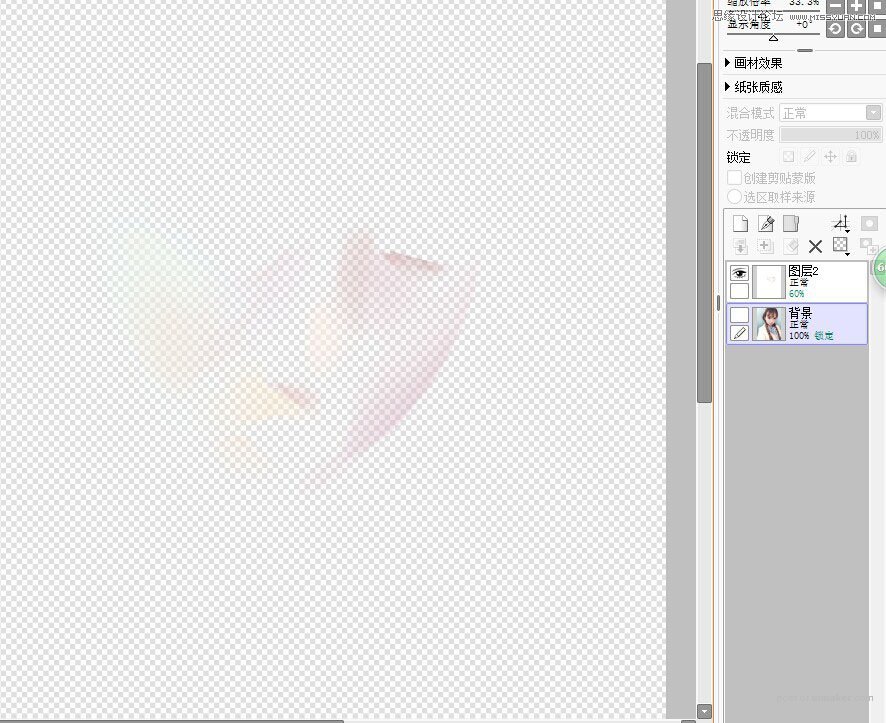
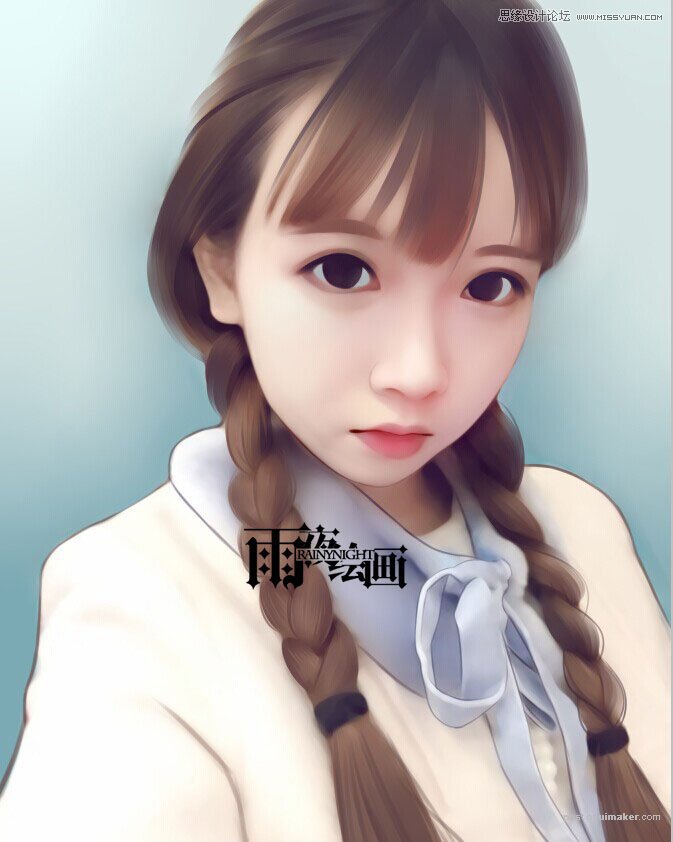
4、把背景涂了一下。
5、先画了眼睛。其实有的时候可以自己混点色。眼白我改成了浅蓝。
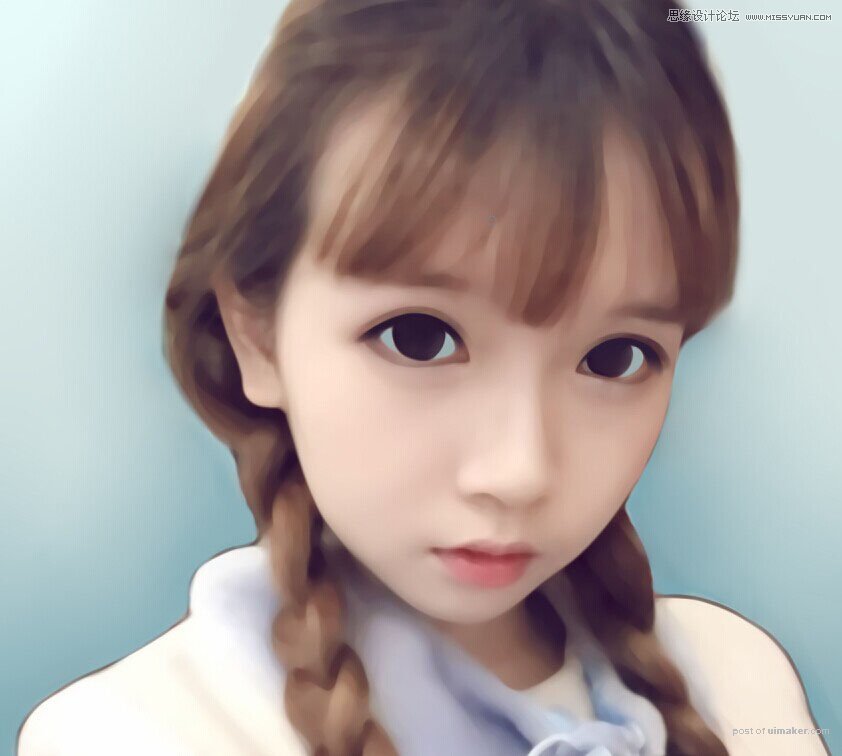
6、通常我有个习惯。用水彩笔磨脸之前都会把五官给画定位了。
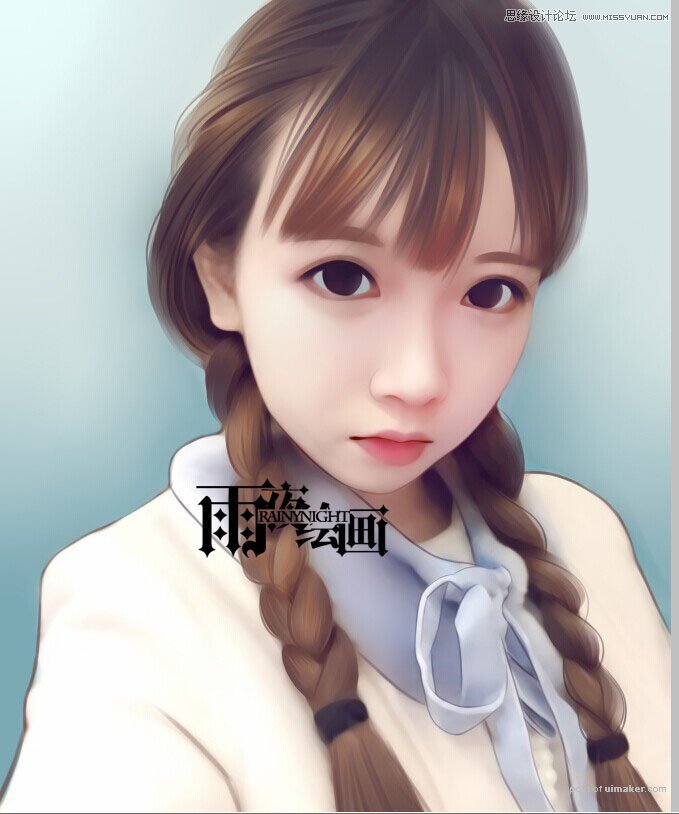
7、这里我用了叠加图层.在我上图圈了的地方。叠了红色。让嘴巴更红。
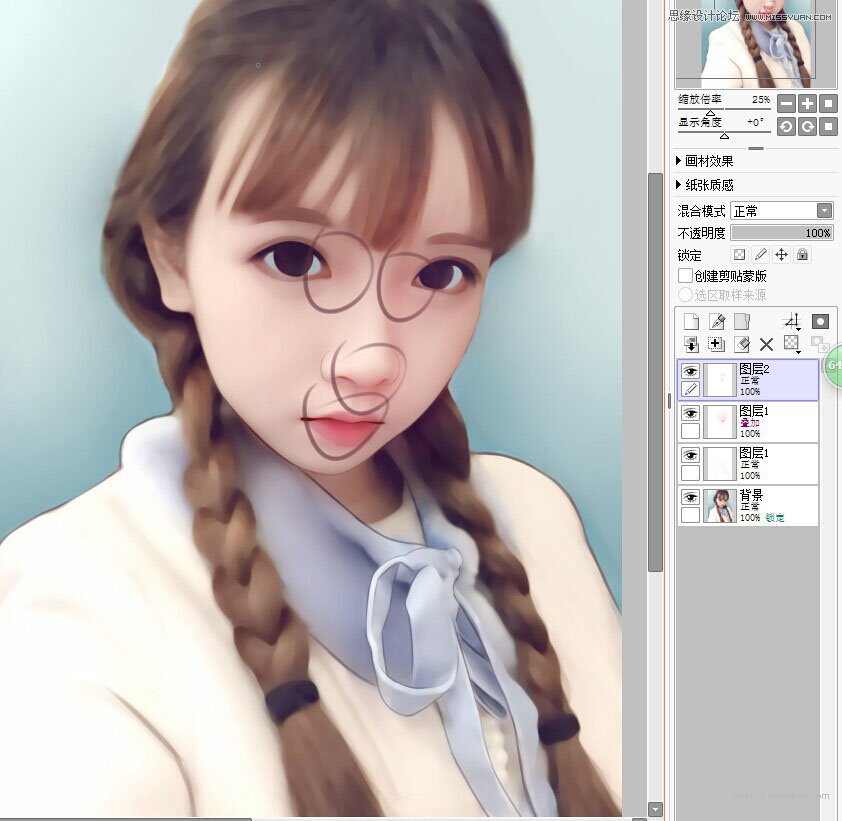
8、新建了一普通层。将亮部的光线加强一下。这里很多的新手经常问的问题就是,为什么我的图画出来都是很糊的。其实就是脸部的对于边缘(唇边。鼻边。总之五官的,)的没有画好。
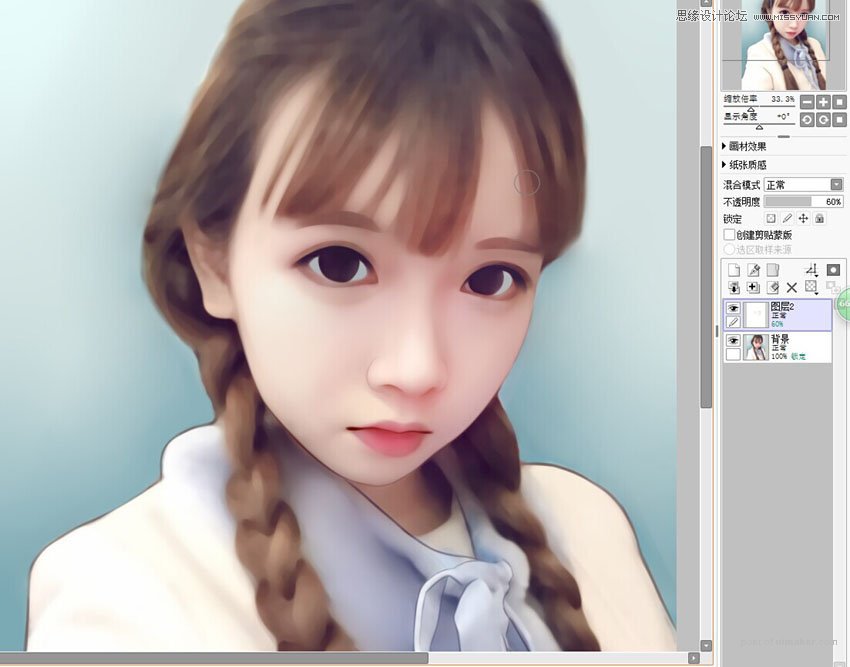
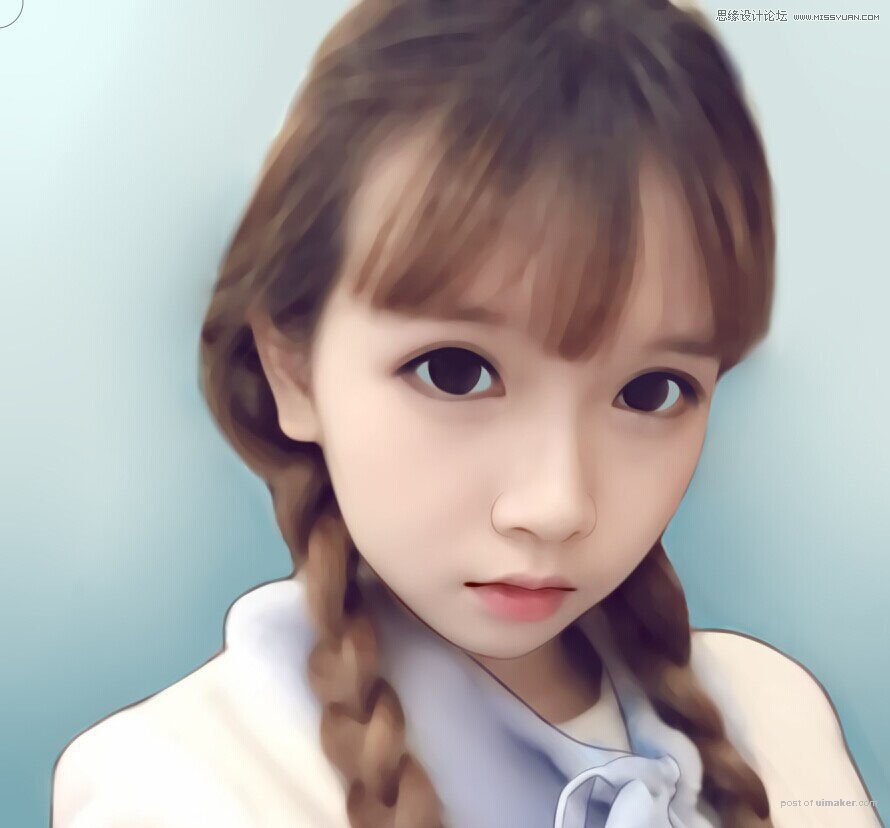
9、这里用炳烯笔的设置。随便画笔都可以设成的。
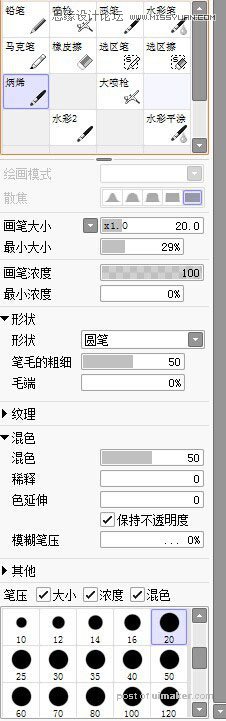
10、然后。喷枪加上亮亮的发丝。