来源:网络 作者:奔月狼
uimaker.com/uimakerhtml/uistudy/">教程源文件:绚丽多彩的霓虹字PS教程源文件
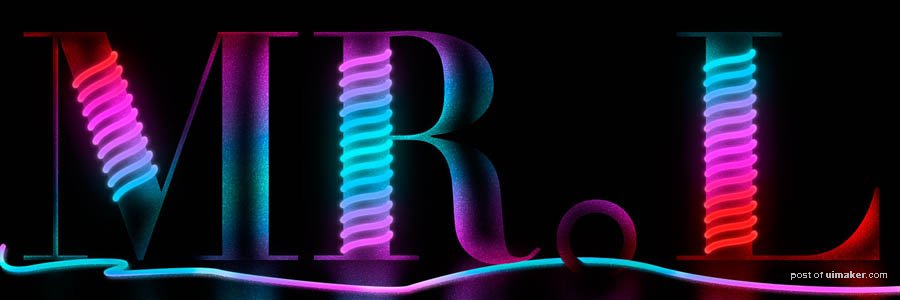
效果如下:
制作过程大概思路:
一,建立黑白的立体字和灯管。
二,立体字和灯管上渐变色。
三,,调整灯管发光效果,添加文字质感和倒影。
下面是详细的制作过程:
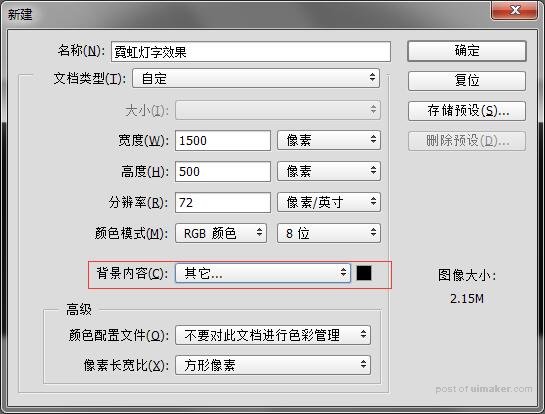
启动PS新建文件,背景填充黑色
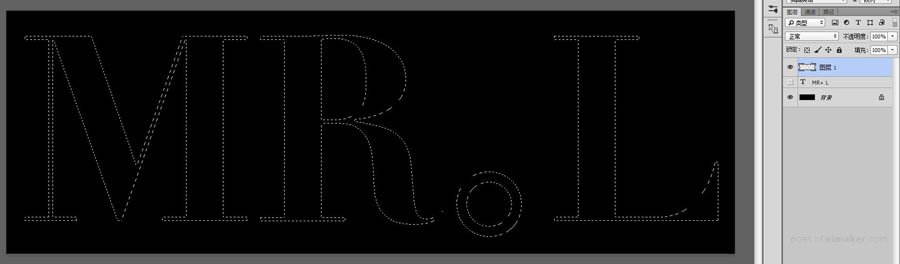
2,文字工具"T",并设置属性。写字:"MR.L"(这个字体可以网上下载)

3.新建图层,并将刚才的文字图层一选区载入。
方法是:按着ctrl+鼠标左键,点击图层MR.L中的T
得到结果:
4.用b画笔工具,画出文字亮光
画笔设置:
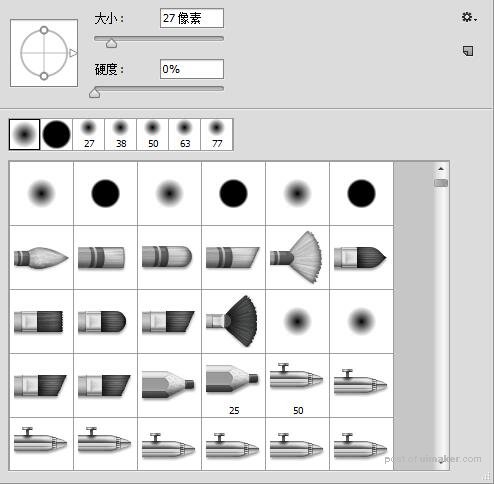
画笔大小要根据需要变大变小。
得到的结果: