来源:网络 作者:韩凯
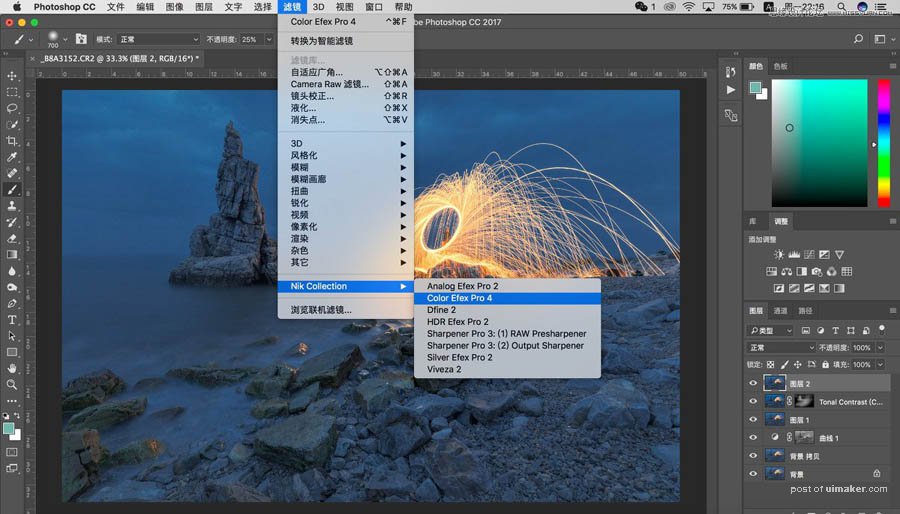
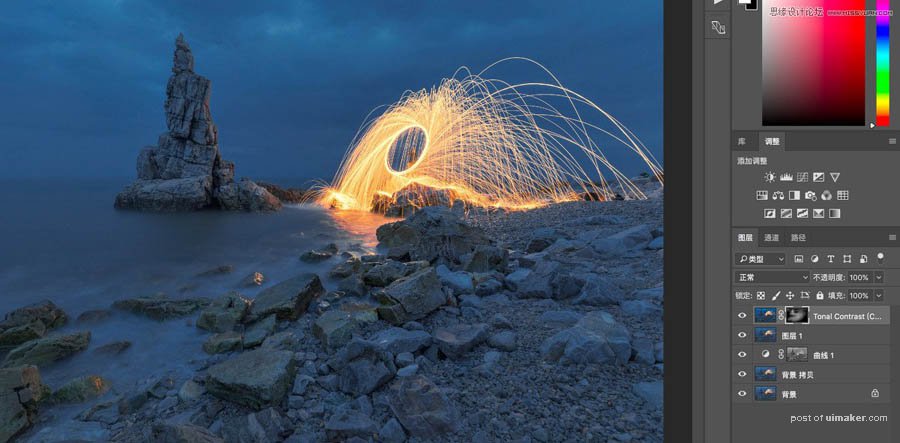
10、继续增加对比度,打开Nik Collection—Color Efex Pro 4;

11、找到色调对比度,使用默认值,点击ok(默认值的强度较大,不适合整张图片,先点击ok,然后生成黑色蒙版,白色画笔刷出需要的部分)
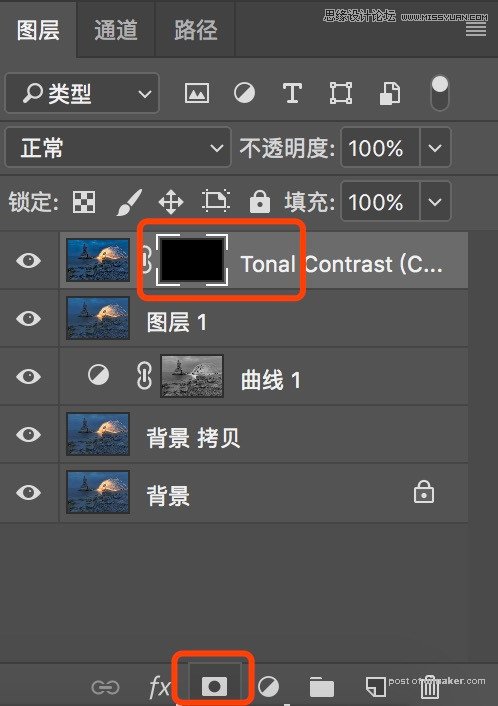
12、生成黑色蒙版,键盘按住alt键,左键点击蒙版
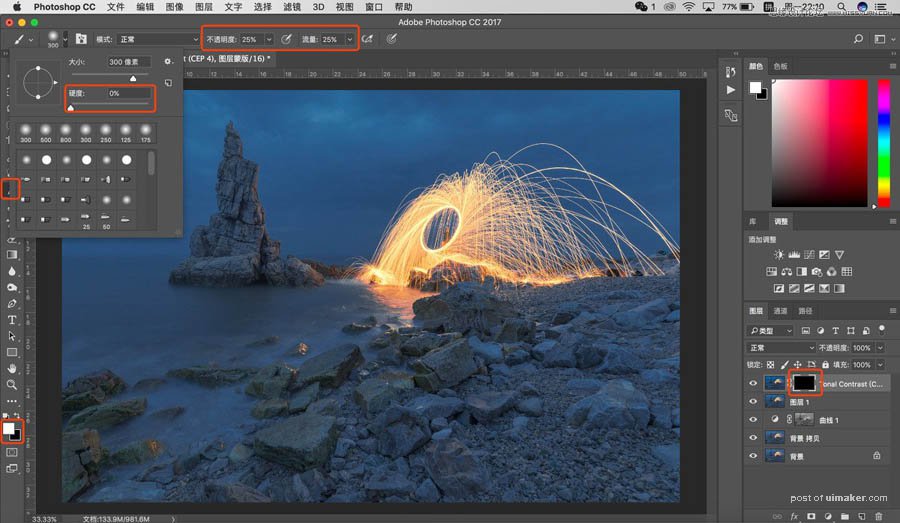
13、画笔工具,前景色白色,最软的画笔,不透明度和流量25%左右,在画面中需要增加对比度的地方刷出来

14、增加对比度之前
15、增加对比度之后,黑色蒙版上面的白色是刷出来的部分;
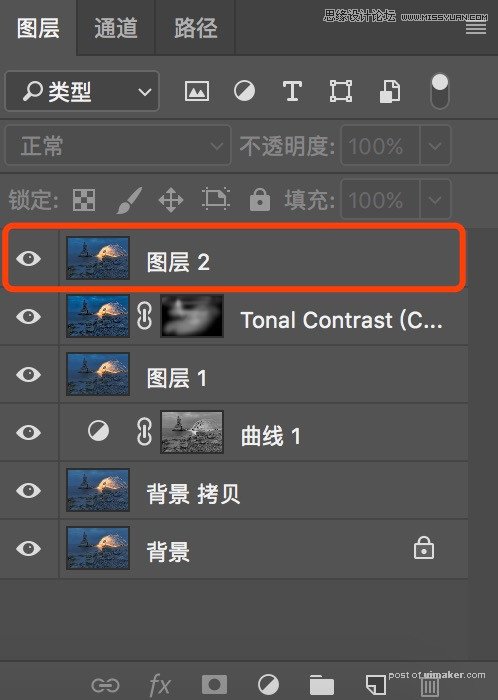
16、继续ctrl+shift+alt+e,盖印一个图层;