来源:网络 作者:梦梦_喵喵星人
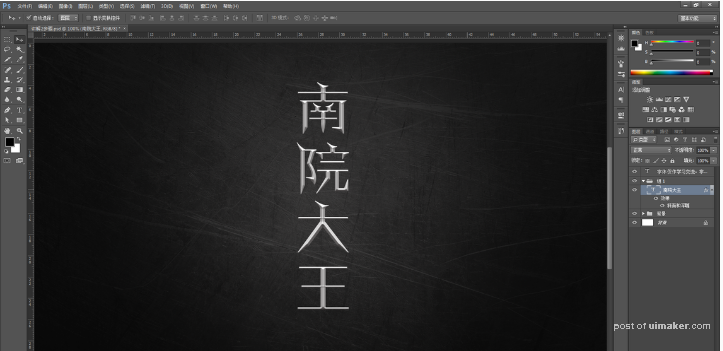
下面是教程:
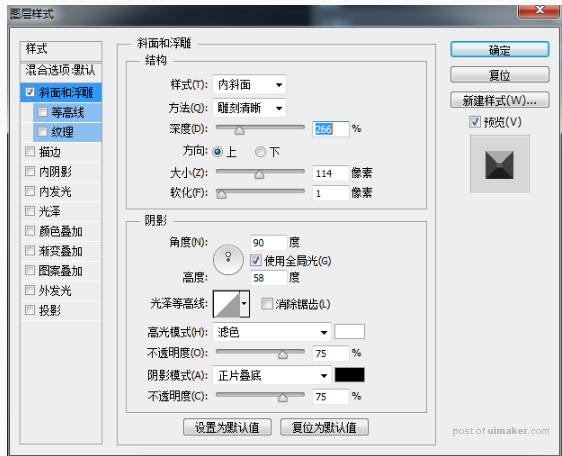
图层样式-斜面和浮雕。有同学要问了,听你前面的意思是不用斜面和浮雕吗?这咋又用上了呢? 这一步是给字加上立体感,,后面在用曲线做广感。只需要做简单的参数设置,让字看起来立体些就行。方式改为"雕刻清晰",深度和大小随意调整,参数尽量大些,只要让字变得立体棱角分明就行,后面还可以微调。"阴影"选项的高度和角度要调为上方来光,当然大家可以试着调不同的光向效果。我调的参数如下:

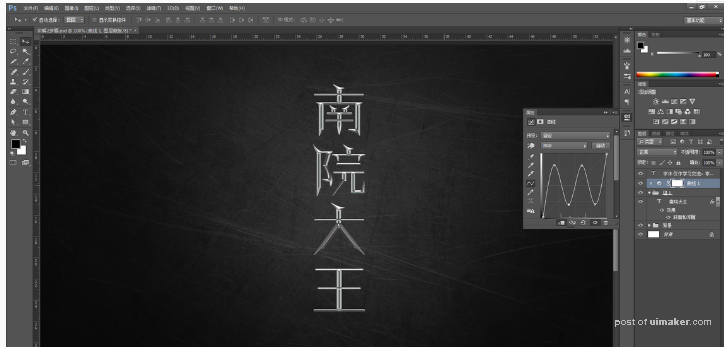
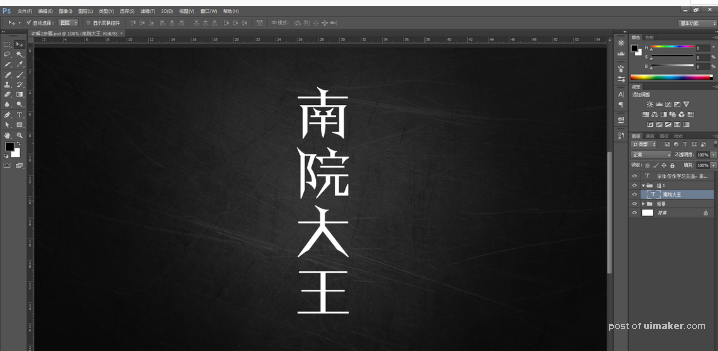
接下来就是见证奇迹的时刻~开始今天最关键的一步,曲线工具登场。新建一个组,把文字放进去,再新建一个曲线图层,并剪切进文字组里。如图。