来源:网络 作者:情非得已
本次教程主要用到的工具及命令:套索工具,用于选择图层内需要选择的部分收缩图层,将图层按选区内容进行收缩,自动混合图层,图标素材,将多个图层无违和的混合在一起,整个教程制作起来比较简单,同学们跟着教程来学习一下吧,相信你可以学会,并做的很好。
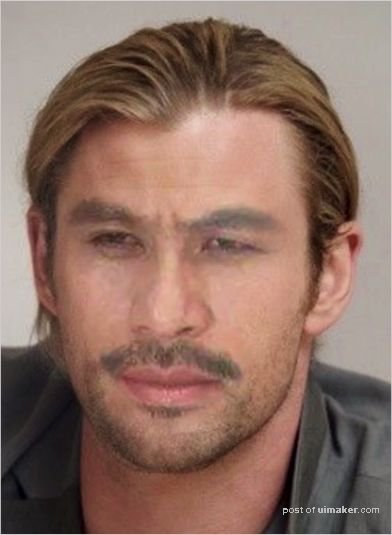
效果图:
练习素材:


操作步骤:
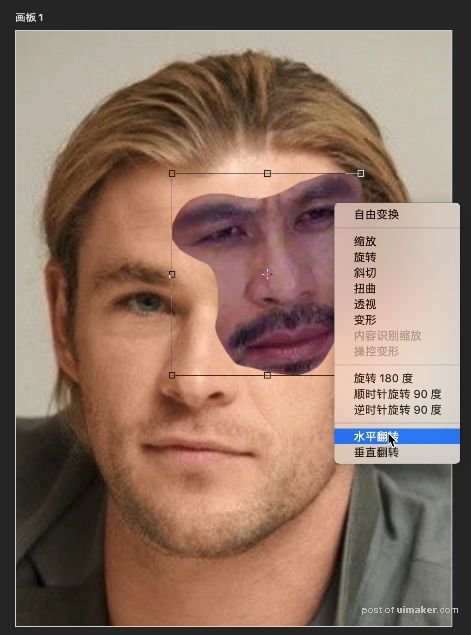
对“徐锦江的面部图层”执行【编辑】→【自由变换】(Ctrl+T)更多PS教程请到
右键选框→【水平翻转】后,怎么学PS,调整好位置。
此时很关键:
CTRL+鼠标左键 点击“徐锦江面部涂层”以获得选区